

The Red That Started It All
I first saw red velvet cake at a church supper. It was the 1960s. I thought it was magic. That color just made everyone smile. I still laugh at that memory. My version is these fudgy brownies. They are simpler than a layer cake. But they have that same happy feeling.
Why does the color matter? It turns baking into play. It feels special before you even take a bite. The cocoa gives a warm taste. The cream cheese frosting is the cool, creamy finish. It is a perfect pairing of flavors. What was the first dessert that made your eyes go wide? I would love to hear your story.
Mixing With Your Heart
Use a big bowl for the wet stuff. Melt your butter and stir in the sugar. It will look glossy. Add the eggs one by one. This makes the batter smooth. Now, the fun part! In goes the red color. Stir until it is a brave, bright red. Doesn’t that smell amazing?
Here is a mini-anecdote. My grandson once used a whole bottle of food coloring. His batter was nearly purple! We baked it anyway. It tasted fine, but we called them “velvet night” brownies. The lesson? Cooking is not about perfect. It is about the joy you stir in. For another simple, joyful recipe, try these French silk brownie bars.
The Secret to Fudgy Goodness
Do not overmix the batter. Gently fold the dry stuff into the red wet stuff. Just until you see no more white flour. A few lumps are okay. This keeps the brownies soft and fudgy inside. Pour it into your pan. The oven does the rest of the work.
Why this matters: Gentle mixing makes tender treats. It is like being kind to your ingredients. *Fun fact*: The acid in cocoa helps the red color stay bright. That is a little kitchen science magic. While these bake, why not dream of tropical coconut caramel brownies for your next adventure?
The Frosting Cloud
Let the brownies cool completely. This is the hard part! Patience makes good frosting. Beat the soft cream cheese and butter together. It should look like a smooth, fluffy cloud. Slowly add the powdered sugar. A little vanilla makes it sing.
Spreading this frosting is my favorite step. It is so creamy and cool. It balances the sweet, dense brownie underneath. This creamy topping is a classic for a reason. Do you like a thick layer of frosting, or just a little kiss? Tell me your style. For a different twist on cream cheese and chocolate, these triple-layer cheesecake brownies are wonderful.
A Treat to Share
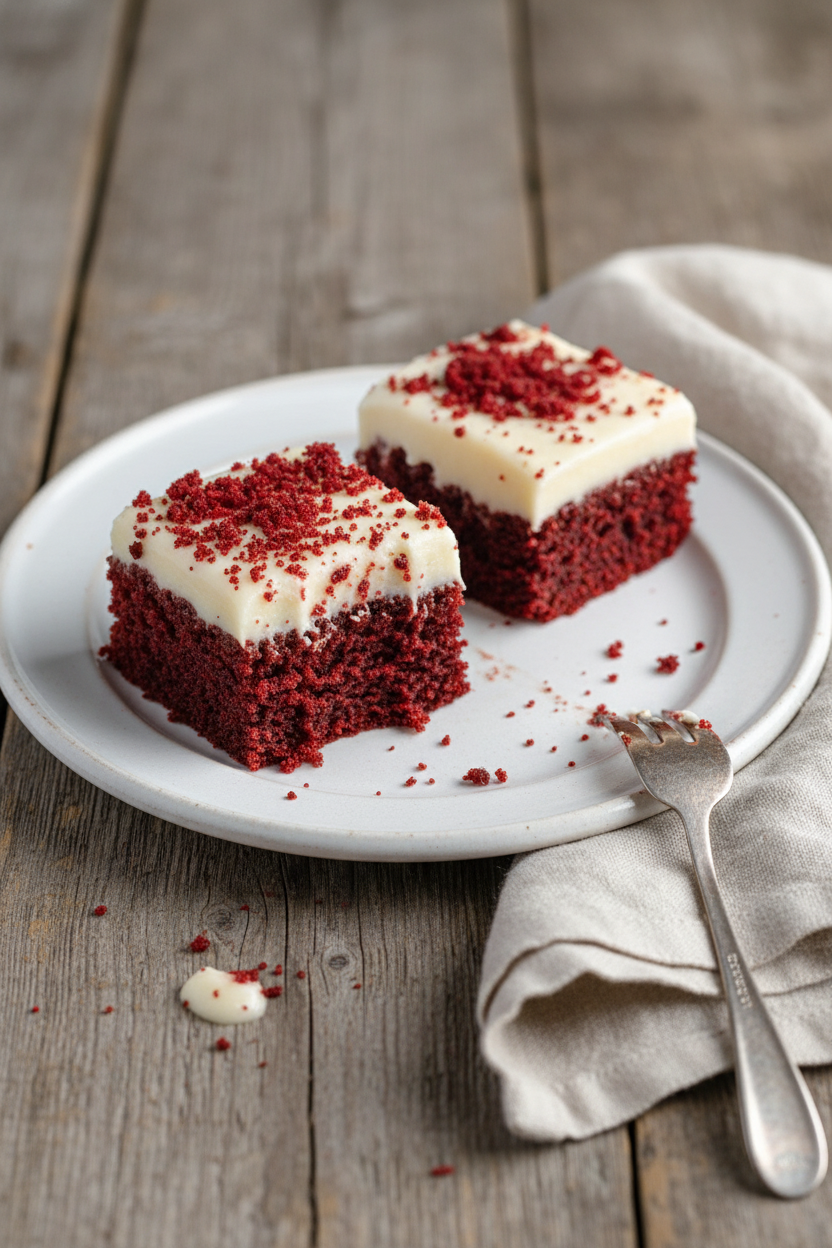
Lift the whole brownie block from the pan. Use the parchment paper like handles. Then cut into squares. I like to make mine small. A little piece of this rich treat is just right. Serve them on a bright plate. See how the red peeks out from under the white?
Why this matters: Sharing food is sharing joy. These brownies are a hug on a plate. They are perfect for a birthday, a bad day, or a Tuesday. What is your favorite reason to bake for someone? Is it a holiday, or just because? If you love coconut, you might also enjoy my toasted coconut Samoa brownies. They are another happy, shareable treat.
Instructions
Step 1: First, get your oven warm and cozy at 350°F. Line your pan with parchment paper. This little paper sling makes life so easy later. I still laugh at that time I forgot it. (Leaving paper overhang is my best tip for clean slices.)
Step 2: Whisk your flour, cocoa, and salt in a bowl. Set this dry mix aside. Doesn’t that cocoa smell amazing? It’s like a chocolate hug. This is the secret base for our fudgy brownies.
Step 3: Stir melted butter and sugar in a big bowl. Add eggs, one by one. Now, the fun part: pour in the red color and vanilla. Watch it turn a joyful, bright red! What’s your favorite color of food? Share below!
Step 4: Gently fold your dry mix into the red wet mix. Please, don’t over-stir. A few flour streaks are just fine. (This keeps them tender, I learned the hard way.) Pour it into your prepared pan and smooth the top.
Step 5: Bake for 20-25 minutes. A toothpick should have a few crumbs. Let them cool completely. This patience is the hardest part! While you wait, make the frosting. Beat soft cream cheese and butter until smooth.
Step 6: Gradually add the powdered sugar to your creamy mix. Stir in the vanilla. Now, frost your cool brownies. Slice and enjoy a creamy, dreamy square. I love the swirl of red and white.
Creative Twists
Add a handful of white chocolate chips to the batter.
Swirl the frosting into the batter before baking for a marbled look.
Top with crushed freeze-dried strawberries for a fruity crunch.
Which one would you try first? Comment below!
Serving & Pairing Ideas
Serve these on a pretty plate with a glass of cold milk. A few fresh raspberries on the side make it fancy. For a real treat, crumble one over vanilla ice cream. It’s like a decadent party in a bowl. You could even try a tropical twist with a sprinkle of coconut. Which would you choose tonight?
Keeping Your Brownies Fresh and Fudgy
Let’s talk about storing these treats. Cool brownies completely first. Then wrap them tight in the pan. I use plastic wrap or foil. This keeps them moist. You can keep them on the counter for two days.
For longer storage, the freezer is your friend. Freeze them unfrosted for best results. Wrap the whole block or individual squares well. They will keep for three months. Thaw them overnight in the fridge.
I remember my first batch of red velvet brownies. I left them uncovered. They dried out by morning! Now I never skip wrapping them. Storing food well saves money and time. It means you always have a sweet bite ready.
You can also bake a double batch. Freeze one for a future surprise. Batch cooking makes busy days easier. Have you ever tried storing brownies this way? Share below!
Simple Fixes for Common Brownie Troubles
Sometimes baking has little hiccups. Here are three common ones. First, brownies can be too cakey. This often means you mixed the batter too much. Gently fold in the flour until just combined.
Second, the top might crack. Do not worry! This usually means they are fudgy inside. A cracked top is a sign of a good, dense brownie. I once thought I ruined a pan because it cracked. It was actually perfect.
Third, the food color might not be bright. Use a good gel color for a vibrant red. Liquid color can make the batter too wet. Getting these details right builds your confidence. It also makes the flavor and texture just right. Which of these problems have you run into before?
Your Quick Questions, Answered
What makes red velvet brownies different from regular brownies?
Red velvet brownies have cocoa, buttermilk, and red color. Our recipe uses food coloring for that classic look. The cocoa is often a special type. It gives a mild, tangy flavor. Regular brownies focus on deep chocolate taste. Red velvet is more about a tender, colorful treat with cream cheese frosting.
Can I use a different frosting instead of cream cheese frosting?
Yes, you can use a different frosting. A simple vanilla buttercream would work. Or try a chocolate ganache for extra richness. But cream cheese frosting is the classic partner. Its tangy taste balances the sweet red velvet perfectly. It is the traditional choice for a reason!
How do I get a gooey texture in my brownies?
The key to gooey brownies is not overbaking them. Take them out when a toothpick has moist crumbs. Do not wait for it to be completely clean. Also, using more fat, like butter, helps. For another gooey idea, see my root beer float brownies. Let them cool fully in the pan for the best fudgy set.
Can I make these brownies ahead of time?
Absolutely! You can make them 1-2 days ahead. Store them covered at room temperature. Frost them the day you plan to serve. For longer storage, freeze them without frosting. This makes party planning so much simpler. You can have dessert ready and waiting.
What is the best cocoa powder for red velvet brownies?
Use unsweetened natural cocoa powder. Dutch-processed cocoa can change the color and rise. Natural cocoa helps get that bright red shade. It also has the right acidic note. *Fun fact: The acid in natural cocoa reacts with the baking soda in some recipes!* It is a small detail that makes a big difference.
How do I store frosted brownies to keep them fresh?
Store frosted brownies in the fridge. The cream cheese frosting needs to stay cool. Place them in a single layer in an airtight container. They will stay fresh for up to five days. For a different frosted treat, try these French silk brownie bars. Let them sit out for 15 minutes before serving for the best texture. Which tip will you try first?
From My Kitchen to Yours
I hope you love making these brownies. Baking should be fun, not fussy. It is about sharing something sweet. It is about making memories in your kitchen. I would love to hear about your baking adventure.
Tell me how it went for you. Did you add a special twist? Maybe you made them for a friend. Every story from your kitchen makes me smile. Have you tried this recipe? Please leave a comment below and let me know.
Happy cooking!
—Elowen Thorn

My Gooey Red Velvet Brownies with Cream Cheese Frosting
Description
Indulge in these decadent, vibrant red velvet brownies with a rich cream cheese frosting. Perfectly gooey and full of flavor.
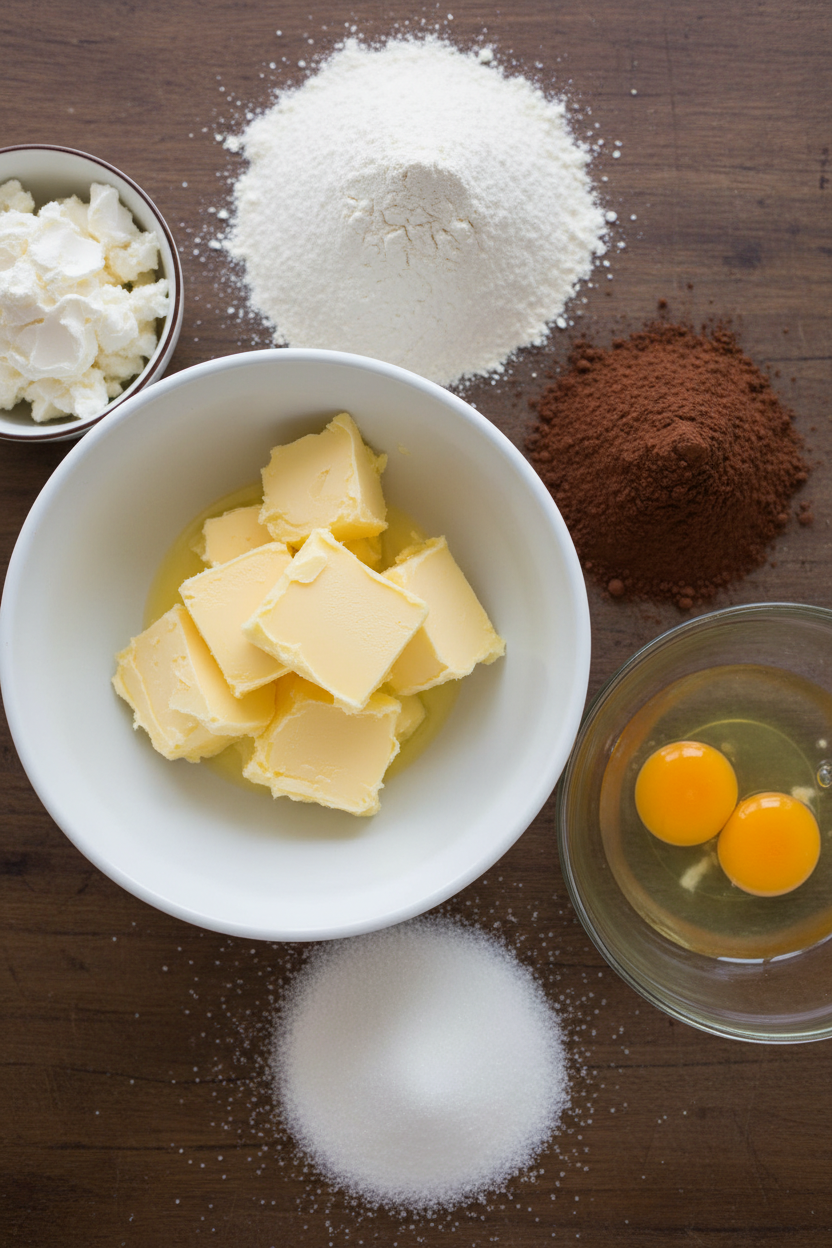
Ingredients
For the Brownies:
For the Cream Cheese Frosting:
Instructions
- Preheat your oven to 350°F (175°C). Line an 8×8-inch baking pan with parchment paper, leaving a bit of overhang for easy removal of the brownies later.
- In a medium bowl, whisk together the all-purpose flour, unsweetened cocoa powder, and salt until evenly combined. Set aside this dry mix for later.
- In a large mixing bowl, stir the melted unsalted butter and granulated sugar until they are well incorporated. Then add the eggs one at a time, mixing thoroughly after each addition. Stir in the vanilla extract and red food coloring until the mixture turns a uniform, vibrant red.
- Gradually add the dry ingredients to the wet ingredients, folding them in gently with a spatula until just combined. Avoid overmixing to maintain a tender brownie texture.
- Pour the batter evenly into the prepared baking pan and smooth the top with a spatula. Bake in the preheated oven for 20–25 minutes, or until a toothpick inserted in the center comes out with a few moist crumbs. Remove from oven and let the brownies cool completely in the pan.
- While the brownies cool, combine the softened cream cheese and unsalted butter in a mixing bowl and beat until smooth and creamy. Gradually add the sifted powdered sugar, beating well after each addition. Stir in the vanilla extract to finish the frosting.
- Once the brownies have cooled to room temperature, spread the cream cheese frosting evenly over the top. Use the parchment paper overhang to lift the brownies out of the pan, then slice into squares and serve.
Notes
- For a firmer frosting, chill the frosted brownies for 30 minutes before slicing. Store leftovers in an airtight container in the refrigerator for up to 5 days.