

The First Crunch
Let’s start with the crust. It’s just crumbs, butter, and sugar. You mix it with your hands. I still laugh at that. It feels like making mud pies, but sweeter. Press it into your dish. It must be flat and even. This gives every bite a perfect start.
Then you chill it. This step matters. A firm crust won’t get soggy later. It holds up the creamy layers. It gives you that wonderful first crunch. What’s your favorite part of making a crust? I always sneak a pinch of the crumb mix.
The Heart of the Matter
Now for the peanut butter layer. This is the heart of the dessert. You beat the cream cheese until it’s smooth. Then add the peanut butter and sugar. Doesn’t that smell amazing? It reminds me of my grandson’s lunchbox.
Here’s the fun part. You fold in the whipped topping. Be gentle. You want it light and fluffy. This layer is why the dessert feels like a hug. It’s rich but not heavy. That balance matters. Good food should make you feel happy, not stuffed.
A Silky Secret
The chocolate on top is called ganache. It sounds fancy. But it’s just cream and chocolate. Heat the cream until it steams. Then pour it over the chips. Let it sit for two minutes. This patience is the secret.
Then you stir. It turns into a silky, glossy pool. *Fun fact: This method is called “the pour-over.” It’s the best way to make a smooth sauce.* Let it cool a bit before pouring. This keeps our fluffy peanut butter layer safe. Have you ever made ganache before? It’s easier than you think.
The Waiting Game
Now comes the hard part. You must wait. Put it in the fridge for four hours. Overnight is even better. I know, it’s tough. You want to eat it right away. But waiting makes the magic happen.
Everything sets and firms up. The layers become friends. The flavors melt together. This waiting matters. It teaches us that some good things need time. What’s the hardest dessert for you to wait for? I always peek at least twice.
Your Final Touch
Time to serve! You can add toppings now. Chopped peanuts give a nice crunch. Mini Reese’s pieces are so fun. I like a little extra drizzle. It makes it look special.
Cut it into squares. Share it with people you love. Food tastes better when shared. That’s a life lesson right there. What would your dream topping be? Tell me if you try something new. I’d love to hear your ideas.
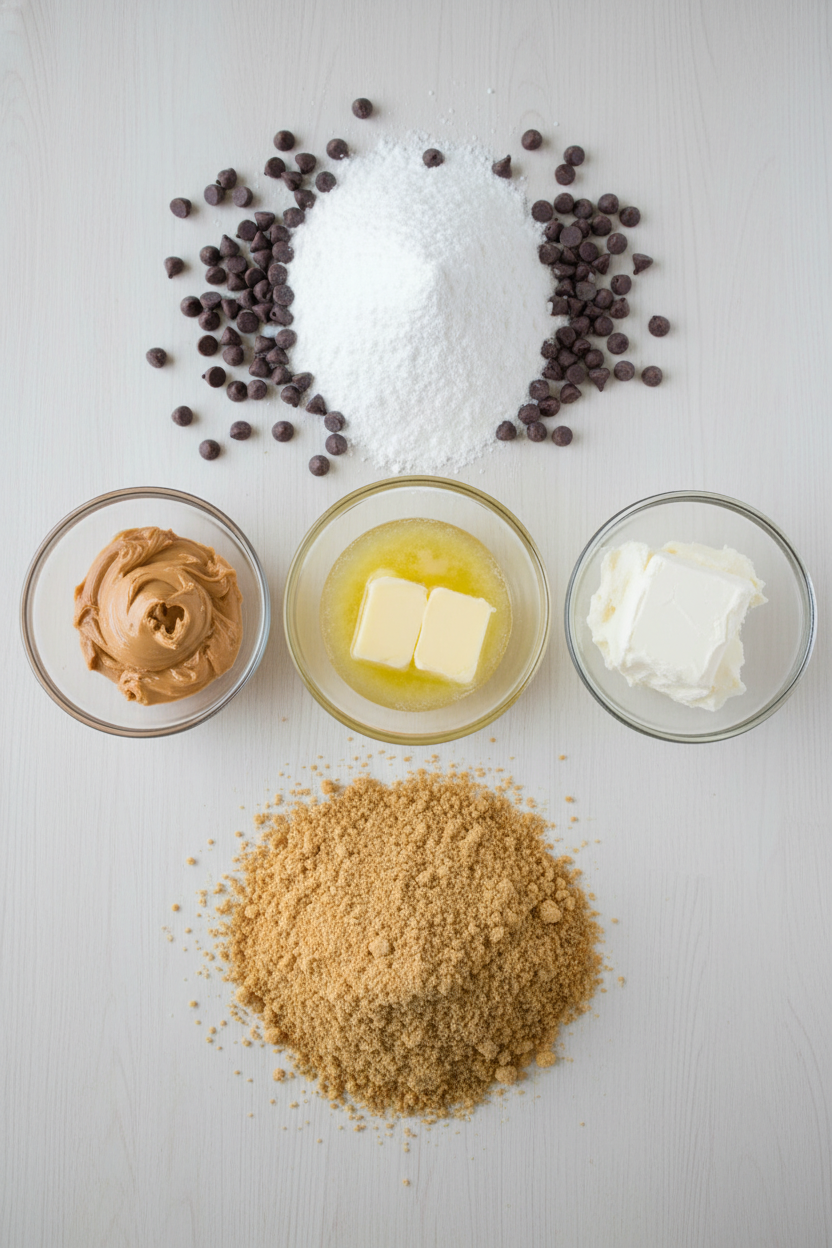
Ingredients:
| Ingredient | Amount | Notes |
|---|---|---|
| Graham cracker crumbs | 2 cups | For the crust |
| Melted butter | ½ cup | For the crust |
| Granulated sugar | ¼ cup | For the crust |
| Creamy peanut butter | 1 cup | For the peanut butter layer |
| Cream cheese | 8 oz | Softened, for the peanut butter layer |
| Powdered sugar | 1 cup | For the peanut butter layer |
| Vanilla extract | 1 tsp | For the peanut butter layer |
| Whipped topping (e.g., Cool Whip) | 1½ cups | For the peanut butter layer |
| Semi-sweet chocolate chips | 1 cup | For the ganache |
| Heavy cream | ½ cup | For the ganache |
| Chopped peanuts | As desired | Optional topping |
| Mini Reese’s pieces or cups | As desired | Optional topping |
| Chocolate curls or drizzle | As desired | Optional topping |
Instructions
Step 1: First, make your crust. Mix the crumbs, melted butter, and sugar in a bowl. Press it firmly into your greased dish. Pop it in the fridge for ten minutes. (Press it down hard so it doesn’t crumble later!)
Step 2: Now for the peanut butter cloud. Beat the peanut butter and soft cream cheese together. Add the powdered sugar and vanilla. Gently fold in the whipped topping. Doesn’t that look dreamy? Spread it over your cold crust.
Step 3: Time for magic ganache! Heat the cream until it’s steamy. Pour it over the chocolate chips and wait. Let it sit for two whole minutes. Then stir until it’s perfectly smooth and shiny.
Step 4: Pour that gorgeous chocolate over the peanut butter layer. Spread it gently to the edges. I still laugh at how I used to rush this part. The secret is to let the ganache cool just a bit first.
Step 5: The hardest step is waiting. Chill your dessert for at least four hours. Overnight is even better for perfect slices. What’s your favorite topping to add? Share below! Top with goodies just before you serve it.
Creative Twists
Swap the peanut butter for cookie butter.
Use a chocolate cookie crust instead of graham.
Add a sprinkle of sea salt on the warm ganache.
Which one would you try first? Comment below!
Serving & Pairing Ideas
Serve each square with a dollop of fresh whipped cream. A few banana slices on the side are wonderful, too. For a party, cut them into tiny bites. They disappear so fast that way! Which would you choose tonight?
Keeping Your Heaven In A Bowl Perfect
Let’s talk about storing these lovely bars. They must stay in the fridge. Cover the dish tightly with plastic wrap. They will stay good for about five days this way. You can also freeze them for a sweet treat later.
Cut the bars into squares first. Place them on a baking sheet to freeze for one hour. This stops them from sticking together. Then, put them in a freezer bag. They will keep for up to three months. Thaw them in the fridge overnight when you are ready.
I remember my first batch. I left it out too long. The layers got soft and messy. Now I never skip the chill time. Storing food right means no waste. It also means a ready-made smile is always waiting for you. Have you ever tried storing it this way? Share below!
Three Little Hiccups and How to Fix Them
First, a crumbly crust. If your crust won’t stick, you need more butter. Add one more tablespoon of melted butter. Press it down very firmly with a cup. This makes a solid base for your layers.
Second, a lumpy peanut butter layer. Your cream cheese must be soft. Leave it on the counter for an hour. I once used cold cream cheese. My mixer danced across the counter! Smooth ingredients make a smooth filling.
Third, a ganache that seizes. If your chocolate gets grainy, the cream was too hot. Let it cool for a minute after heating. Then pour it over the chips. Fixing small problems builds your cooking confidence. It also makes every bite taste just right. Which of these problems have you run into before?
Your Quick Questions, Answered
How to make no-bake peanut butter bars?
You mix a crust from crumbs, butter, and sugar. Press it into a dish. Then make a creamy peanut butter layer with cream cheese and whipped topping. Finally, pour a simple chocolate ganache on top. The magic happens in the fridge, not the oven. Chill it for at least four hours until everything is beautifully set and sliceable.
What is the best chocolate for ganache?
Use good quality semi-sweet chocolate chips. They melt smoothly and taste wonderful. You can also chop up a baking chocolate bar. I do not recommend chocolate candy bars. They often have other ingredients that can make your ganache oily. A simple chip gives you a rich, glossy, and perfect topping every single time.
Can I use natural peanut butter for no-bake bars?
I do not recommend natural peanut butter here. The oil separates and can make the layer too soft. Use a regular creamy peanut butter. The kind that is already stirred and stable works best. It helps the peanut butter layer set up firm and creamy next to the chocolate ganache.
How do you set ganache without baking?
Ganache sets because of the fat in the chocolate. The warm cream melts the chocolate. Then, as it cools in the fridge, the chocolate firms up again. This creates a firm yet silky layer. Just pour it over your bars and let the refrigerator do all the work. No oven is needed for this step.
How long do no-bake peanut butter bars last?
They last up to five days in the refrigerator. Keep them covered tightly with plastic wrap. For longer storage, you can freeze them. They will keep in the freezer for about three months. Always thaw frozen bars in the fridge overnight. This keeps the texture perfect and delicious.
Can you freeze peanut butter chocolate ganache bars?
Yes, you can freeze these bars very well. Cut them into squares first. Freeze the squares on a tray for one hour. Then place them in a freezer bag. They will keep for three months. This is a great way to save some for a future treat. *Fun fact: freezing dessert is like giving a gift to your future self!* Which tip will you try first?
From My Kitchen to Yours
I hope you love making this recipe. It is a favorite in my house. The mix of peanut butter and chocolate is always a winner. Sharing food is one of life’s great joys.
I would love to hear about your baking adventure. Tell me how it turned out for you. Did your family enjoy it? Have you tried this recipe? Leave a comment below and let me know. Thank you for spending this time with me.
Happy cooking!
—Danielle Monroe

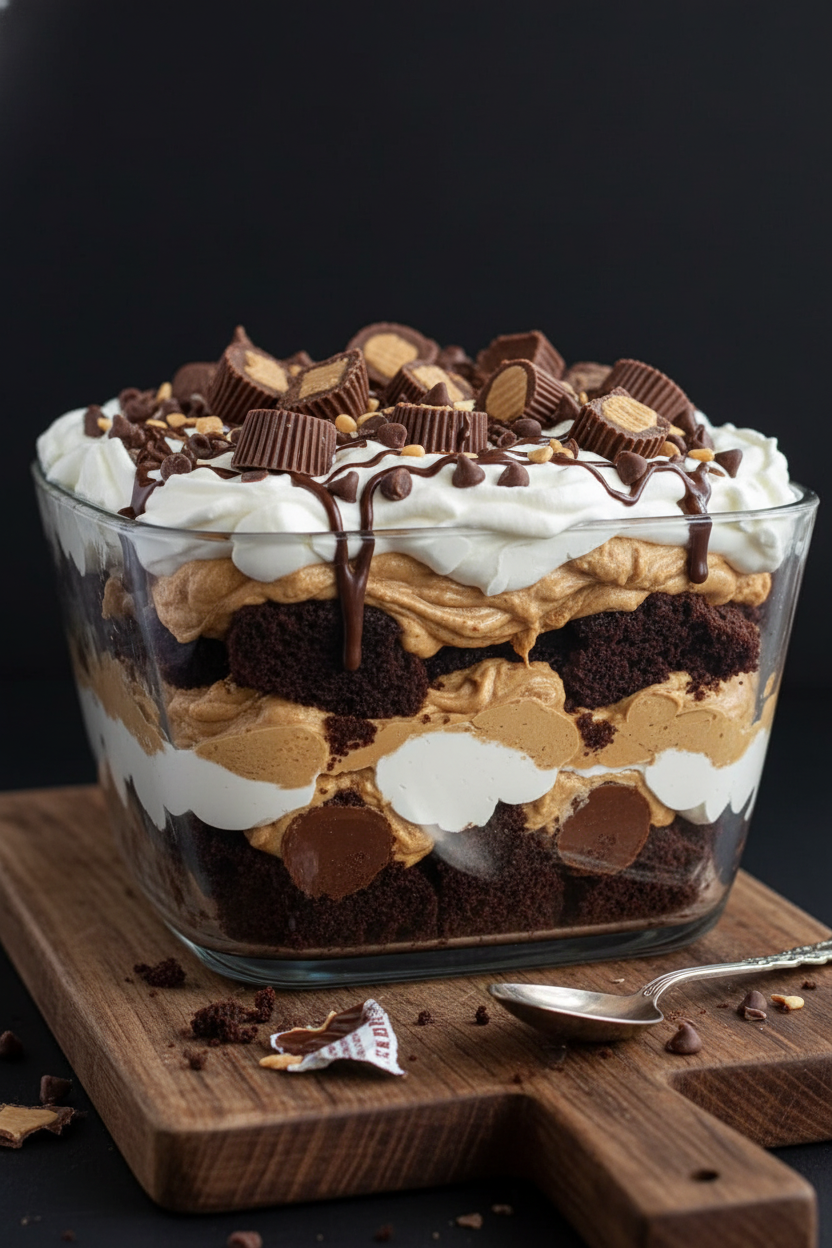
No-Bake Peanut Butter Chocolate Ganache Bars
Description
Rich, no-bake bars with a graham cracker crust, creamy peanut butter cheesecake layer, and a smooth chocolate ganache topping.
Ingredients
For the Crust:
For the Peanut Butter Layer:
For the Ganache:
Optional Toppings:
Instructions
- In a mixing bowl, stir together graham cracker crumbs, melted butter, and sugar until combined. Press into the bottom of a greased 9×13″ dish. Chill for 10 minutes to set.
- Beat peanut butter, softened cream cheese, powdered sugar, and vanilla extract until smooth and creamy. Gently fold in whipped topping. Spread evenly over the chilled crust.
- Heat the heavy cream until steaming (not boiling). Pour over the chocolate chips in a bowl. Let sit for 2 minutes, then stir until smooth and glossy. Allow to cool slightly.
- Pour ganache over the peanut butter layer and spread evenly.
- Refrigerate at least 4 hours or overnight for best texture. Top with optional toppings before serving.
Notes
- For clean cuts, dip your knife in hot water and wipe dry between slices.