

A Sweet Little Story
I first made these for my grandson, Leo. He loved polar bears. He said the peanuts looked like big bear claws. I still laugh at that.
Now, we make them every winter. It’s our little tradition. The kitchen gets wonderfully sticky. Doesn’t that smell amazing? Traditions matter. They are like a warm hug you can eat.
What You’ll Need
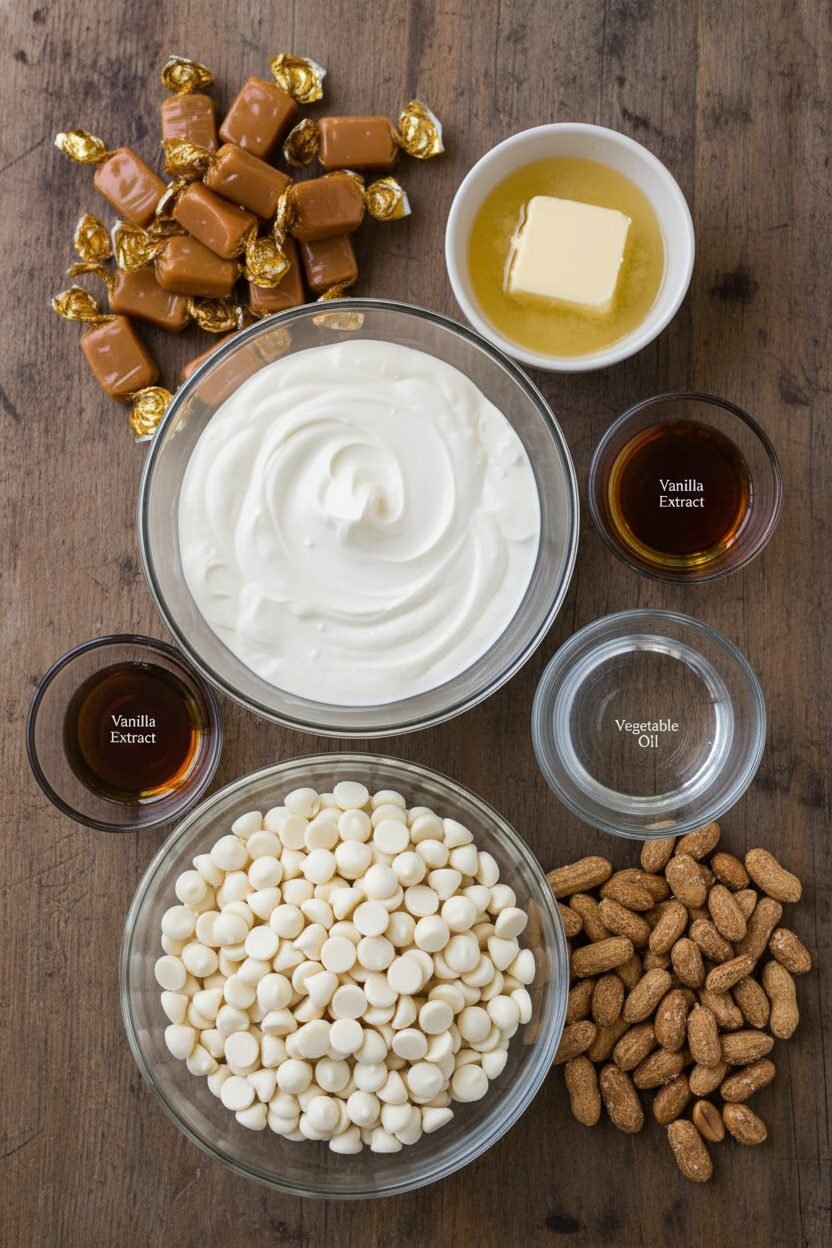
Gather your ingredients. You need soft caramels, heavy cream, and butter. Also, vanilla, salted peanuts, and white chocolate chips. A bit of oil helps the chocolate melt smoothly.
Use a microwave-safe bowl and a baking sheet. Line it with parchment paper. This keeps the paws from sticking. Trust me, it makes clean-up easy. What’s your favorite kitchen tool to use for treats?
Making the Paws
First, melt the caramels with cream and butter. Do it in short bursts. Stir well each time. Then, mix in the vanilla and all those peanuts.
Let it sit for a few minutes. This helps the mixture thicken. Then, scoop mounds onto your sheet. This is the fun, messy part. Chill them until firm. This step matters. It gives the candy its perfect chewy heart.
The White Chocolate Coat
Melt the white chocolate with the oil. Stir until it’s like smooth, shiny paint. Now, dip each chilled paw. Let the extra chocolate drip off.
Place them back on the sheet. The chocolate will harden. Fun fact: The oil makes the chocolate set with a nice snap. You can put them in the fridge to speed things up. Do you like dark, milk, or white chocolate best?
A Note for Friends
Some friends can’t eat gluten. We must be careful for them. Check your caramel, chocolate, and peanut bags. Look for “gluten-free” right on the label.
This small act matters. It shows you care. It means everyone can enjoy a treat together. Food is about sharing joy with all.
Time to Share
Once set, pack them in a tin. They are perfect for gifting. Or, keep them for your own cozy afternoon.
Making food for others is a special kind of love. It’s a gift from your hands. What’s your favorite treat to make and give away? I’d love to hear your ideas.
Ingredients:
| Ingredient | Amount | Notes |
|---|---|---|
| Soft caramels | 11 ounces | |
| Heavy cream | 2 tablespoons | |
| Unsalted butter | 1 tablespoon | |
| Vanilla extract | 1/2 teaspoon | |
| Roasted salted peanuts | 1 1/4 cups | |
| White chocolate chips | 12 ounces | |
| Vegetable oil or shortening | 1 teaspoon | For melting the chocolate |
Instructions
Step 1: Grab a medium bowl. Put your caramels, cream, and butter in it. Microwave for one minute. Stir it all up well. Heat it more in 15-second bursts, stirring each time. Stop when it’s perfectly smooth and lovely.
Step 2: Now, stir in your vanilla. Doesn’t that smell amazing? Next, pour in all those salty peanuts. Mix until every single nut is wearing a shiny caramel coat. This is the fun, sticky part. I still laugh at how the spoon gets so heavy.
Step 3: Let the mixture sit for 5 to 10 minutes. This helps it thicken up a bit. (A hard-learned tip: if it’s too warm, your paws will flatten!). Then, line a tray with parchment paper. Use a spoon to drop little mounds onto it. Give them space to be their own little paws.
Step 4: Pop the tray into the fridge. Let those paws chill for at least 30 minutes. They need to get nice and firm. This makes the next step so much easier. While you wait, you can wash that sticky spoon. What’s your favorite part of making candy? Share below!
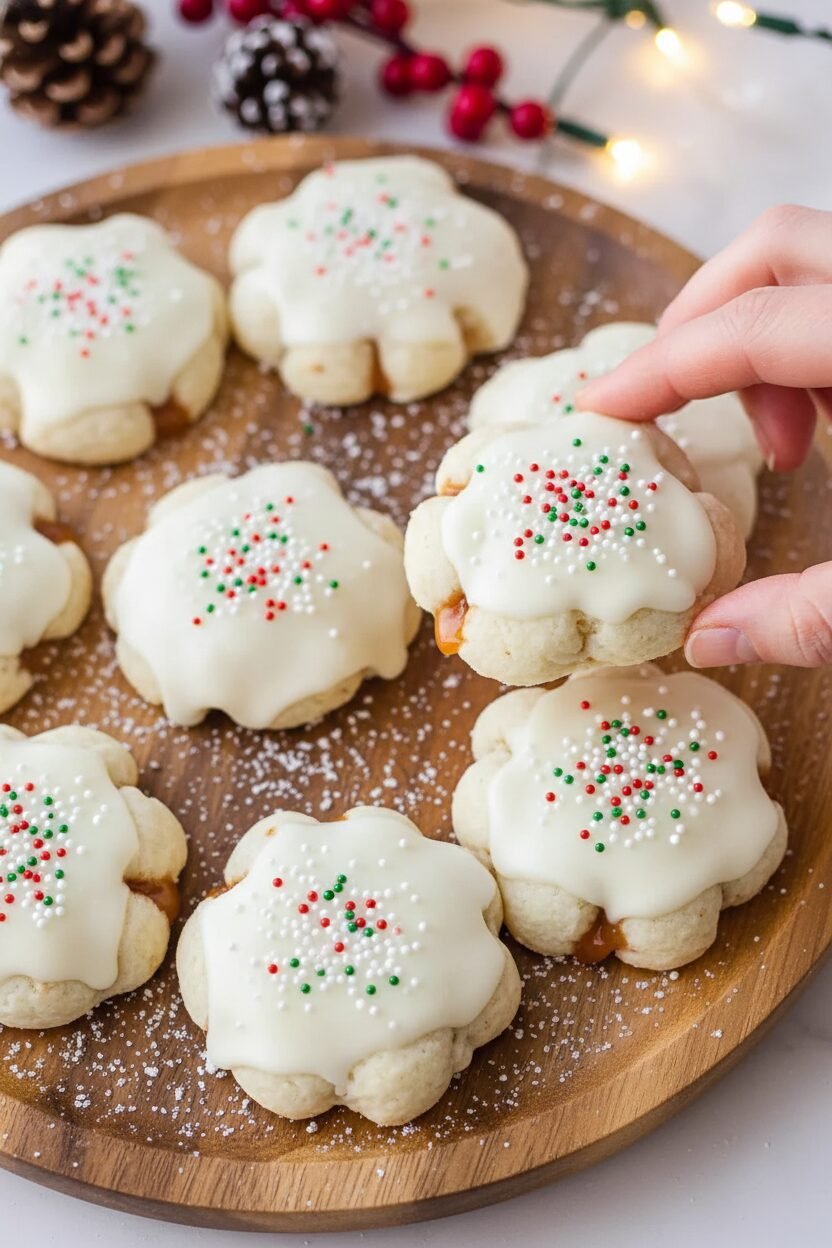
Step 5: Time for the “fur”! Melt white chocolate chips with a teaspoon of oil. Do this in a bowl, in 30-second microwave bursts. Stir between each one until it’s smooth. Now, dip each cold caramel cluster. Let the extra chocolate drip off. Place them back on the parchment paper.
Step 6: Let your polar bear paws sit until the chocolate hardens. The kitchen counter is just fine. If you’re in a hurry, the fridge will speed things up. Then, they are ready to share. I always sneak one while they’re still slightly soft. It’s a perfect little treat.
Creative Twists
You can make these little paws your own. Try using different nuts for the “claws.” Pecans or almonds work beautifully. For a festive look, sprinkle the wet chocolate with crushed candy canes. It adds a pretty red sparkle. You could even use dark chocolate for a “muddy paw” effect. Which one would you try first? Comment below!
Serving & Pairing Ideas
These candies are wonderful on a holiday plate. Arrange them with some chocolate-dipped pretzels. A few clementine segments add a bright, fresh touch. For a drink, adults love a sweet cream liqueur with them. It’s like a cozy hug. Kids and everyone else would enjoy a cold glass of creamy almond milk. Which would you choose tonight?
Keeping Your Polar Bear Paws Perfect
These treats are best kept in the fridge. They will stay happy for two weeks. You can also freeze them for three months. Just layer them between parchment paper in a sealed container.
I once left a batch out overnight. The summer heat made them very sad and melty. Now I always chill them right away. This keeps their shape and texture just right.
Batch cooking saves so much time. Make a double batch and freeze half. You will thank yourself later when guests drop by. Good storage means less waste and more joy to share.
Have you ever tried storing it this way? Share below!
Simple Fixes for Common Paws Problems
Is your caramel too runny? Let it cool longer before scooping. This helps the candy hold its cute paw shape. I remember my first batch spreading into puddles.
Is your white chocolate too thick? Add a tiny bit more oil. Stir it well until it is smooth and dippable. This gives a lovely, even coat on each treat.
Are the peanuts falling out? Mix them into the caramel while it is still very warm. Press them in gently when you form your mounds. This ensures every bite has a perfect crunch.
Fixing small issues builds your kitchen confidence. It also makes the flavor and texture just perfect. Which of these problems have you run into before?
Your Quick Questions, Answered
Q: Is this recipe gluten-free? A: It can be. Check your caramel, chocolate, and peanut packages. Look for a “certified gluten-free” label to be safe.
Q: Can I make these ahead? A: Absolutely! They are a great make-ahead treat. Just store them in the fridge or freezer as I mentioned.
Q: What if I don’t have peanuts? A: Try roasted almonds or pretzel pieces. The salty crunch is what matters most here.
Q: Can I double the recipe? A: Yes, you can. Just use a bigger bowl for mixing. You might need a little extra chilling time.
Q: Any optional tips? A: A tiny sprinkle of sea salt on top looks pretty. Fun fact: The oil in the chocolate helps it set with a nice snap. Which tip will you try first?
From My Kitchen to Yours
I hope you love making these sweet Polar Bear Paws. They always remind me of snowy afternoons with my grandkids. Cooking is about sharing stories and making memories.
I would love to hear about your baking adventure. Tell me all about it in the comments below. Have you tried this recipe? Your stories are my favorite thing to read.
Happy cooking! —Elowen Thorn.
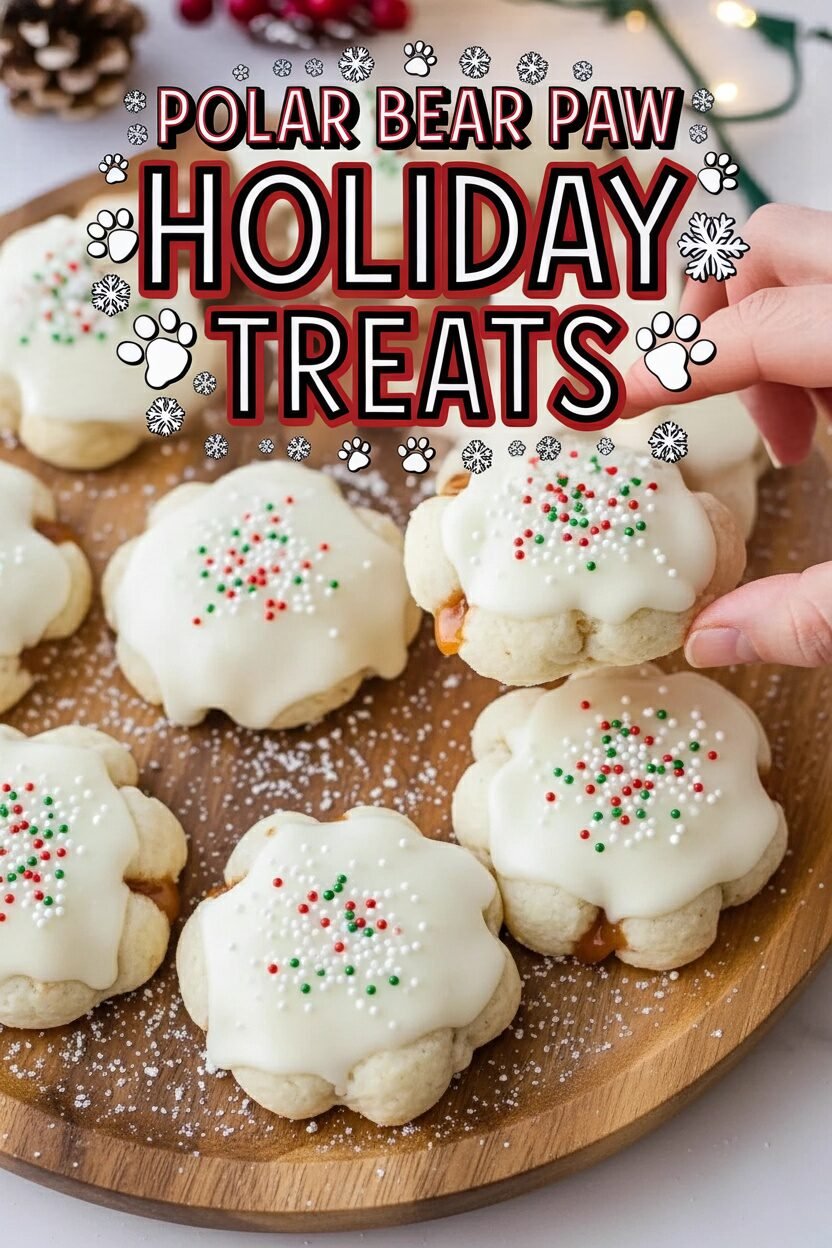

Polar Bear Paw Holiday Treats
Description
Polar Bear Paws Candy
Ingredients
Instructions
- Place the soft caramels, heavy cream, and unsalted butter into a medium microwave-safe bowl. Microwave for 1 minute. Stir thoroughly. Continue microwave heating in 15-second increments, stirring between each interval, until the caramel mixture becomes completely smooth.
- Stir in the vanilla extract, followed by the roasted salted peanuts. Mix until all peanuts are evenly coated with caramel.
- Allow the caramel mixture to rest at room temperature for 5 to 10 minutes, or until slightly thickened. This helps the candy retain its shape when scooped.
- Line a baking sheet with parchment paper. Using a tablespoon, portion the caramel-peanut mixture into individual mounds, spacing them at least 2 inches apart. Refrigerate for 30 minutes to 1 hour, or until firm.
- In a separate microwave-safe bowl, combine the white chocolate chips and vegetable oil (or shortening). Microwave in 30-second intervals, stirring between each round, until the chocolate is fully melted and smooth.
- Dip each chilled caramel cluster into the melted white chocolate. Use a fork to lift the cluster from the bowl, allowing excess chocolate to drip back into the bowl. Place the coated clusters onto a parchment-lined baking sheet.
- Allow the clusters to sit at room temperature until the white chocolate is fully set. To speed the process, the clusters may be refrigerated.
Notes
- To ensure this recipe remains gluten-free, verify that the caramels, white chocolate chips, and roasted peanuts are certified gluten-free. Some brands may include wheat-derived stabilizers or be processed in facilities that handle gluten-containing ingredients. Using gluten-free verified products ensures the final candy is safe for gluten-free diets.