

My Grandfather’s Holiday Secret
I learned this recipe from my grandfather. He was a quiet man. But he spoke with food. Every Christmas, he made this roast. The whole house smelled like heaven. I still smile thinking about it.
He taught me the first big lesson. Good food needs time. You cannot rush flavor. That’s why we salt it days ahead. The salt works its way deep inside. This matters because it makes every single bite taste wonderful.
Getting Ready: Patience is Your Friend
First, you take the bones off. Keep them! They are your flavor shelf. Then, make little cuts in the fat. Rub salt everywhere, even in those cuts. This feels like a craft project.
Now, put the meat back on its bones. Let it sit in your fridge, uncovered, for a whole day or more. This seems strange, I know. But it dries the outside. A dry outside makes the best crust later. Trust the process.
The Slow Dance of Heat
We start with a very hot pan. Just a quick sear to make it brown. Doesn’t that smell amazing? Then, into a very low oven it goes. It will take hours. This is the second big lesson. Gentle heat keeps the meat tender and juicy from edge to center.
You use a thermometer. That is your best kitchen friend. It tells you when the meat is just right. Then, you turn the oven off. Let the roast just sit in there. No peeking! This finishes the cooking without toughening it. What’s your favorite kitchen tool? Mine is that little thermometer.
The Big Finish & A Fun Fact
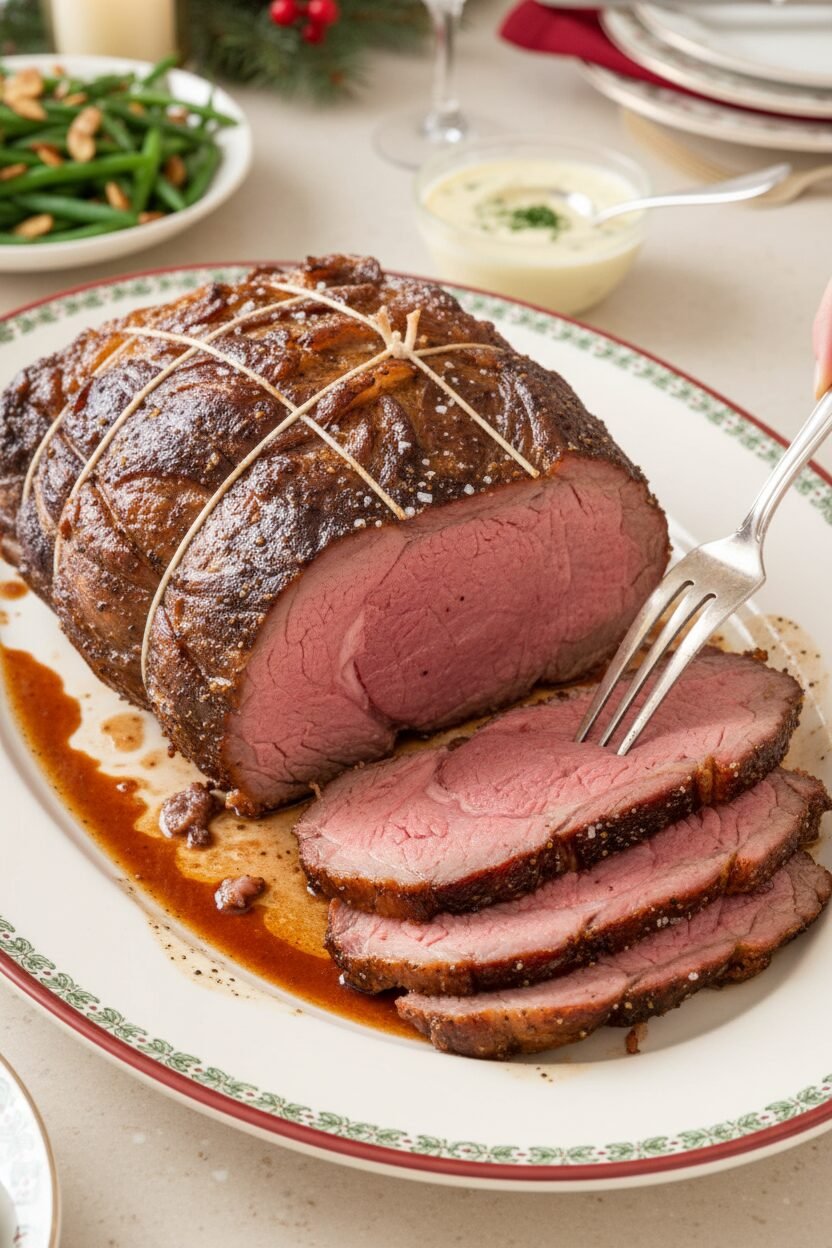
After a long rest, we do one more thing. We broil the top! This makes the fat cap crispy and crackly. It is the best part. *Fun fact: The “standing” in “standing rib roast” comes from cooking it on the ribs. The bones act like a natural roasting rack!*
Finally, you slice it. Those beautiful pink slices. Season with a little more coarse salt. It makes the beef flavor sing. Do you like your meat more pink or more well-done? I am a “pink in the middle” person myself.
Your Turn at the Table
This is a special meal for a special day. It is not hard. It just asks for your time. And your love. That is what holiday cooking is all about. Sharing something made with care.
I would love to hear your stories. What dish does your family make every year? Does it have a funny story or a secret step? Tell me about it. Let’s keep these kitchen traditions alive, together.
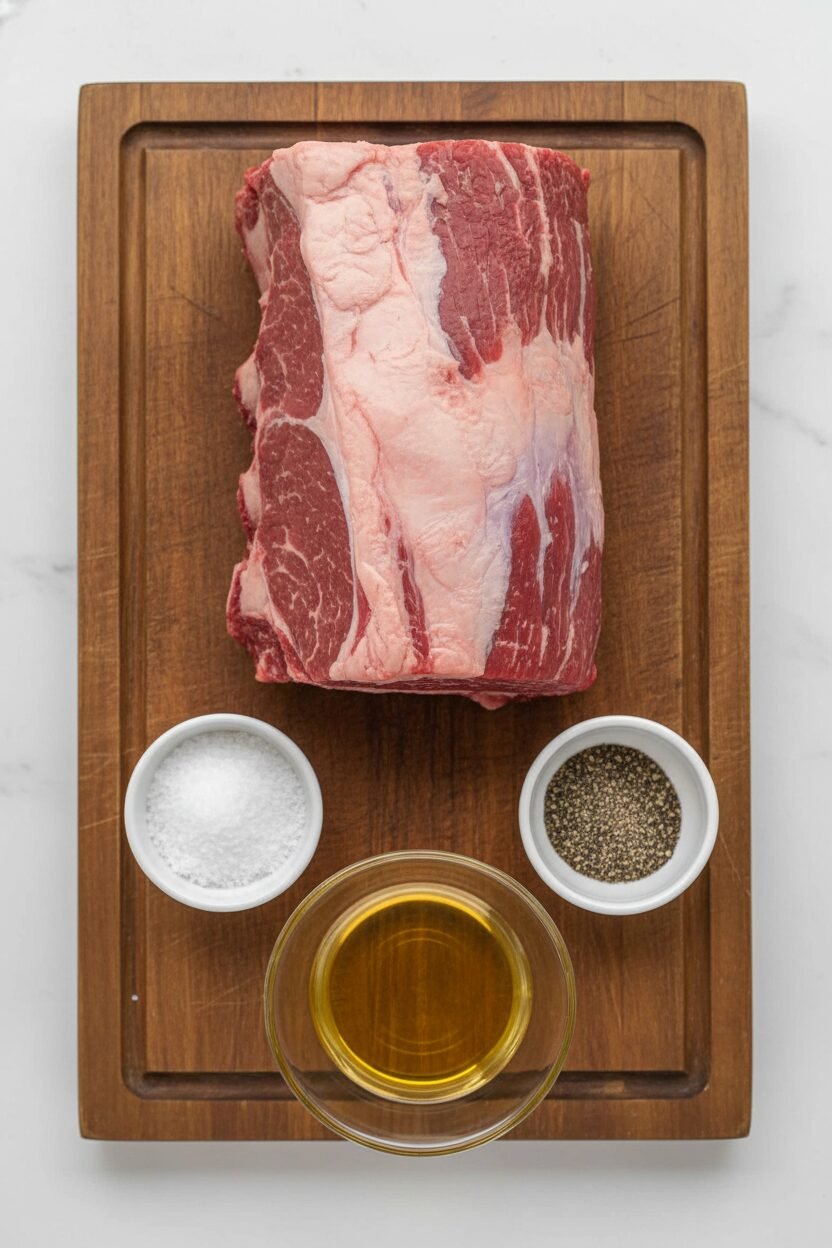
Ingredients:
| Ingredient | Amount | Notes |
|---|---|---|
| first-cut beef standing rib roast (with 3 bones) | 1 (7-pound) | Meat removed from bones, bones reserved |
| Kosher salt | For seasoning and 2 tablespoons | For salting the roast in step 3 |
| Ground black pepper | To taste | For seasoning |
| Vegetable oil | 2 teaspoons | For searing |
| Butcher’s twine | 2 lengths | For tying meat to bones |
| Coarse salt | To taste | For serving |
Prime Rib Perfection for the Holiday Table
Hello, my dear. Come sit a moment. The holidays are for grand, loving gestures. A beautiful prime rib is just that. It feels fancy, but the secret is patience. I learned that from my own Gran. She would hum carols while it rested. Doesn’t that smell amazing? Let’s make a memory at your table this year.
Instructions
Step 1: First, carefully cut the meat away from the bones. Use a sharp knife. Keep those bones, now. They are our flavor secret. This part feels a bit like a puzzle. I still laugh at the first time I tried it.
Step 2: Now, make a crosshatch pattern in the fat. Do not cut into the meat. This helps the salt do its magic. Rub salt all over the roast, especially into those slits. Place the meat back on its bones. Refrigerate it uncovered for a whole day. (This long salt bath is the key to flavor.)
Step 3: Heat your oven very low, to 200 degrees. Sear the roast in a hot pan until it’s beautifully brown. Do not sear the bone side. Let it cool on the bones for ten minutes. Then, tie it back on snugly with kitchen twine. This keeps it juicy.
Step 4: Roast the meat slowly until your thermometer says 110 degrees. This takes hours. Be patient. Then, turn the oven off. Leave the door closed. Let the roast sit inside until it reaches 120-125 degrees. Why do we let it rest? Share below!
Step 5: Take the roast out and let it rest on the counter. Tent it loosely with foil. Finally, broil the top until it’s crispy and perfect. Slice it thick and season with a pinch of coarse salt. Your masterpiece is ready.
Creative Twists
Herb Garden Crust: Mix chopped rosemary and thyme with soft butter. Rub it under the fat before roasting.
Sweet & Smoky Glaze: Brush the roast with a mix of honey and smoked paprika before the final broil.
Garlic Lover’s Dream: Tuck thin slices of garlic into the slits you cut in the fat.
Which one would you try first? Comment below!
Serving & Pairing Ideas
Serve those glorious slices with creamy horseradish sauce. Roasted potatoes cooked in the drippings are a must. Add some simple steamed green beans. For a drink, a glass of rich Cabernet Sauvignon is lovely for the grown-ups. For everyone, a sparkling cranberry ginger ale feels festive. Pour it into a pretty glass. Which would you choose tonight?
Keeping Your Prime Rib Perfect
Let’s talk about leftovers. They are a holiday gift to yourself. First, let the meat cool completely. Then wrap slices tightly in foil. Store them in the fridge for up to four days.
For longer storage, freeze the slices. Use heavy-duty freezer bags. Squeeze out all the air first. They will keep for a few months this way. Thaw them slowly in the fridge.
Reheating is the secret. Do not use the microwave. It will make the meat tough. I learned that the hard way one quiet New Year’s Day. My poor roast was so chewy!
Instead, warm slices in a 250-degree oven. Place them in a pan with a little broth. Cover them with foil. Heat just until warm, about 30 minutes. This keeps it juicy.
Batch cooking this roast is smart. It saves you time and oven space later. A good meal ready makes busy days feel simpler. Have you ever tried storing it this way? Share below!
Simple Fixes for Common Hiccups
First, the roast might not brown well. This often means your skillet was not hot enough. Wait until you see little wisps of smoke. A good sear locks in wonderful flavor.
Second, the meat might cook too fast or slow. Oven temperatures can be tricky. Use a good meat thermometer. I remember when I didn’t use one. The results were always a surprise!
Trusting the thermometer builds your cooking confidence. It takes the guesswork right out. Third, the slices might fall apart. This means you did not rest the meat long enough.
Letting it rest lets the juices settle back in. This makes every slice tender and moist. Patience here makes all the difference for your holiday table. Which of these problems have you run into before?
Your Quick Questions, Answered
Q: Is this recipe gluten-free? A: Yes, it is. All the ingredients are naturally gluten-free. Just check your broth label if you use it for reheating.
Q: Can I make it ahead? A: You can salt it up to four days ahead. Follow step three. Keep it uncovered in the fridge. This actually makes it tastier.
Q: What if I don’t have vegetable oil? A: Any neutral oil works fine. Try canola or grapeseed oil. You just need an oil that can get very hot.
Q: Can I make a smaller roast? A: You can. The cooking time will be shorter. Always use your meat thermometer. It is your best kitchen friend.
Q: Any optional tips? A: Try rubbing herbs like rosemary on with the salt. Fun fact: letting it sit in the fridge uncovered dries the surface. This helps get that fantastic crispy crust later! Which tip will you try first?
From My Kitchen to Yours
I hope this recipe brings your family together. The best meals are shared with loved ones. I love hearing your stories from your own kitchen.
Tell me all about your holiday table. Did your family ask for seconds? What was your favorite part of making it? Have you tried this recipe? Let me know in the comments below.
Happy cooking!
—Elowen Thorn.
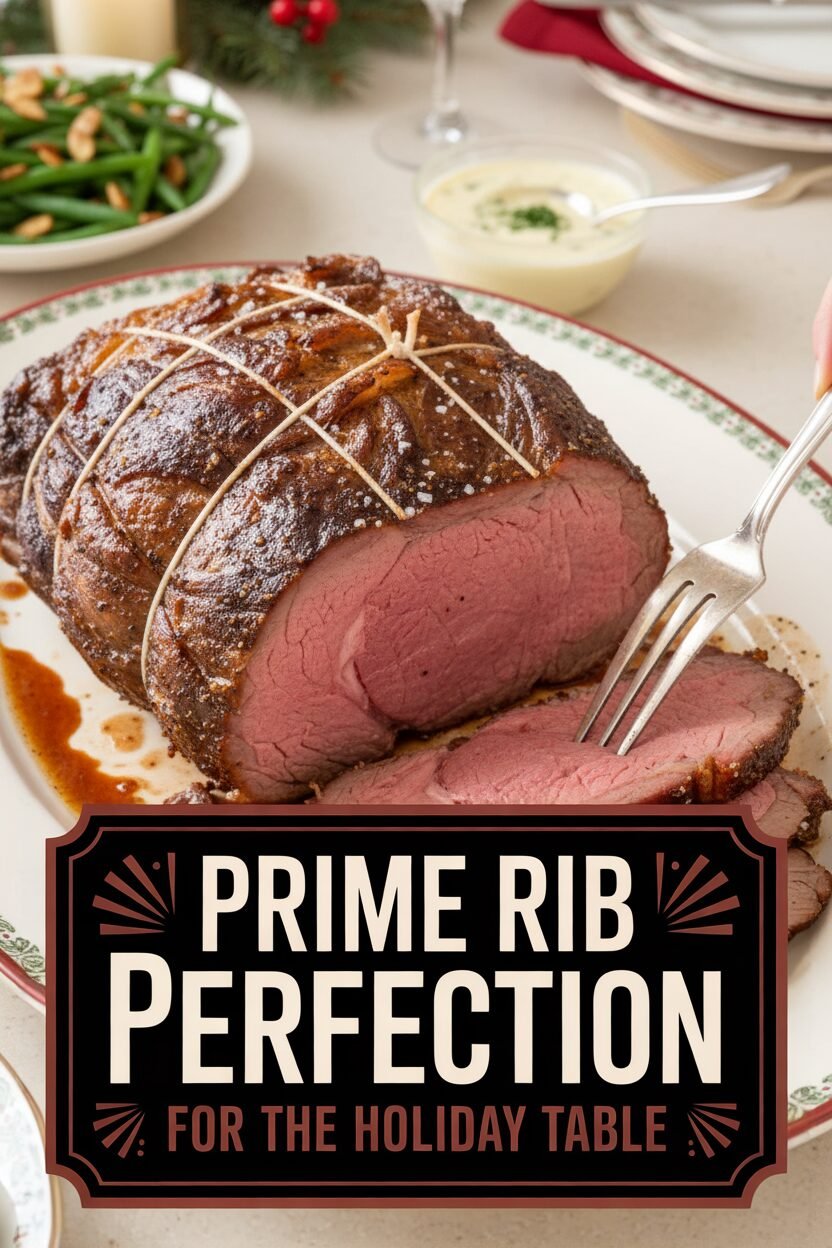

Prime Rib Perfection for the Holiday Table
Description
Best Prime Rib
Ingredients
Instructions
- Using sharp knife, remove bones from 1 (7-pound) first-cut beef standing rib roast (3 bones), reserving bones.
- Cut slits in surface layer of fat, spaced 1 inch apart, in crosshatch pattern, being careful to cut down to, but not into, meat.
- Rub 2 tablespoons kosher salt over entire roast and into slits. Place meat back on bones (to save space in refrigerator), transfer to large plate, and refrigerate, uncovered, at least 24 hours and up to 96 hours.
- Adjust oven rack to middle position and heat oven to 200 degrees. Heat 2 teaspoons vegetable oil in 12-inch skillet over high heat until just smoking. Sear sides and top of roast (reserving bone) until browned, 6 to 8 minutes total (do not sear side where roast was cut from bone).
- Place meat back on ribs, so bones fit where they were cut, and let cool for 10 minutes; tie meat to bones with 2 lengths of twine between ribs.
- Transfer roast, fat side up, to wire rack set in rimmed baking sheet and season with pepper. Roast until meat registers 110 degrees, 3 to 4 hours.
- Turn off oven; leave roast in oven, opening door as little as possible, until meat registers about 120 degrees for rare or about 125 degrees for medium-rare, 30 to 75 minutes longer.
- Remove roast from oven (leave roast on baking sheet), tent loosely with aluminum foil, and let rest for at least 30 minutes and up to 75 minutes.
- Adjust oven rack about 8 inches from broiler element and heat broiler. Remove foil from roast, form into 3-inch ball, and place under ribs to elevate fat cap.
- Broil until top of roast is well browned and crisp, 2 to 8 minutes.
- Transfer roast to carving board; cut twine and remove roast from ribs. Slice meat into 3/4-inch-thick slices. Season with coarse salt to taste, and serve.
Notes
- For best results, use a reliable meat thermometer. Resting time is crucial for juicy meat. The long salting (dry-brining) step is essential for flavor and texture.