

The Sunshine in a Little Cup
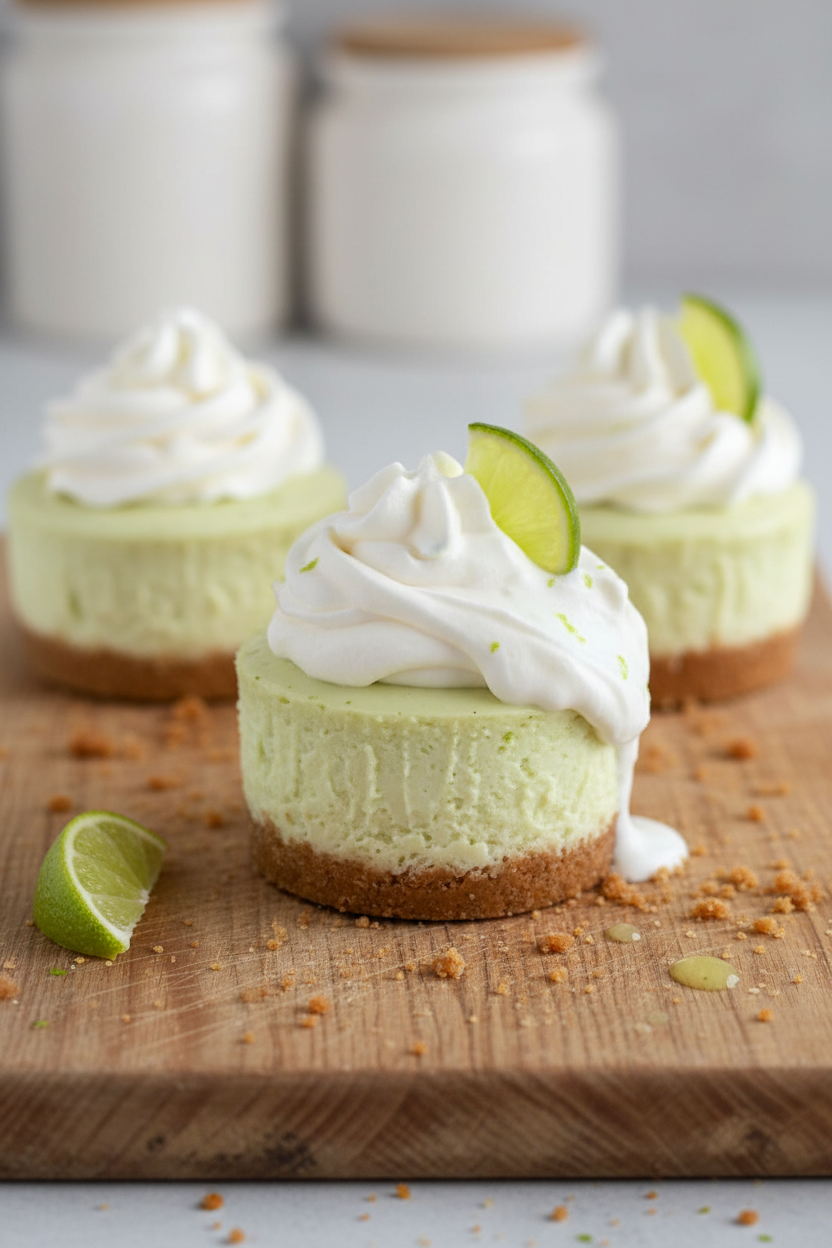
These mini cheesecakes taste like a sunny day. The key lime makes them bright and happy. I think everyone needs a little sunshine sometimes, especially in a dessert.
My grandson calls them his “green pies.” I still laugh at that. Making them small means you can share the joy easily. What’s your favorite sunny-flavored treat? Is it lemon, orange, or lime like mine?
A Crust You Can Trust
Let’s start with the crust. It is just graham crackers, butter, and sugar. You press it firmly into the pan. This matters because a good crust holds everything together.
It bakes for just five minutes. This quick bake makes it sturdy. *Fun fact*: Graham crackers were invented to be a healthy snack! We made them much more fun.
The Zesty Heart of It
The filling is where the magic happens. You mix smooth cream cheese with tart lime juice. That one drop of green dye just makes it look happy. Doesn’t that smell amazing?
Here’s my mini-anecdote. I once used a regular lime instead of a key lime. The taste was still lovely. So don’t worry if you can’t find key limes. The zest is what gives it that special sparkle.
Patience is a Sweet Ingredient
After baking, you must let them cool. Then they need a long nap in the fridge. This waiting matters. It lets the flavors get to know each other. It makes the texture just right.
I know waiting is hard. But trust your kitchen grandma. Good things come to those who wait. Do you find it hard to wait for desserts to chill?
Sharing Your Sunshine
These little cakes are perfect for sharing. They keep in the fridge for a few days. I like to give them to neighbors. It spreads a little sweetness.
Food is about more than eating. It is a way to show you care. That is why this recipe matters. It makes something joyful you can give. What’s the last treat you shared with someone?
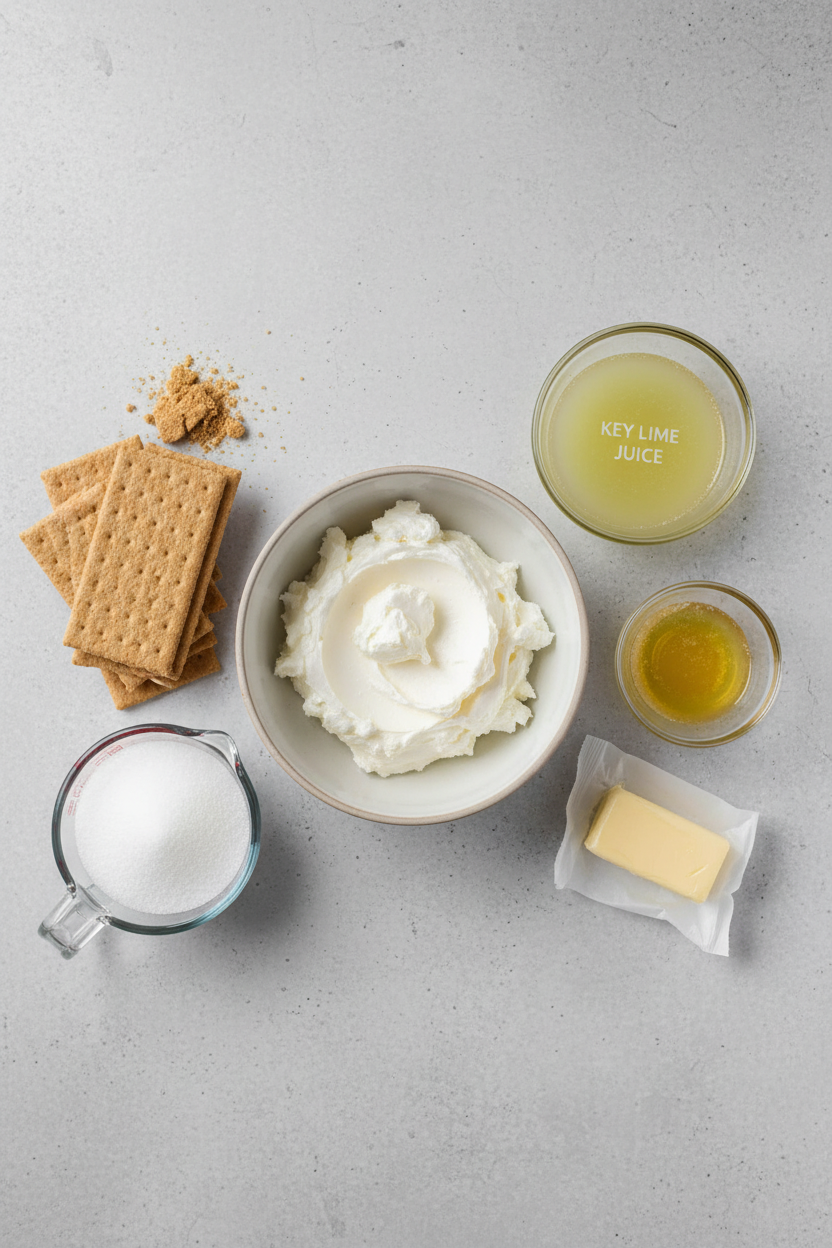
Ingredients:
| Ingredient | Amount | Notes |
|---|---|---|
| For the crust: | ||
| Graham crackers | 6 full-sheets (90 grams) | Or ¾ cup graham cracker crumbs |
| Butter | 3 tablespoons (45 grams) | Melted |
| Granulated sugar | 2 tablespoons (25 grams) | |
| For the filling: | ||
| Cream cheese | 12 ounces | Brick-style, softened |
| Sour cream | ¼ cup (60 grams) | |
| Granulated sugar | ½ cup (100 grams) | |
| Key lime juice | 3 tablespoons (45 ml) | |
| Key lime zest | 1 teaspoon | Regular lime zest works |
| Vanilla extract | 1 teaspoon | |
| Green food dye | 1 drop | Optional |
| Egg | 1 large | Room temperature |
Instructions
Step 1: First, let’s make our little crusts. Crush the graham crackers into fine crumbs. Mix them with the melted butter and sugar. Press this sandy mix firmly into your pan cups. (A small glass helps press it down evenly.) Bake them for just 5 minutes. Doesn’t that smell amazing already?
Step 2: Now for the creamy filling. Beat the soft cream cheese until it’s super smooth. Add the sour cream and sugar and mix it well. Then stir in the key lime juice, zest, vanilla, and that one drop of green dye. It makes them look so sunny!
Step 3: Here’s the important part. Add the egg last. Mix it on low speed until it just disappears. (Over-mixing makes the cheesecakes puff and crack.) Pour the filling over your cooled crusts. Do you think the green color is fun or silly? Share below!
Step 4: Bake them until the tops look set, about 15-18 minutes. Let them cool on the counter for a whole hour. This patience is the hardest step! I still laugh at how I used to rush this part. Then they must chill in the fridge for hours. It’s worth the wait.
Creative Twists
Swap the crust for crushed vanilla wafers or ginger snaps.Skip the food dye and top with a tiny lime slice instead.
Make a berry drizzle by warming some jam with a splash of water.
Which one would you try first? Comment below!
Serving & Pairing Ideas
Serve these little gems straight from the fridge. A dollop of whipped cream on top is always lovely. For a fancy touch, add a sprinkle of extra lime zest. They’re perfect with a cup of herbal tea or a glass of cold milk. Which would you choose tonight?
Keeping Your Little Cheesecakes Happy
Let’s talk about storing these sweet treats. They need to live in the fridge. Please use an airtight container. They will stay fresh for three to four days this way.
You can also freeze them for later. Wrap each cooled cheesecake tightly in plastic wrap. Then place them all in a freezer bag. They will keep for about two months.
Thaw them overnight in the fridge. I remember my first batch. I left them on the counter. They got much too soft. The fridge is their best friend.
Batch cooking saves so much time. Make a double batch on a quiet Sunday. You will have a ready-made dessert for the week. This matters because it makes life sweeter and easier.
Have you ever tried storing it this way? Share below!
Simple Fixes for Common Cheesecake Hiccups
First, a soggy crust. Press your crumbs down very firmly. I use a small glass to press. This creates a solid base that holds together.
Second, cracked tops. Do not over-mix your filling. Mix just until everything is combined. I once beat mine too long. The tops looked like a dry desert.
Third, cheesecakes that stick. Always spray your pan well. Lining with papers helps even more. This makes serving them a simple, happy task.
Fixing these issues builds your confidence. You learn what works. It also makes your food taste better. A perfect crust and smooth top matter. They make every bite a joy.
Which of these problems have you run into before?
Your Quick Questions, Answered
Can I use regular limes instead of key limes?
Yes, you absolutely can. Use the same amount of juice. The flavor will be slightly different but still delicious. Key limes are a bit more tart and aromatic. Regular limes work perfectly in a pinch. Your cheesecakes will still be wonderfully tangy and fresh. It is all about using what you have.
What is the secret to a graham cracker crust that doesn’t fall apart?
The secret is in the packing. Mix your crumbs with melted butter and sugar well. Then press them into the pan very firmly. Use a small glass or measuring cup to press down hard. This compacts the crumbs so they stick together. A loose crust will crumble when you try to eat it.
Can I make these mini cheesecakes ahead of time?
They are perfect for making ahead. Bake and cool them completely. Then cover and chill in the fridge overnight. This actually improves the flavor. The textures become perfectly set and creamy. Making them ahead takes the stress out of serving dessert to guests. It is a great plan for a party.
How do I prevent my cheesecakes from cracking on top?
Do not over-mix the batter. Mix just until smooth after adding the egg. Over-mixing adds too much air. That air expands and cracks in the oven. Also, avoid over-baking. Take them out when the centers are just set. A little jiggle in the middle is okay. They will firm up as they cool.
Can I make this recipe without a mixer?
You can, but it takes some muscle. Make sure your cream cheese is very soft. Use a strong whisk or a fork. Mash and stir until it is completely smooth. Then whisk in the other ingredients. It is a good arm workout. A fun fact: my grandmother made her first cheesecake with just a fork and bowl.
How long do mini cheesecakes need to chill before serving?
They need at least three to four hours in the fridge. Overnight is even better. This chilling time is not just to make them cold. It allows the structure to set properly. This gives you that classic creamy, firm cheesecake texture. Rushing this step leads to a soft, messy treat. Patience makes them perfect.
Which tip will you try first?
From My Kitchen to Yours
I hope you love making these little bites of sunshine. They always remind me of summer afternoons. Sharing food is how we share love.
I would be so happy to hear about your baking adventure. Tell me all about it in the comments. Your stories make my day brighter.
Have you tried this recipe? Let me know how it turned out for you.
Happy cooking!
—Marina Caldwell
