

A Cake That Tells a Story
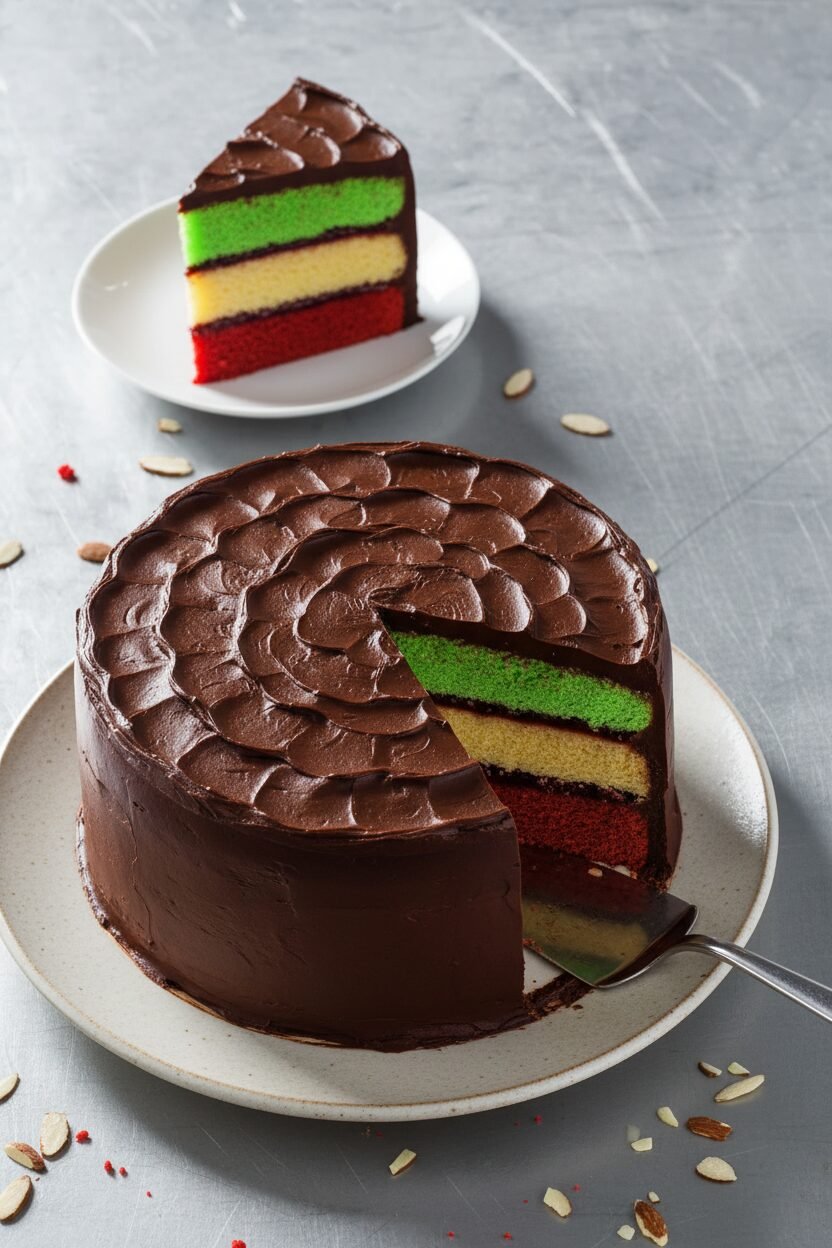
This cake is a story on a plate. It shows the colors of the Italian flag. Red, white, and green. I call it the Tricolore Noel Torte. It feels like a holiday hug.
My friend Lucia taught me this recipe. She is from a small town in Italy. She said her nonna made it for special Sundays. I still laugh at that. I made the green layer too bright once. It looked like a spring meadow! Lucia just smiled and ate two slices.
Why Layers Matter
We make three thin layers, not one big cake. This matters. Each color gets its own flavor. The red has a hint of cocoa. The green has a whisper of almond. The white is pure vanilla.
When you stack them, you get a surprise in every bite. The jam in the middle is the secret. It makes the cake moist. It also adds a little fruity tang. Doesn’t that sound lovely?
Let’s Talk About the Frosting
This frosting is magic. It is shiny and smooth. You make it in a food processor. It comes together in a flash. The melted chocolate makes it rich.
Here is a fun fact for you: The corn syrup is not for sweetness. It gives the frosting that beautiful, glossy shine. It is like a chocolate mirror for your cake. Have you ever made a frosting with a food processor before?
The Joy of Swirls
The final touch is my favorite part. You use the back of a spoon. You make little “C” shapes in the frosting. This is not just for looks. It makes the cake feel handmade. It shows someone cared.
This matters more than you think. Food made with care tastes better. I believe that with all my heart. Your hands create something beautiful. What is your favorite way to decorate a cake?
Making It Your Own
You can change this cake. That is the fun of baking. Use orange marmalade instead of raspberry jam. Try a different extract in the green layer. Maybe a little lemon?
The colors tell a story of Italy. But your kitchen can tell your story too. What story would your cake tell? Would it be bright and bold? Or soft and sweet? I would love to hear your ideas.
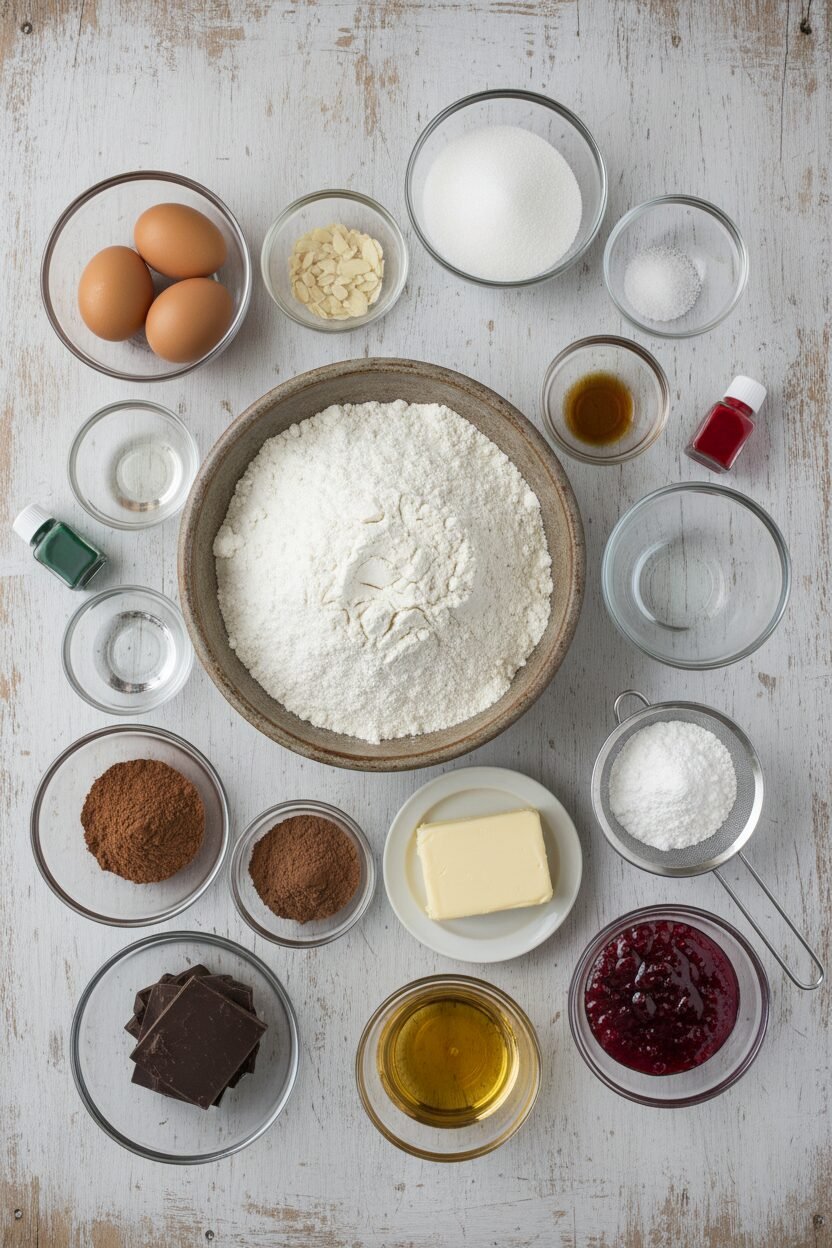
Ingredients:
| Ingredient | Amount | Notes |
|---|---|---|
| Cake flour | 2 ¼ cups (9 oz / 255g) | |
| Baking powder | 1 ½ teaspoons | |
| Salt | ¾ teaspoon | For the cake batter |
| Granulated sugar | 1 ¾ cups + 2 tbsp (13 oz / 369g) | |
| Large eggs | 6 | Room temperature |
| Slivered almonds | 5 tablespoons | |
| Vanilla extract | 2 ¼ teaspoons | |
| Almond extract | 1 ½ teaspoons | |
| Unsalted butter | 24 tbsp (3 sticks) | Melted and hot, for cake |
| Green gel food coloring | ½ teaspoon | |
| Cocoa powder | 1 tablespoon | For red batter coloring |
| Water | 1 tablespoon | For red batter coloring |
| Red gel food coloring | 2 teaspoons | |
| Unsalted butter | 20 tbsp (2½ sticks) | Softened, for frosting |
| Confectioners’ sugar | 1 cup (4 oz / 113g) | |
| Dutch-processed cocoa powder | ¾ cup (2¼ oz / 64g) | For frosting |
| Salt | Pinch | For frosting |
| Light corn syrup | ¾ cup | |
| Vanilla extract | 1 teaspoon | For frosting |
| Bittersweet chocolate | 8 oz (227g) | Melted and cooled slightly |
| Seedless raspberry jam | ⅔ cup | For filling between layers |
Instructions
Step 1: First, get your oven ready. Move a rack to the middle and heat to 350 degrees. Grease three round pans and line them with parchment paper. Grease the paper too, then dust with flour. In a small bowl, whisk your flour, baking powder, and salt together. This keeps everything light and fluffy. (A little flour on the greased paper stops any sticking!)
Step 2: Now, let’s make the cake batter. Put sugar, eggs, almonds, and both extracts in your food processor. Give it a good whirl for about ten seconds. With the machine running, slowly pour in the hot, melted butter. It will make a lovely, smooth mixture. Pour it all into a big bowl. I love the sweet, nutty smell already.
Step 3: Time to combine. Sift your flour mixture over the egg mixture. Do this in three parts, whisking gently each time. Stop when you see just a few streaks of flour left. Then whisk a bit more until it’s almost smooth. Don’t over-mix! A few tiny lumps are just fine, I promise.
Step 4: Here comes the fun part! Put one-third of the plain batter into one pan. Now, split the rest between two bowls. Add green food coloring to one bowl and mix. In a small dish, mix cocoa, water, and red coloring. Stir that into the other bowl. You’ve made the Italian flag! Pour the green and red batters into their pans. Which color layer do you think smells the best? Share below!
Step 5: Bake your cakes for 24 to 28 minutes. A toothpick should come out clean. Let them cool in the pans for 10 minutes. Then, run a knife around the edge to loosen them. Turn them out onto a rack to cool completely. This takes about two hours. Patience is a baker’s secret tool!
Step 6: While the cakes cool, make the frosting. Process the butter, sugar, cocoa, and salt until smooth. Add the corn syrup and vanilla, and process again. Finally, add the melted chocolate. Process until it’s creamy and dreamy. You can leave this out for a few hours. Just give it a stir before you use it.
Step 7: Let’s build our torte! Place the red layer on your plate. Spread a thin layer of jam on top, leaving a small border. Add the white layer and press gently. Spread more jam on it. Top with the green layer. Now, spread a thin coat of frosting over the whole cake. This is the “crumb coat.” (It traps any loose crumbs!) Chill the cake for one hour to set it.
Step 8: Time for the final touch. Take the cake from the fridge. Spread the rest of the frosting all over. Now, take the back of a spoon. Press it into the frosting on top and swoop up to make a “C” shape. Keep making swoops in circles out to the edge. It makes such a pretty pattern. Your masterpiece is ready to serve!
Creative Twists
This cake is wonderful as written. But sometimes, a little change is fun. You could use different jams. Apricot or blackberry would be lovely. For a winter feel, use peppermint extract instead of almond. You could even make cupcakes instead of layers. Just divide the colored batters into liners. Bake for less time, of course. Which one would you try first? Comment below!
Serving & Pairing Ideas
This cake is a celebration all by itself. For a special plate, add a few fresh raspberries and mint leaves. A dollop of whipped cream on the side is never wrong. To drink, a small glass of chilled Prosecco pairs beautifully. For a non-alcoholic treat, try sparkling blood orange soda. The citrus is so nice with the chocolate. Which would you choose tonight?
Keeping Your Torte Tasty
This cake keeps well in the fridge for three days. Cover it with a cake dome or bowl. The frosting stays nice and firm.
You can freeze slices for a sweet treat later. Wrap each slice tightly in plastic wrap. Then place them in a freezer bag.
I once froze a whole cake for my grandson’s visit. He was so surprised to have cake in July! Let it thaw in the fridge overnight.
Storing food well means less waste. It also means a sweet surprise is always ready. Have you ever tried storing it this way? Share below!
Common Cake Hiccups and Fixes
First, your cake layers might stick to the pan. Always grease the pan and line it with parchment paper. I remember when my first cake came out in pieces!
Second, the colors might look dull. Use gel food coloring, not the liquid kind. Gel colors give you bright, beautiful layers.
Third, the frosting could look grainy. Make sure your butter is truly soft. Also, let your melted chocolate cool a bit before adding it.
Fixing small problems builds your kitchen confidence. It also makes your food taste and look its very best. Which of these problems have you run into before?
Your Quick Questions, Answered
Q: Can I make this gluten-free?
A: Yes. Use a good gluten-free flour blend made for baking.
Q: Can I make parts ahead?
A: Bake the cake layers a day early. Wrap them well and frost the next day.
Q: I don’t have almond extract.
A: Use all vanilla extract instead. The cake will still be lovely.
Q: Can I make a smaller cake?
A: Halve the recipe. Use two 6-inch round pans. Bake time will be less.
Q: Any optional tips?
A: Toast the slivered almonds for a nuttier flavor. Let them cool before using.
*Fun fact: The three colors represent the Italian flag!* Which tip will you try first?
From My Kitchen to Yours
I hope you have fun making this colorful cake. It is a joyful project for a special day.
Remember, baking is about sharing love and stories. Every messy kitchen is a happy one.
I would love to hear about your baking adventure. Have you tried this recipe? Tell me all about it in the comments below.
Happy cooking!
—Elowen Thorn.
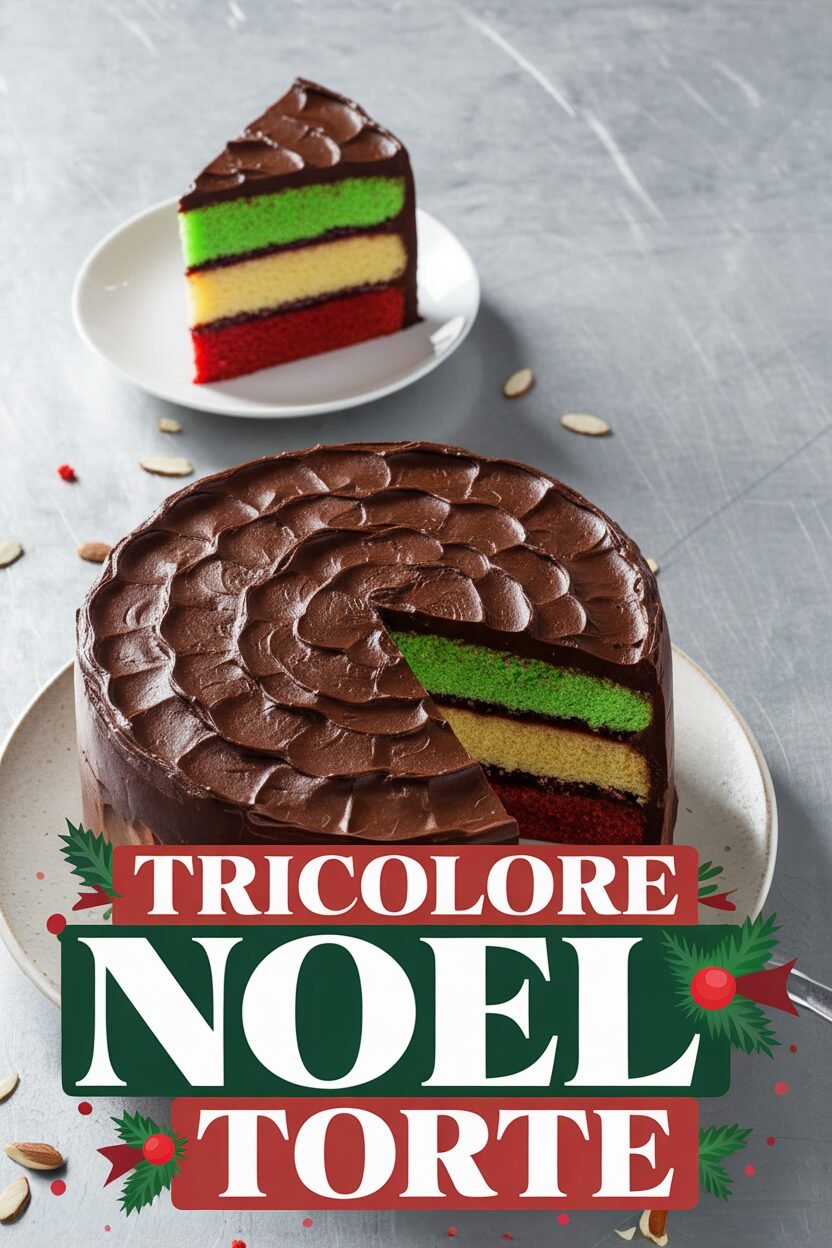

Tricolore Noel Torte
Description
A stunning Italian Flag Cake with layers of red, white, and green cake, filled with raspberry jam and covered in rich chocolate frosting.
Ingredients
Cake:
Frosting:
Filling:
Instructions
- For the cake: Adjust oven rack to middle position and heat oven to 350 degrees. Grease three 8-inch round cake pans, line with parchment paper, grease parchment, and flour pans. Whisk flour, baking powder, and salt together in small bowl.
- Process sugar, eggs, almonds, vanilla, and almond extract in food processor until combined, about 10 seconds. With processor running, add melted butter in steady stream until incorporated. Transfer sugar mixture to large bowl.
- Sift flour mixture over sugar mixture in 3 additions, whisking to combine after each addition until few streaks of flour remain. Continue to gently whisk batter until almost no lumps remain.
- Transfer one-third of batter (about 1¾ cups) to 1 prepared pan and smooth top with rubber spatula. Divide remaining batter evenly between 2 bowls. Add green food coloring to 1 bowl and mix until combined. Whisk cocoa, water, and red food coloring in small bowl until smooth. Add red food coloring mixture to second bowl of batter and mix until combined. Transfer colored cake batters to remaining 2 prepared pans and smooth tops with rubber spatula.
- Bake until toothpick inserted in centers comes out clean, 24 to 28 minutes, rotating pans halfway through baking. Let cakes cool in pans on wire rack for 10 minutes. Run paring knife around edges of pans to loosen. Remove cakes from pans, discarding parchment, and let cool completely on rack, about 2 hours.
- For the frosting: Process butter, sugar, cocoa, and salt in food processor until smooth, about 30 seconds, scraping down sides of bowl as needed. Add corn syrup and vanilla and process until just combined, 5 to 10 seconds, scraping down sides of bowl as needed. Add chocolate and process until smooth and creamy, 10 to 15 seconds. (Frosting can be held at room temperature for up to 3 hours.)
- Place red cake layer on cake plate or pedestal. Spread 1/3 cup jam evenly over cake, leaving ¼-inch border. Top with white cake layer, press lightly to adhere, then spread remaining 1/3 cup jam evenly over cake, leaving ¼-inch border. Top with green cake layer and press lightly to adhere. Spread about 1 cup frosting evenly over top and sides of cake, making sure to fill in gaps between cake layers to create smooth sides. Refrigerate cake until frosting is firm to touch, about 1 hour. Spread remaining frosting evenly over top and sides of cake.
- Starting in middle of top of cake, lightly press back of spoon into frosting and swoop up to create C shape. Continue swoops outward in concentric circles to edge of cake. Serve.
Notes
- Ensure all ingredients are at room temperature for best results. For a cleaner slice, use a hot knife to cut the cake.