

The Cookie That Started It All
My grandson calls these his “stained glass cookies.” He saw the chocolate chips shining through. I still laugh at that. The story starts with a mistake. I once ran out of butter for my usual recipe. So I tried melted butter instead. The result was this wonderfully crisp, shiny wafer.
It was a happy accident. This matters because cooking is not about being perfect. It is about trying new things. Sometimes the best treats come from a little “oops.” What was your best kitchen mistake? I would love to hear about it.
Why Melted Butter is Magic
That melted butter is the secret. It makes the cookie thin and crisp all over. It soaks into the flour just right. Doesn’t that smell amazing when it’s melted? You must let it cool a bit, though. We don’t want to cook the egg yolk in the bowl!
Mixing is gentle work here. You just blend until it comes together. Over-mixing makes tough cookies. This matters. A light hand makes a light, crispy cookie. It’s a good lesson in patience.
A Little Help from Corn Syrup
You might wonder about the corn syrup. It is not for sweetness, really. It is for that beautiful, glossy shine. It helps the cookie snap so nicely. *Fun fact: A tiny bit of corn syrup keeps baked goods soft and chewy, but here it makes them crisp!* It’s a neat trick.
My neighbor Mrs. Finn always asks for my “glass window” cookies. She dips them in her tea. They hold up perfectly. Do you dunk your cookies in milk, tea, or coffee? Tell me your favorite way to eat a crisp cookie.
Watching Them Bake
Use that scoop for the dough. It keeps them all the same size. They need room to spread. In the oven, they will melt into lovely, lacy circles. Watch them turn a deep gold around the edges. That’s when you know they are ready.
Let them cool on the sheet. They are still getting crispier. Then move them to a rack. The wait is hard, I know. But a warm, fragile cookie needs a minute to find its strength. Just like we all do.
The Sound of a Perfect Cookie
When they are fully cool, pick one up. Tap it gently on the table. It should make a light *tap-tap* sound. That’s the sound of success. Then take a bite. It should shatter delicately, then melt away.
These cookies are all about texture. The crispness, the little chocolate pockets. It’s a simple joy. What is your favorite cookie texture? Are you team chewy, team crispy, or team cakey? I am always curious.
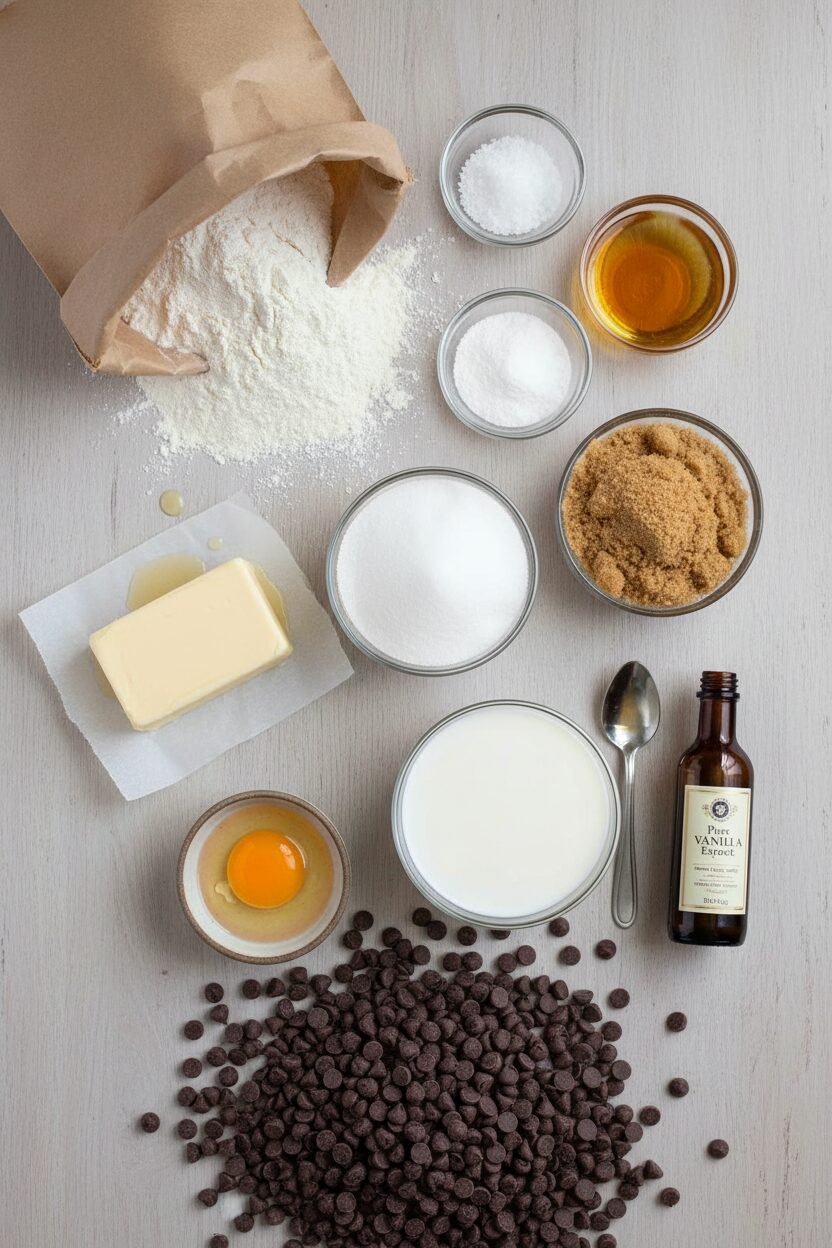
Ingredients:
| Ingredient | Amount | Notes |
|---|---|---|
| unbleached all-purpose flour | 1 ½ cups (7 ½ ounces/213 grams) | |
| table salt | ¼ teaspoon | |
| baking soda | ¾ teaspoon | |
| unsalted butter | 8 tablespoons (1 stick) | melted and cooled |
| granulated sugar | ½ cup | |
| light brown sugar | ⅓ cup | packed |
| light corn syrup | 2 tablespoons | |
| large egg yolk | 1 | |
| milk | 2 tablespoons | |
| vanilla extract | 1 tablespoon | |
| semisweet chocolate chips | ¾ cup (about 4 ½ ounces/128 grams) |
Instructions
Step 1: First, get your oven ready. Move a rack to the middle. Heat it to 375 degrees. Line two baking sheets with parchment paper. Sift your flour, salt, and baking soda onto another piece of parchment. This keeps your counter clean. I still laugh at that messy time I skipped sifting. (A good tip: use the parchment like a funnel to add the dry mix later.)
Step 2: Now, let’s mix the wet ingredients. Use your mixer on low speed. Beat the melted butter, both sugars, and corn syrup. Then add the egg yolk, milk, and vanilla. Doesn’t that smell amazing? Mix until it’s all smooth. Scrape the bowl with a spatula. Here’s the fun pouch trick with your dry ingredients!
Step 3: Time to bring it all together. Slowly shake the dry ingredients into your wet bowl. Mix on low until just combined. Do not overbeat. Now, add those lovely chocolate chips. Mix for just five seconds. Why do we add chips last? Share below! This makes sure your dough stays tender.
Step 4: Scoop the dough onto your sheets. Use a tablespoon-sized scoop. Leave two inches between each ball. They will spread beautifully. Bake just one sheet at a time for even heat. Watch them turn a deep golden brown. This takes about 12 minutes.
Step 5: Let the cookies cool on the sheet. Wait three whole minutes. Then, move them to a wire rack with a spatula. They will crisp up as they cool. (Letting them sit on the sheet is the secret for the perfect snap.) Store them in a tin. They keep for a week, if they last that long!
Creative Twists
These wafers are perfect for playing. Try a fun twist next time. A little change makes them new again. My grandkids love helping me choose.
Sea Salt Sparkle: Press a few flakes on top before baking.
Peppermint Chip: Swap chocolate chips for crushed candy canes.
Orange Zest Dream: Add a teaspoon of fresh orange zest to the dough.
Which one would you try first? Comment below!
Serving & Pairing Ideas
These cookies shine all on their own. But pairing them is a joy. For a fancy touch, sandwich them with vanilla ice cream. Or crumble one over a bowl of sweet berries. It’s a simple, happy dessert.
For drinks, a cold glass of milk is classic. For the grown-ups, a small glass of cream sherry is lovely. It tastes like toasted nuts and honey. Which would you choose tonight?

Keeping Your Wafers Crisp & Cheerful
These wafers stay crispy for a week in a tight tin. Just let them cool completely first. Any warmth makes them soggy. I learned that the hard way years ago.
I once packed warm cookies for a friend. They were soft when she got them. Now I always wait. You can also freeze the dough balls for later.
Place scoops on a tray and freeze them solid. Then pop them into a bag. Bake straight from the freezer, adding a minute or two. This matters for spontaneous joy.
Having dough ready means fresh cookies anytime. A little planning brings big happiness. Have you ever tried storing it this way? Share below!
Cookie Troubles? Let’s Fix Them Together
First, if your cookies spread too much, your butter was too warm. Let melted butter cool a bit. I remember when my first batch ran into each other. They became one giant cookie!
Second, if they are cakey, you over-mixed the flour. Mix just until you see no white streaks. This matters for texture. Gentle mixing keeps them delicate and crisp.
Third, if they burn, your oven might be too hot. Use an oven thermometer to check. Getting it right builds your cooking confidence. Which of these problems have you run into before?
Your Quick Questions, Answered
Q: Can I make these gluten-free? A: Yes. Use a good gluten-free flour blend. Add 1/4 teaspoon xanthan gum too.
Q: Can I make the dough ahead? A: Absolutely. Keep it covered in the fridge for up to three days.
Q: What can I use instead of corn syrup? A: Honey or maple syrup works. The flavor will change slightly, but nicely.
Q: Can I double the recipe? A: You can. Just mix in a bigger bowl. Bake one sheet at a time still.
Q: Any optional tips? A: Try a pinch of cinnamon in the dough. It adds a cozy, mysterious warmth. Which tip will you try first?
Fun fact: The vanilla helps balance the sweetness. It makes the chocolate taste even more chocolatey!
From My Kitchen to Yours
I hope these wafers bring a smile to your kitchen. The smell alone is pure holiday magic. I love thinking of you baking them.
Please tell me all about your baking adventure. I read every comment with my morning tea. Have you tried this recipe? Let me know how it went.
Happy cooking!
—Elowen Thorn.
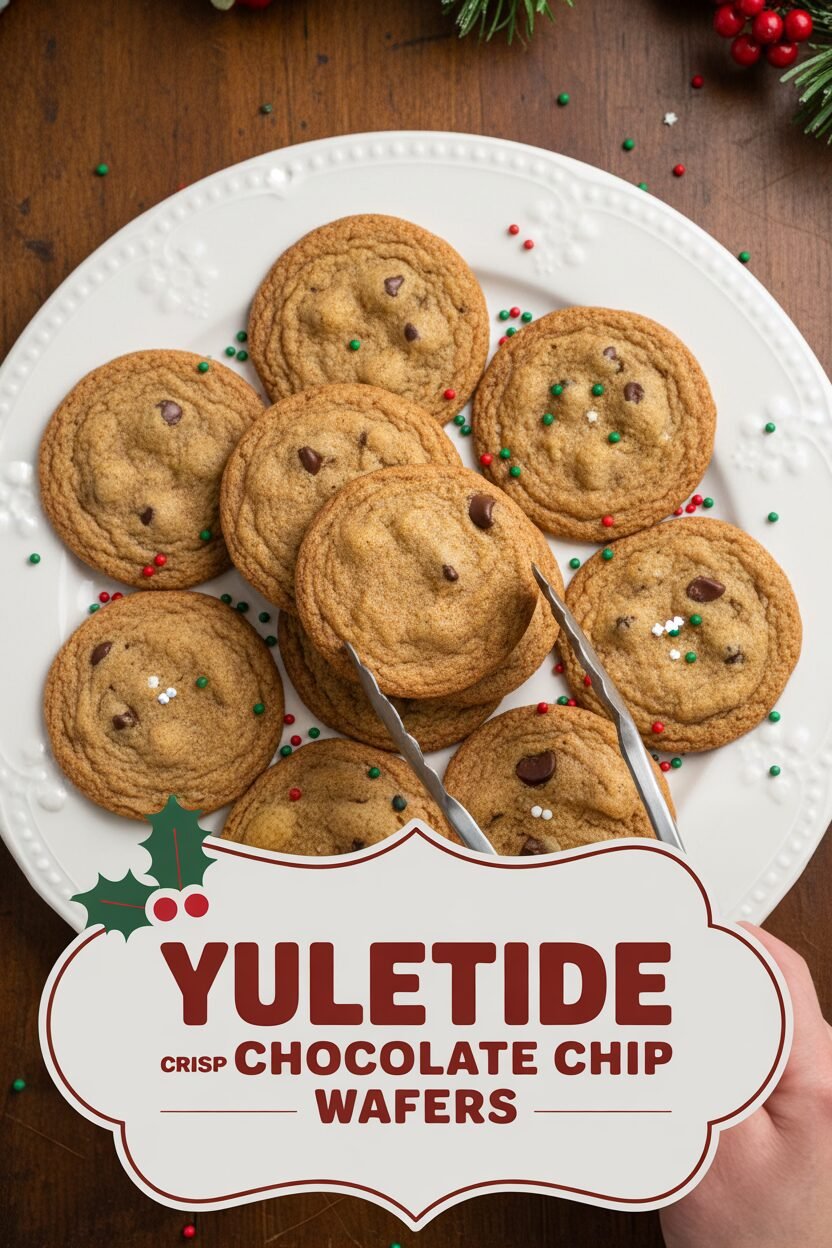

Yuletide Crisp Chocolate Chip Wafers
Description
Crispy, buttery, and loaded with chocolate chips, these Yuletide Crisp Chocolate Chip Wafers are the perfect holiday treat.
Ingredients
Instructions
- Adjust oven rack to middle position and heat oven to 375 degrees. Line 2 baking sheets with parchment paper; set aside. Sift flour, salt, and baking soda onto large sheet of parchment paper; set aside.
- In bowl of standing mixer fitted with paddle attachment, beat melted butter, granulated sugar, brown sugar, and corn syrup at low speed until thoroughly blended, about 1 minute. Add yolk, milk, and vanilla; mix until fully incorporated and smooth, about 1 minute, scraping bottom and sides of bowl with rubber spatula as necessary. With mixer running on low speed, fold up 3 edges of parchment around dry ingredients to form a pouch and slowly shake dry ingredients into bowl; mix on low speed until just combined, about 2 minutes. Do not overbeat. Add chips and mix on low speed until distributed evenly throughout batter, about 5 seconds.
- Leaving about 2 inches between each ball, scoop dough onto parchment-lined baking sheets with 1 1/4-inch (1 tablespoon capacity) ice cream scoop. Bake 1 sheet at a time, until cookies are deep golden brown and flat, about 12 minutes.
- Cool cookies on baking sheet 3 minutes. Using wide metal spatula, transfer cookies to wire rack and let sit until crisped and cooled to room temperature. (Can be stored in airtight container for up to 1 week.)
Notes
- For a festive touch, sprinkle a pinch of flaky sea salt on the cookies immediately after removing them from the oven. You can also use dark or milk chocolate chips instead of semisweet.