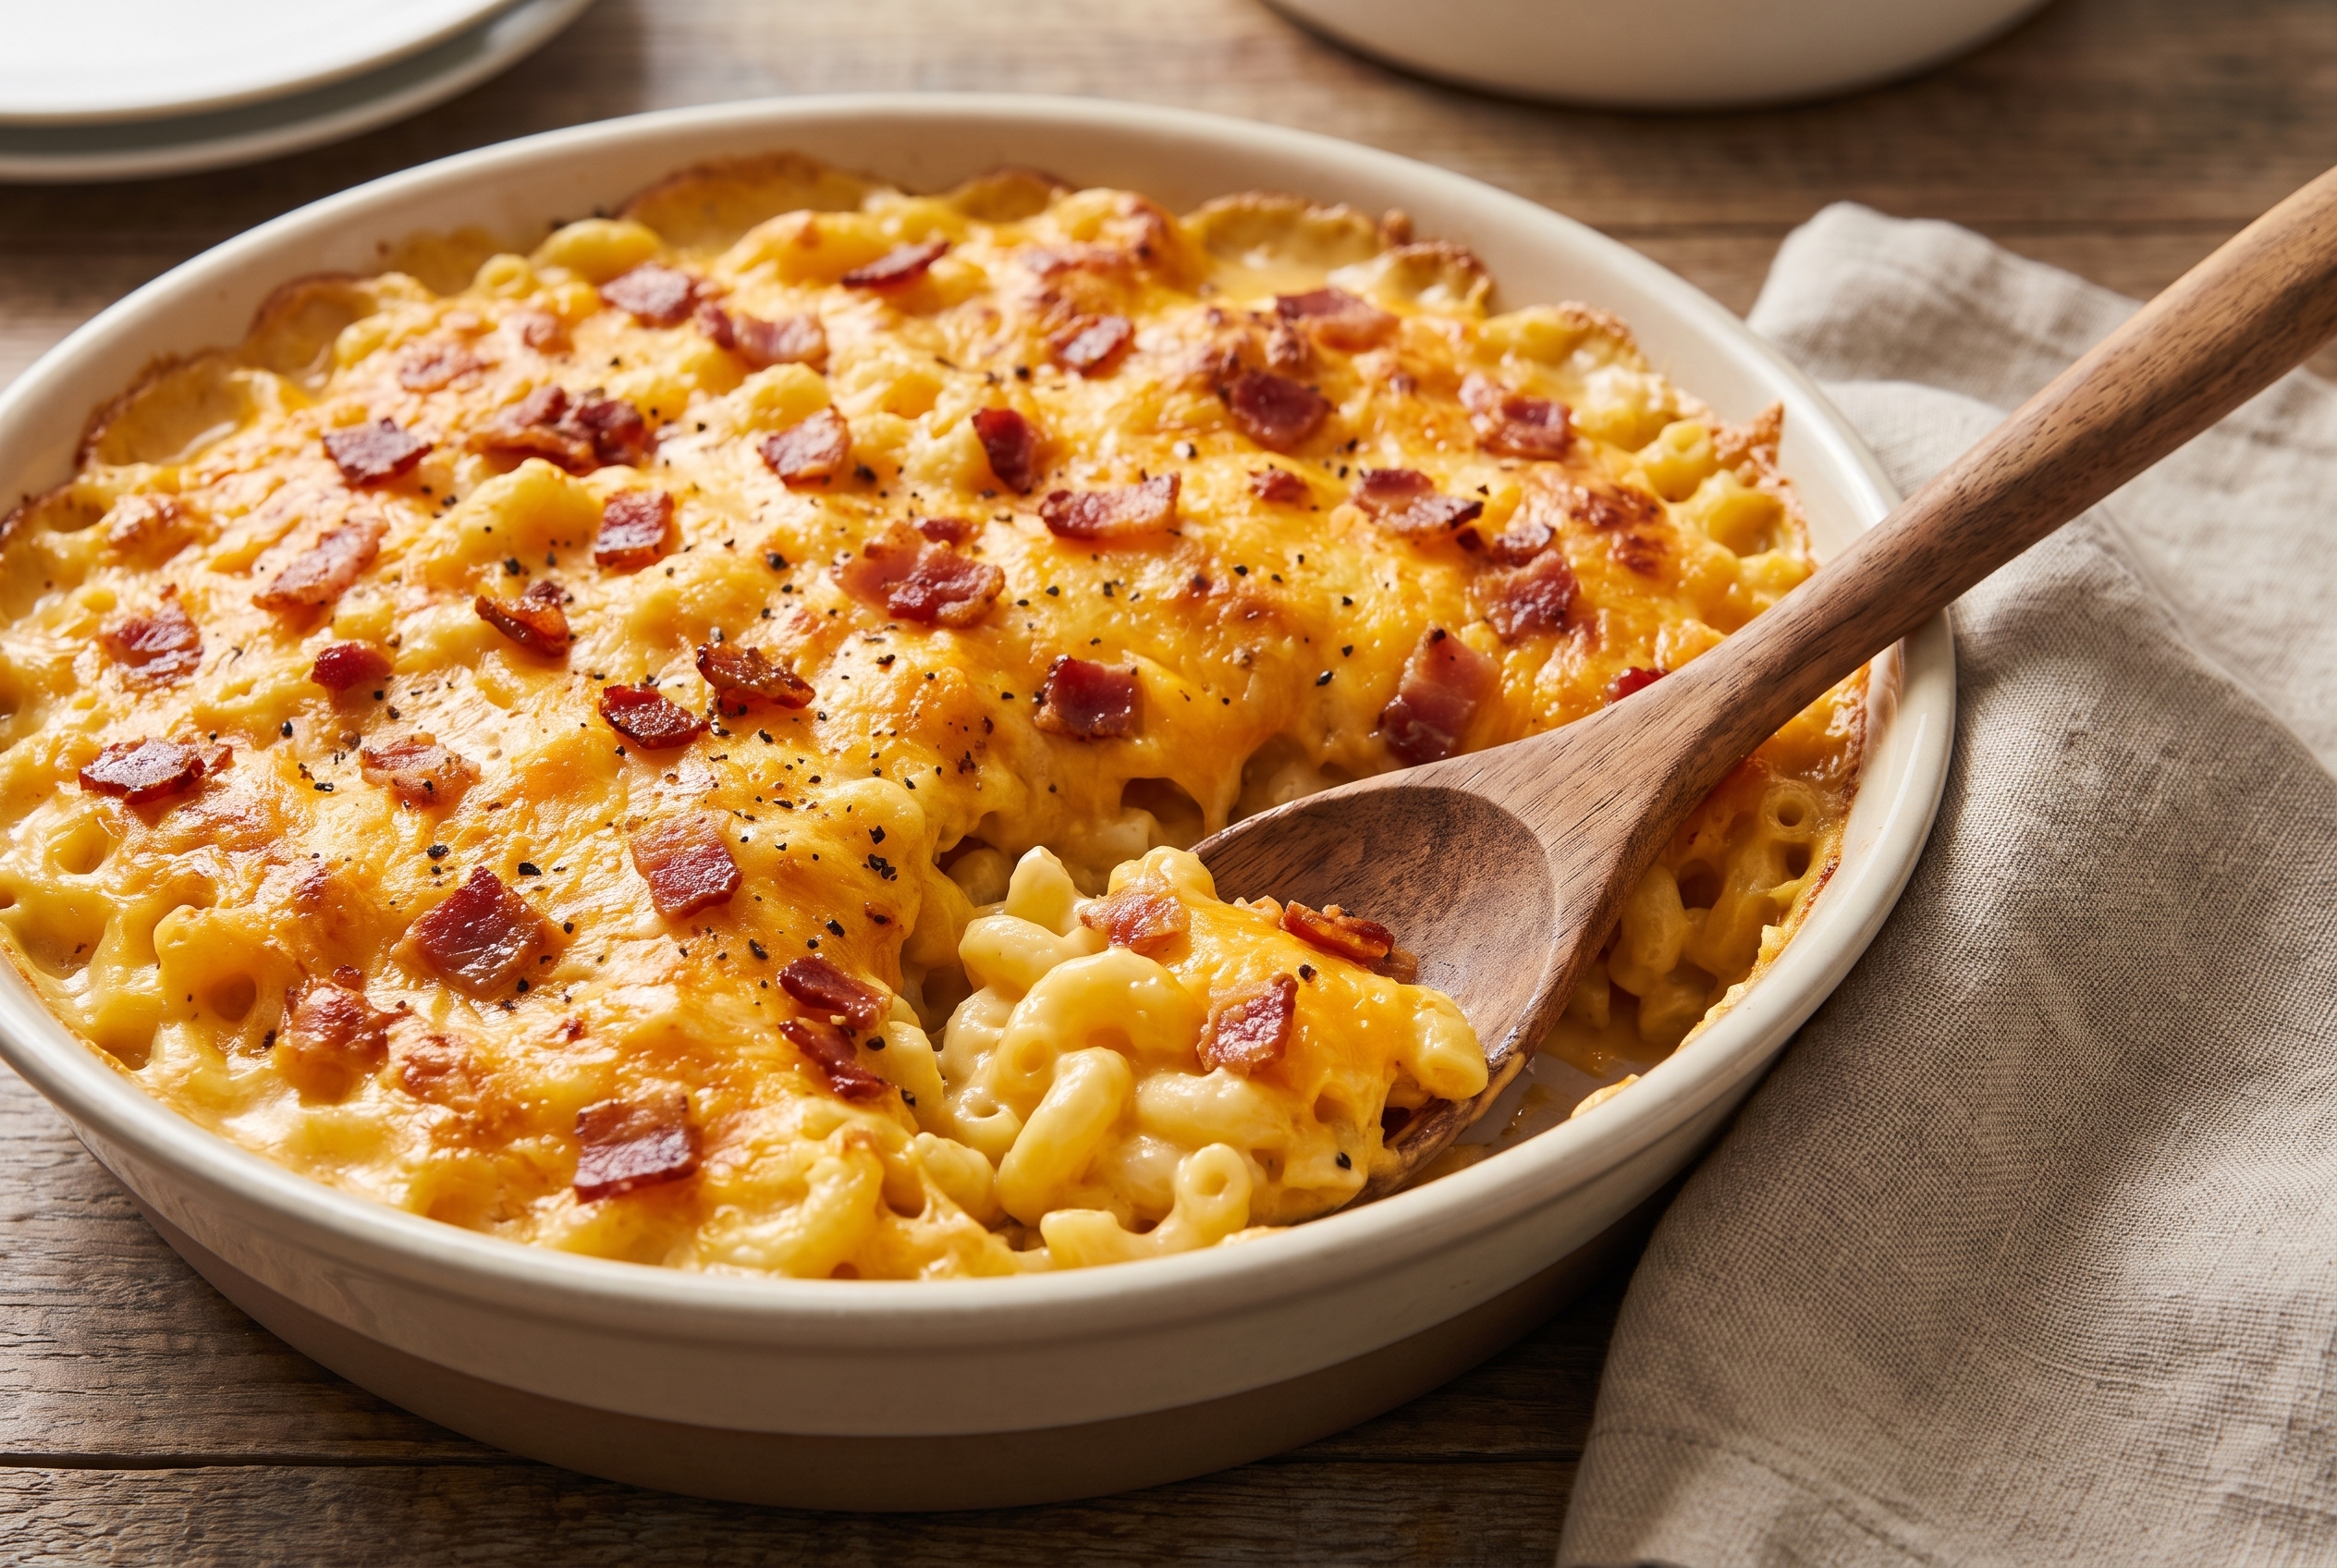
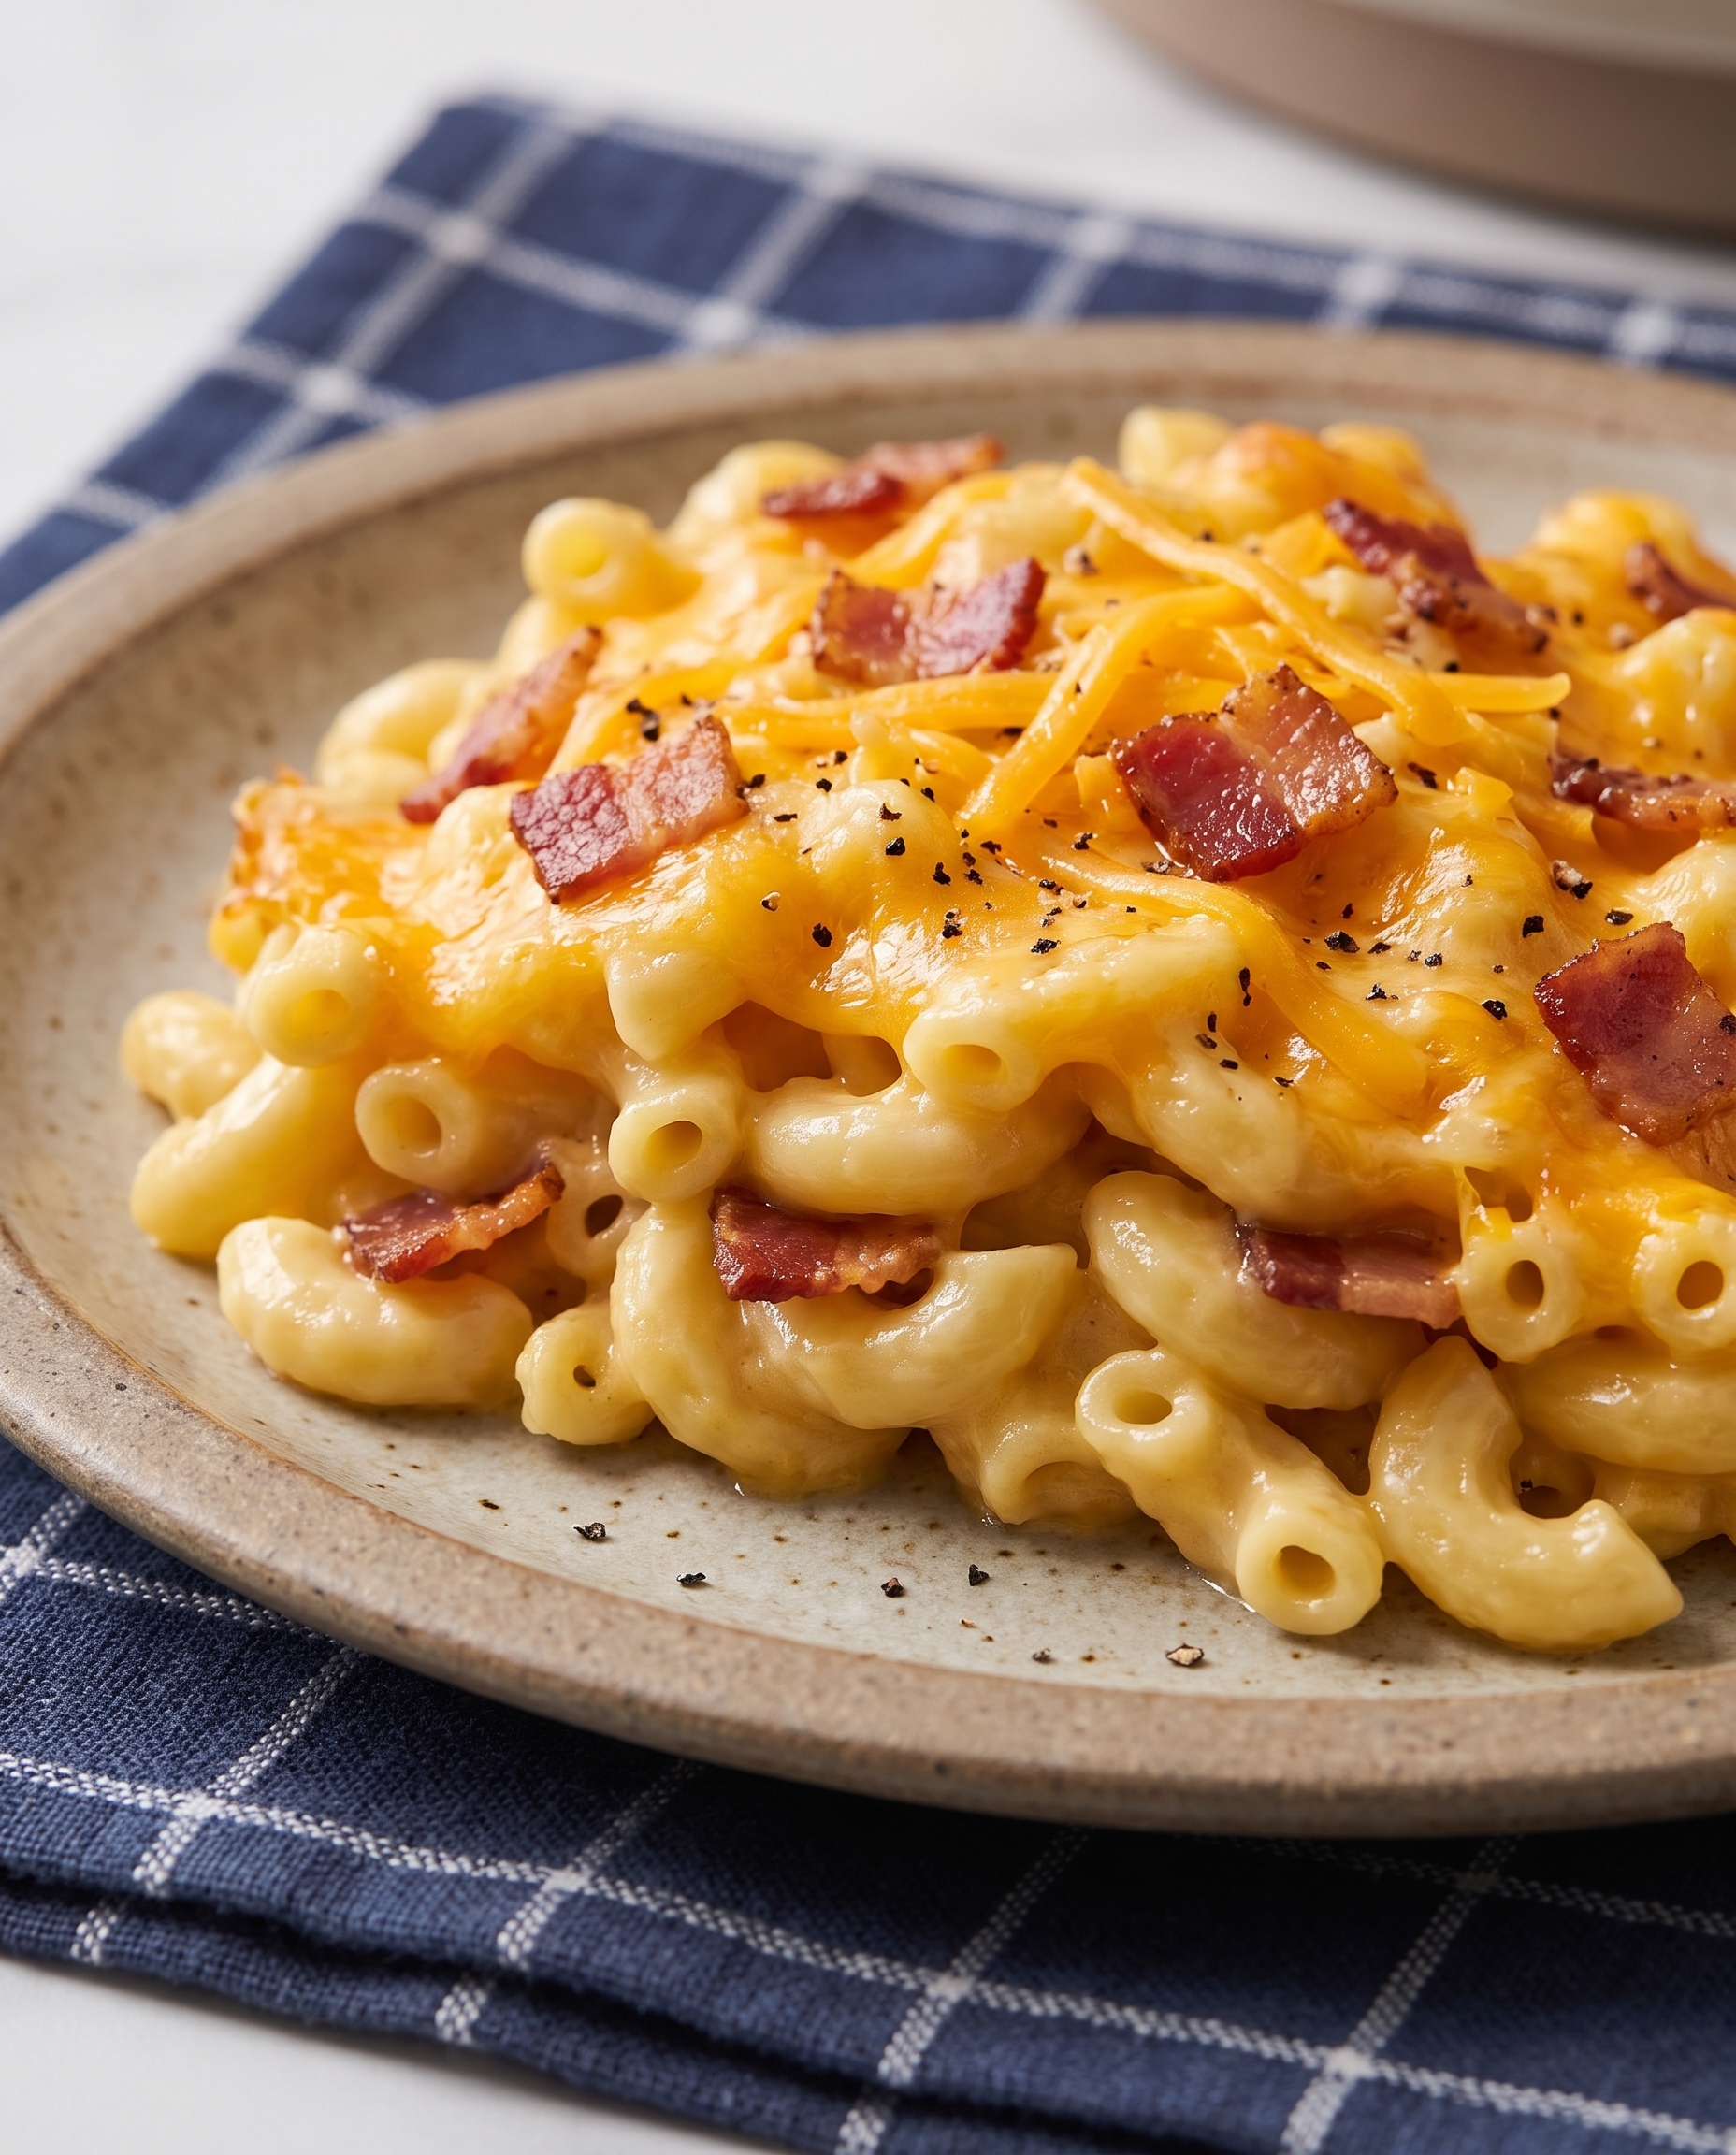
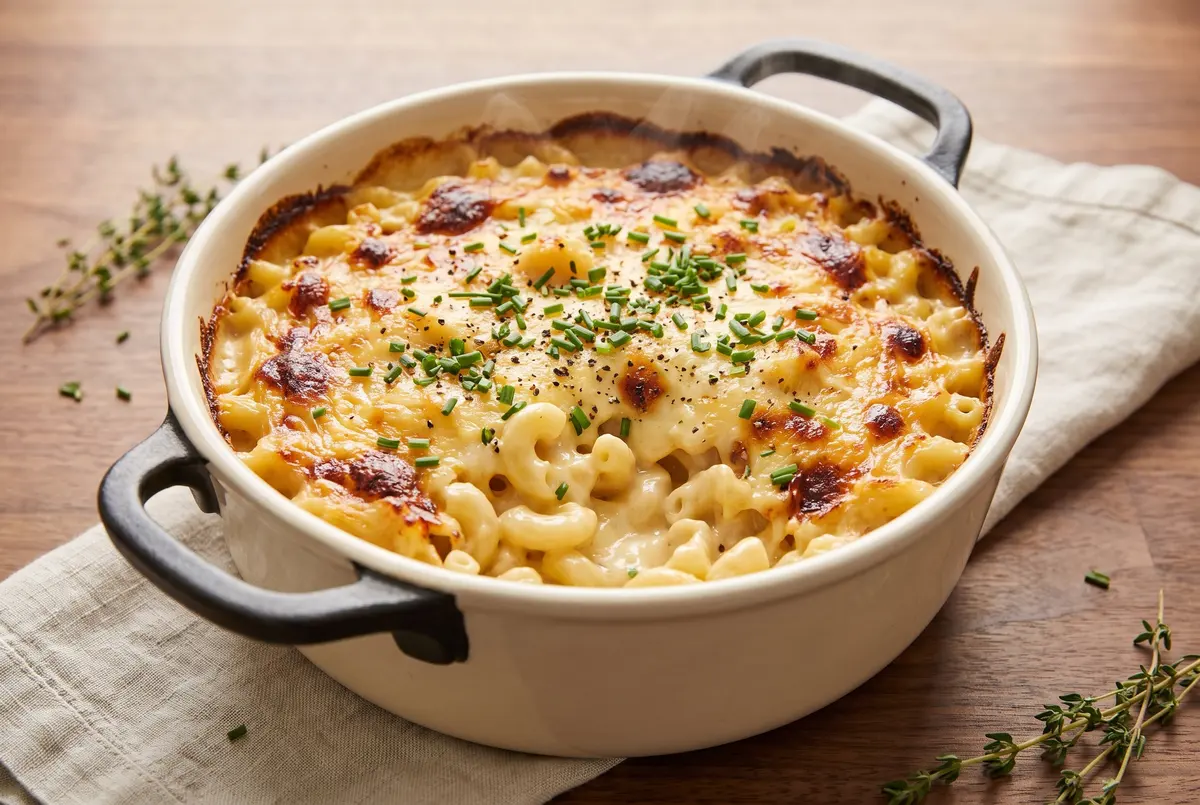
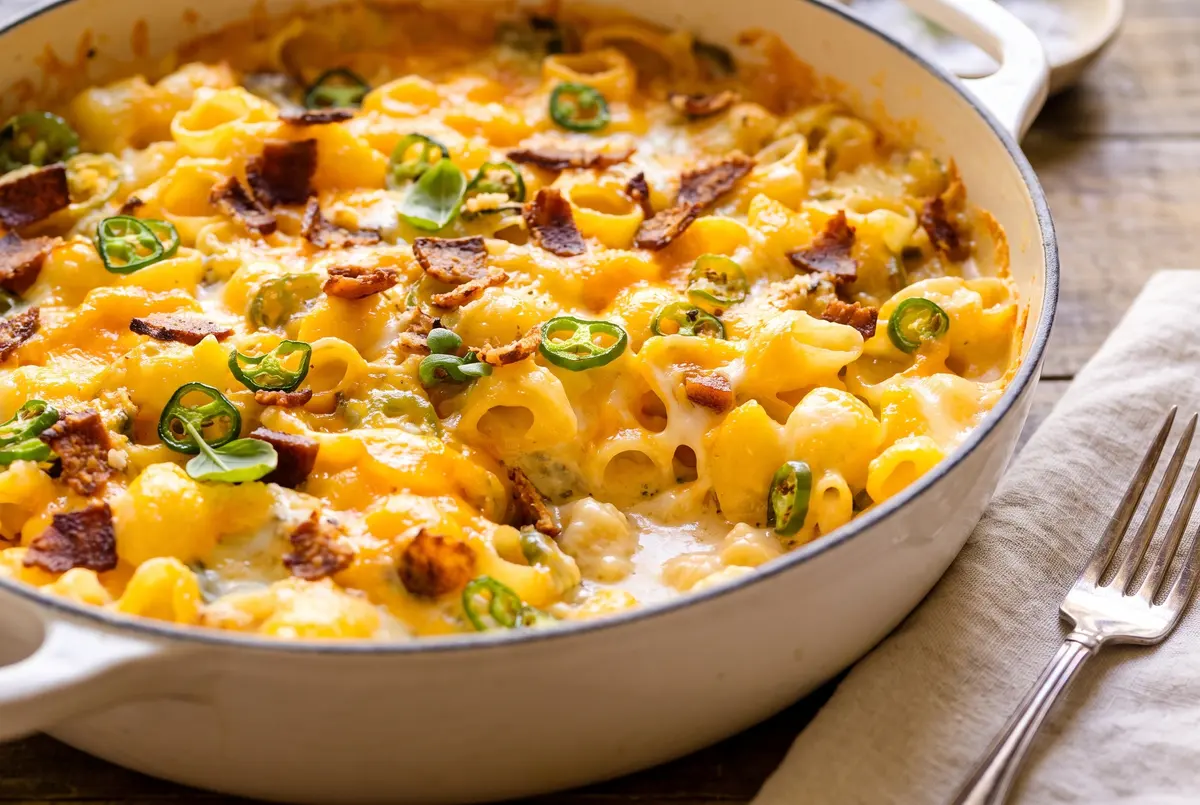
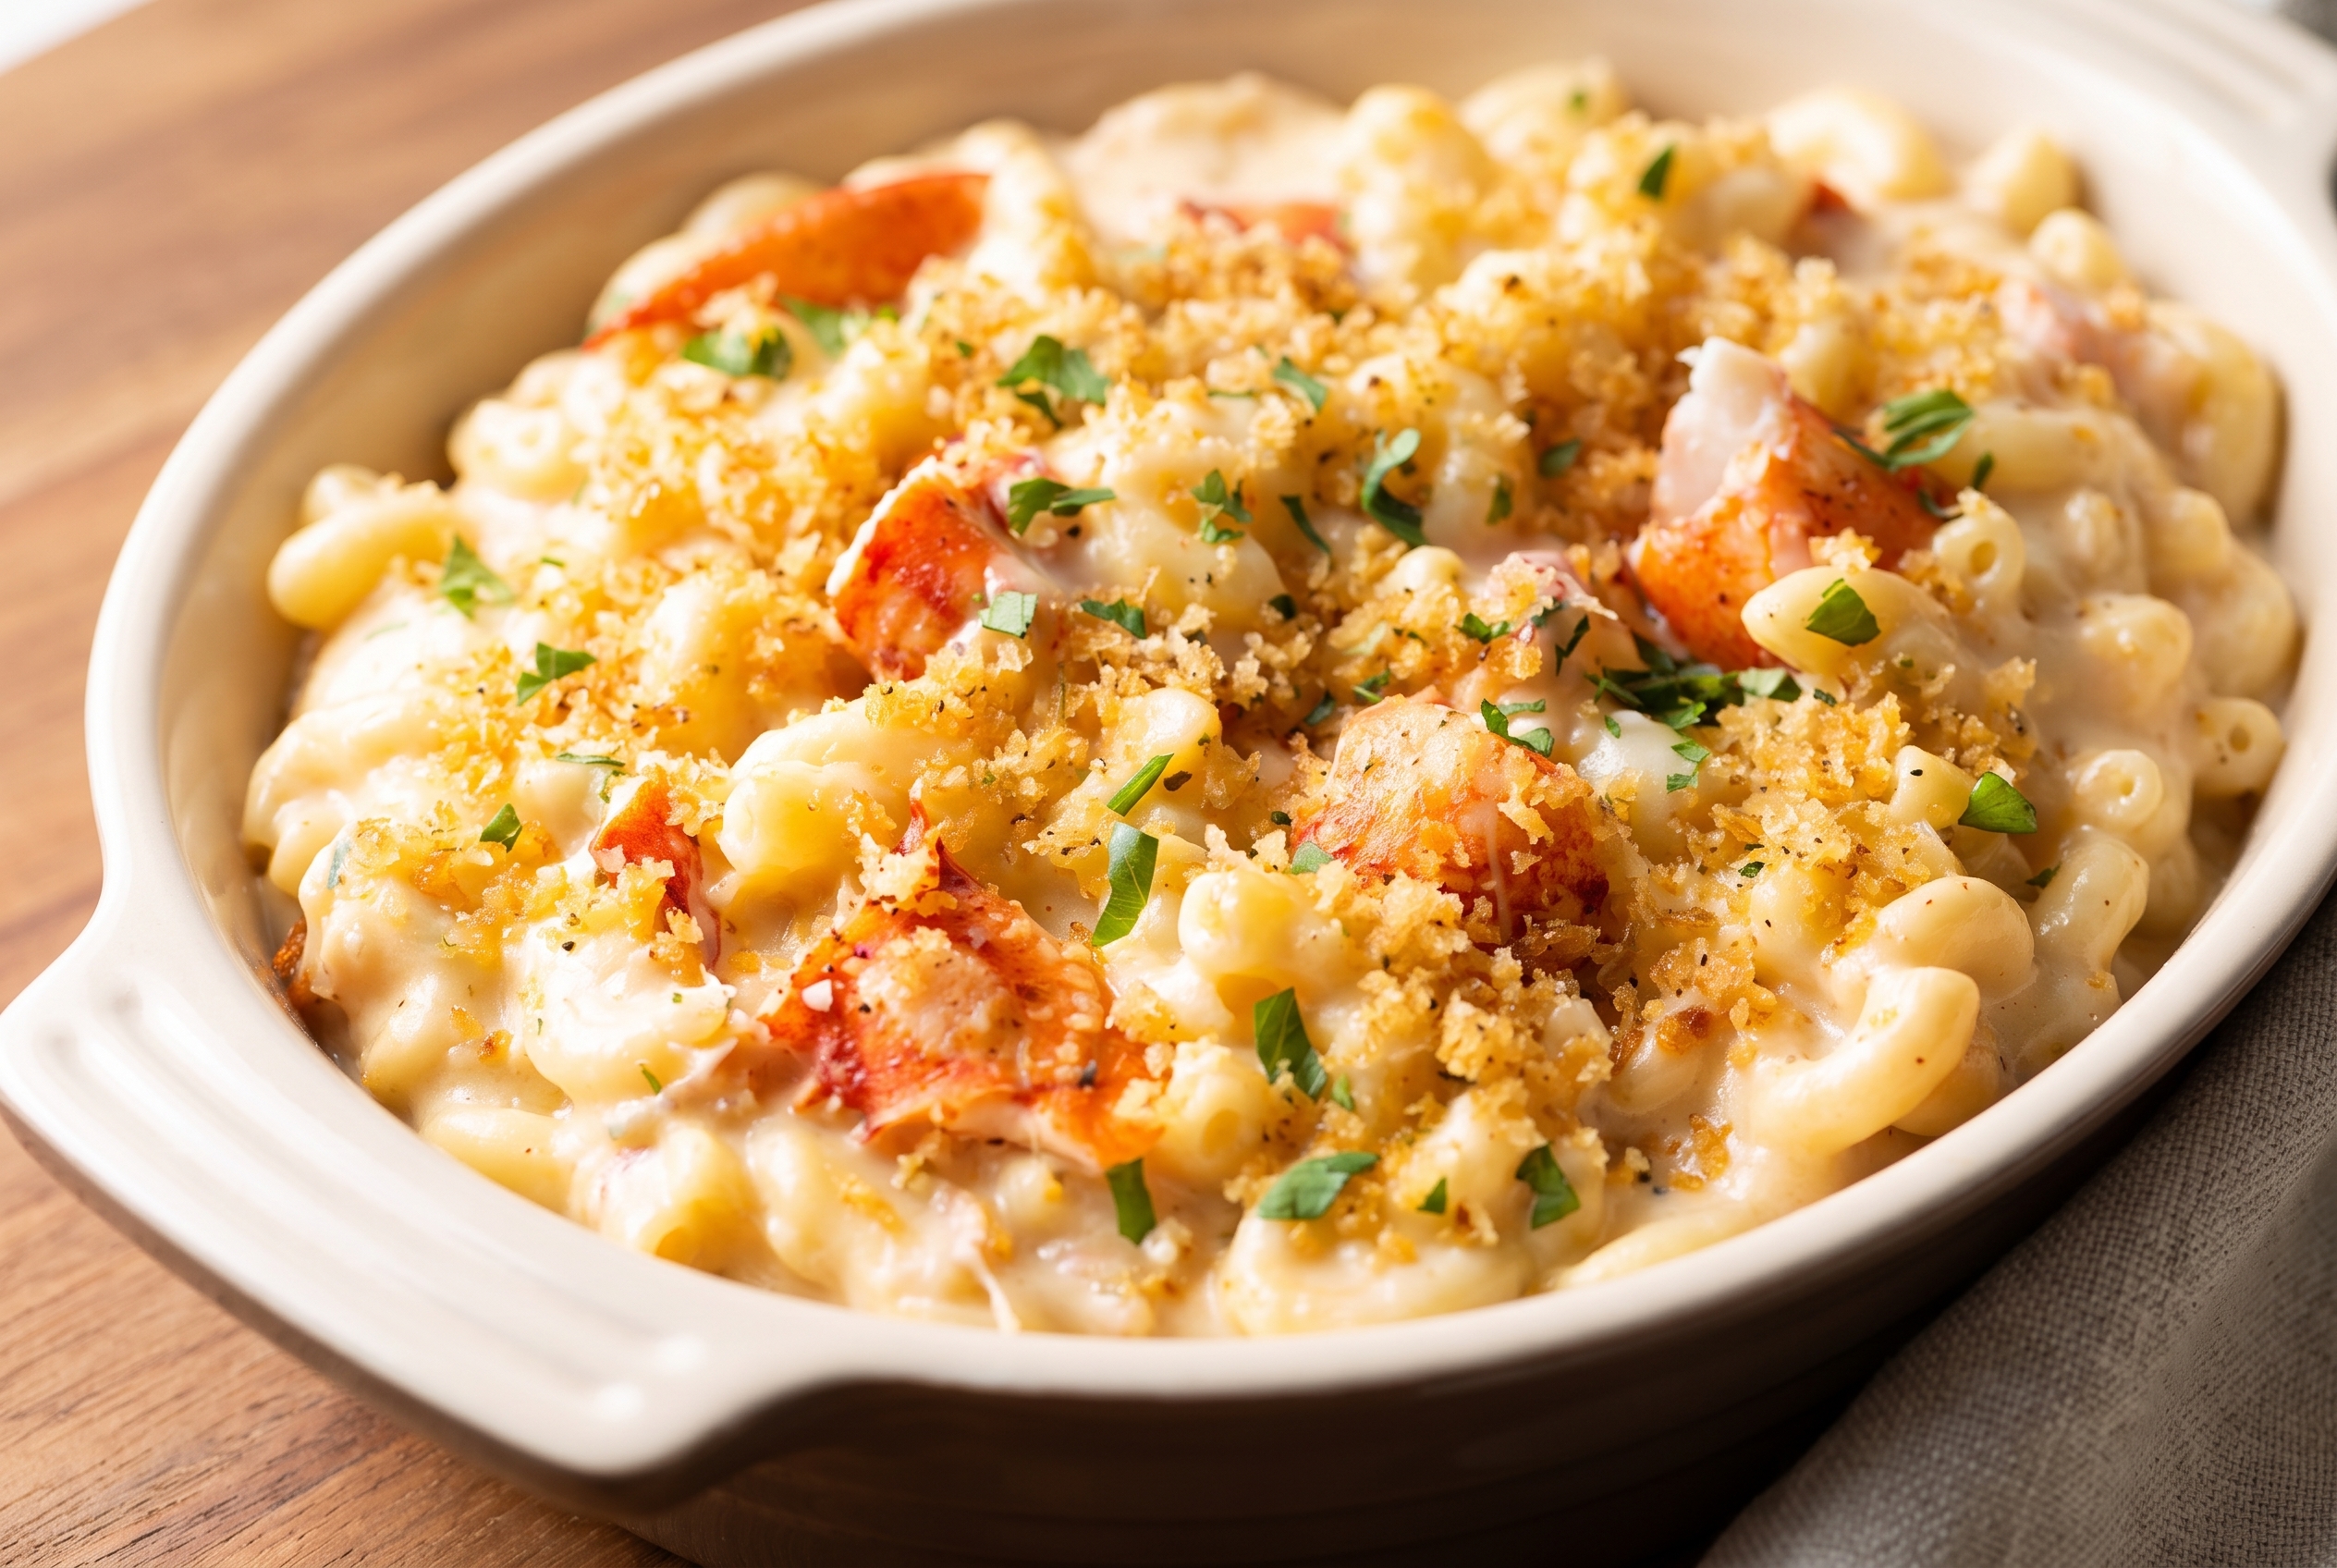
I want to tell you about the first time I made this creamy cheddar bacon mac and cheese for my grandchildren. I had just pulled the baking dish out of the oven, all golden and bubbling, and I turned around to grab a stack of plates. By the time I came back, three of them were already sitting at the table, forks in hand, giving me their best innocent faces. Within ten minutes, the dish was practically empty. My oldest looked up and said, “Grandma, can you make this every week?” If you’ve ever cooked for a hungry crowd, you know exactly how that moment feels — half-proud, half-relieved that something so simple made everyone that happy.
This is the kind of mac and cheese I lean on when the weather turns cold, when the kids are home from school, or when I just want dinner to feel like a hug. It’s stovetop-only, which means no preheating, no casserole dish, no fuss. The whole thing comes together in one pot in about thirty-five minutes, and the bacon does most of the heavy lifting on flavor. Have you ever noticed that almost anything gets better with bacon? This recipe is the proof.
Why This Mac and Cheese Works
Most weeknight mac and cheese recipes are either too thin or too heavy, and I used to struggle with that for years. The trick, I learned the hard way, is the roux. A good roux — equal parts fat and flour, cooked just long enough to lose the raw flour taste — is what gives a cheese sauce body without making it gluey. In this recipe, we build the roux right in the bacon fat that’s left in the pot. That does two things at once: it cuts out a step, and it gives the sauce a smoky, savory backbone that you simply can’t get from plain butter.
The second thing that makes this creamy cheddar bacon mac and cheese special is the cheese itself. Sharp white cheddar melts smoothly, has a deep, almost nutty flavor, and refuses to go gritty the way pre-shredded bag cheese does. Please, if you take one piece of advice from me, let it be this: shred the cheese yourself, off the block, right before you stir it in. It takes an extra two minutes and it’s the difference between a glossy sauce and a sad, clumpy one.
The last little trick is the pasta water. I always salt my cooking water until it tastes like the sea, and I pull the noodles out a minute early so they finish cooking in the sauce. That starchy water clinging to the noodles helps the cheese sauce cling back. Nothing fancy, just a tiny detail that pulls the whole pot together.
Creamy Cheddar Bacon Mac and Cheese
Below is the recipe as I make it on a regular Tuesday. It’s forgiving — you can swap the pasta shape, the herbs, even the type of cheese if you’re feeling adventurous. More on that in a moment. For now, let’s get the ingredients out and get cooking.
Ingredients
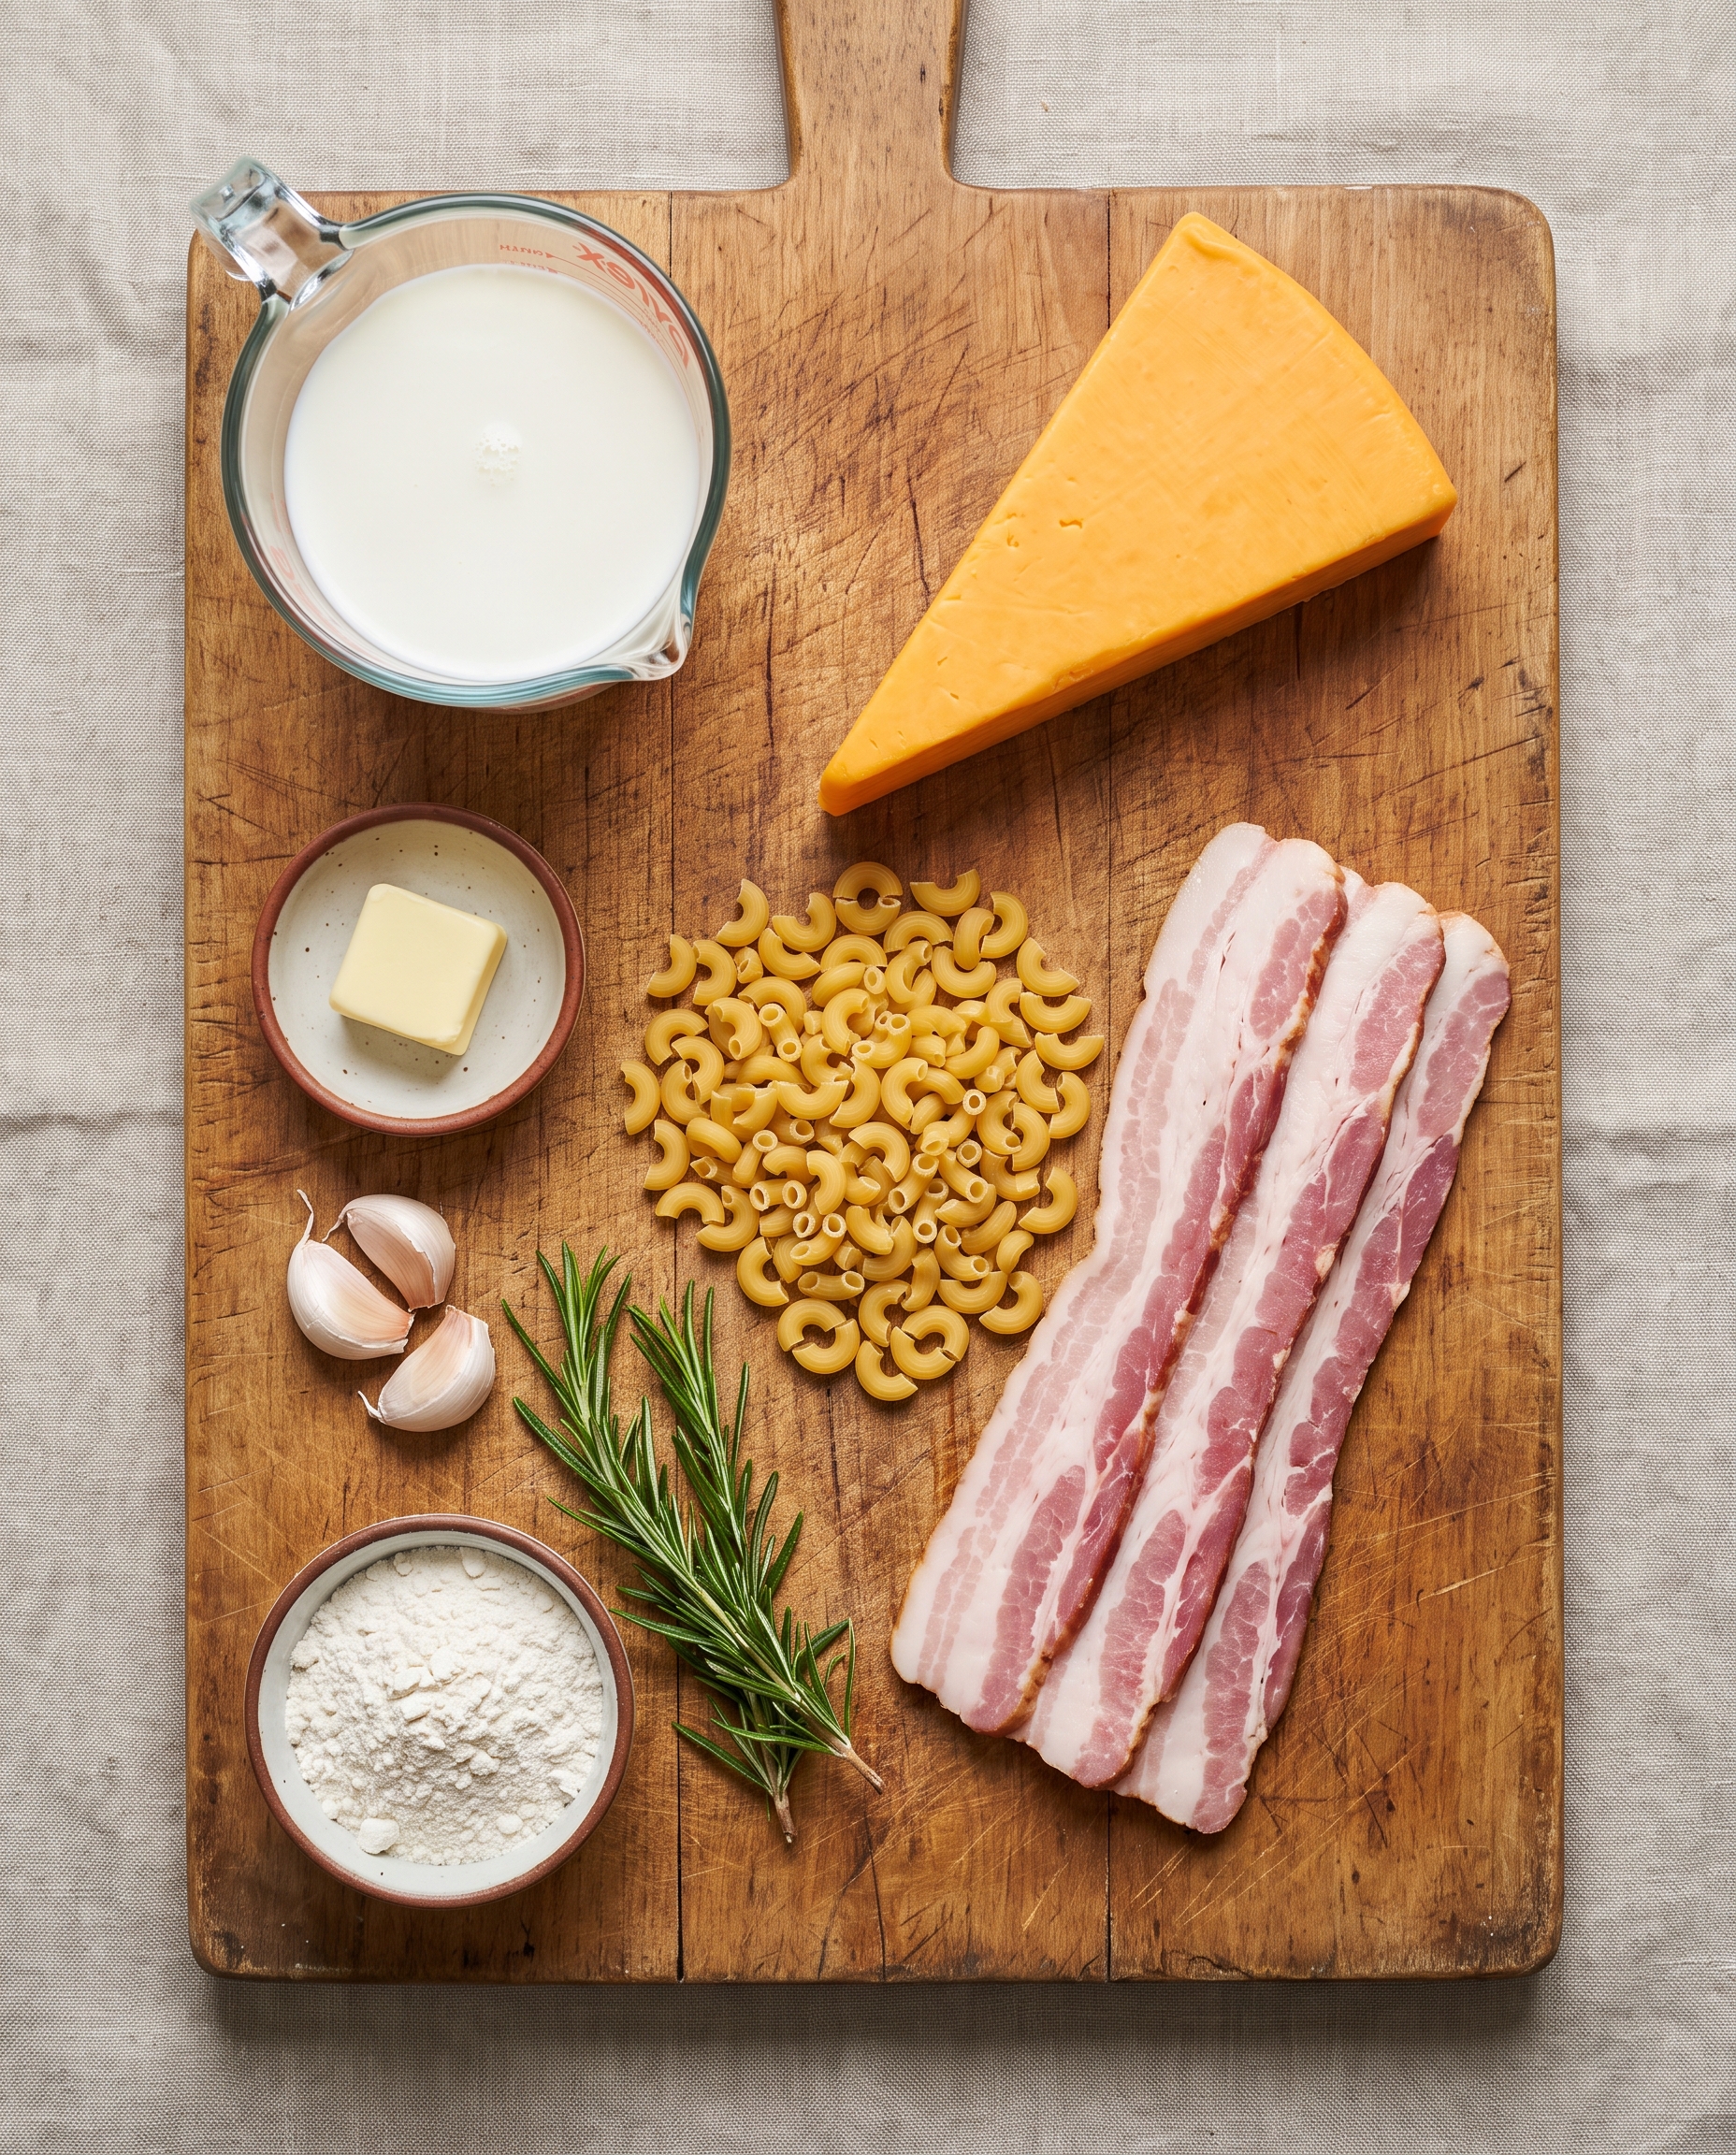
3/4 pound pasta (cavatappi, elbow, or shells all work beautifully)
Kosher salt and freshly cracked black pepper, to taste
2 1/2 cups sharp white cheddar cheese, freshly shredded
Optional garnish: chopped chives or sliced green onions
From Pot to Plate in 35 Minutes
Step 1: Bring a large pot of generously salted water to a rolling boil. Add the pasta and cook until just al dente — about one minute shy of the package directions. Drain and set aside. Don’t rinse it; the starch on the noodles helps the sauce stick.
Step 2: Return the same pot to the stove over medium heat. Add the diced bacon and cook, stirring often, until the pieces are deeply golden and crisp, about 6 to 8 minutes. Use a slotted spoon to transfer the bacon to a paper towel-lined plate. Leave about 3 tablespoons of bacon fat in the pot — that’s liquid gold. Spoon out any extra.
Step 3: Add the minced garlic and chopped rosemary to the hot bacon fat. Stir constantly for about 60 seconds — just until the garlic softens and smells fragrant. If it starts to brown, drop the heat or pull the pot off the burner for a moment. Burnt garlic will ruin the whole sauce, and I learned that lesson more than once.
Step 4: Sprinkle the flour over the fat and stir to form a thick paste. Cook, stirring, for about 90 seconds. The mixture will foam a little and look different from a butter-based roux — that’s normal. You’re just toasting off the raw flour flavor.
Step 5: Slowly whisk in the warm milk, a little at a time, whisking the whole time to keep the sauce smooth. Add a generous pinch of salt and a few grinds of black pepper. Bring the sauce to a low simmer and cook, stirring often, for 6 to 10 minutes, until it coats the back of a spoon and looks glossy.
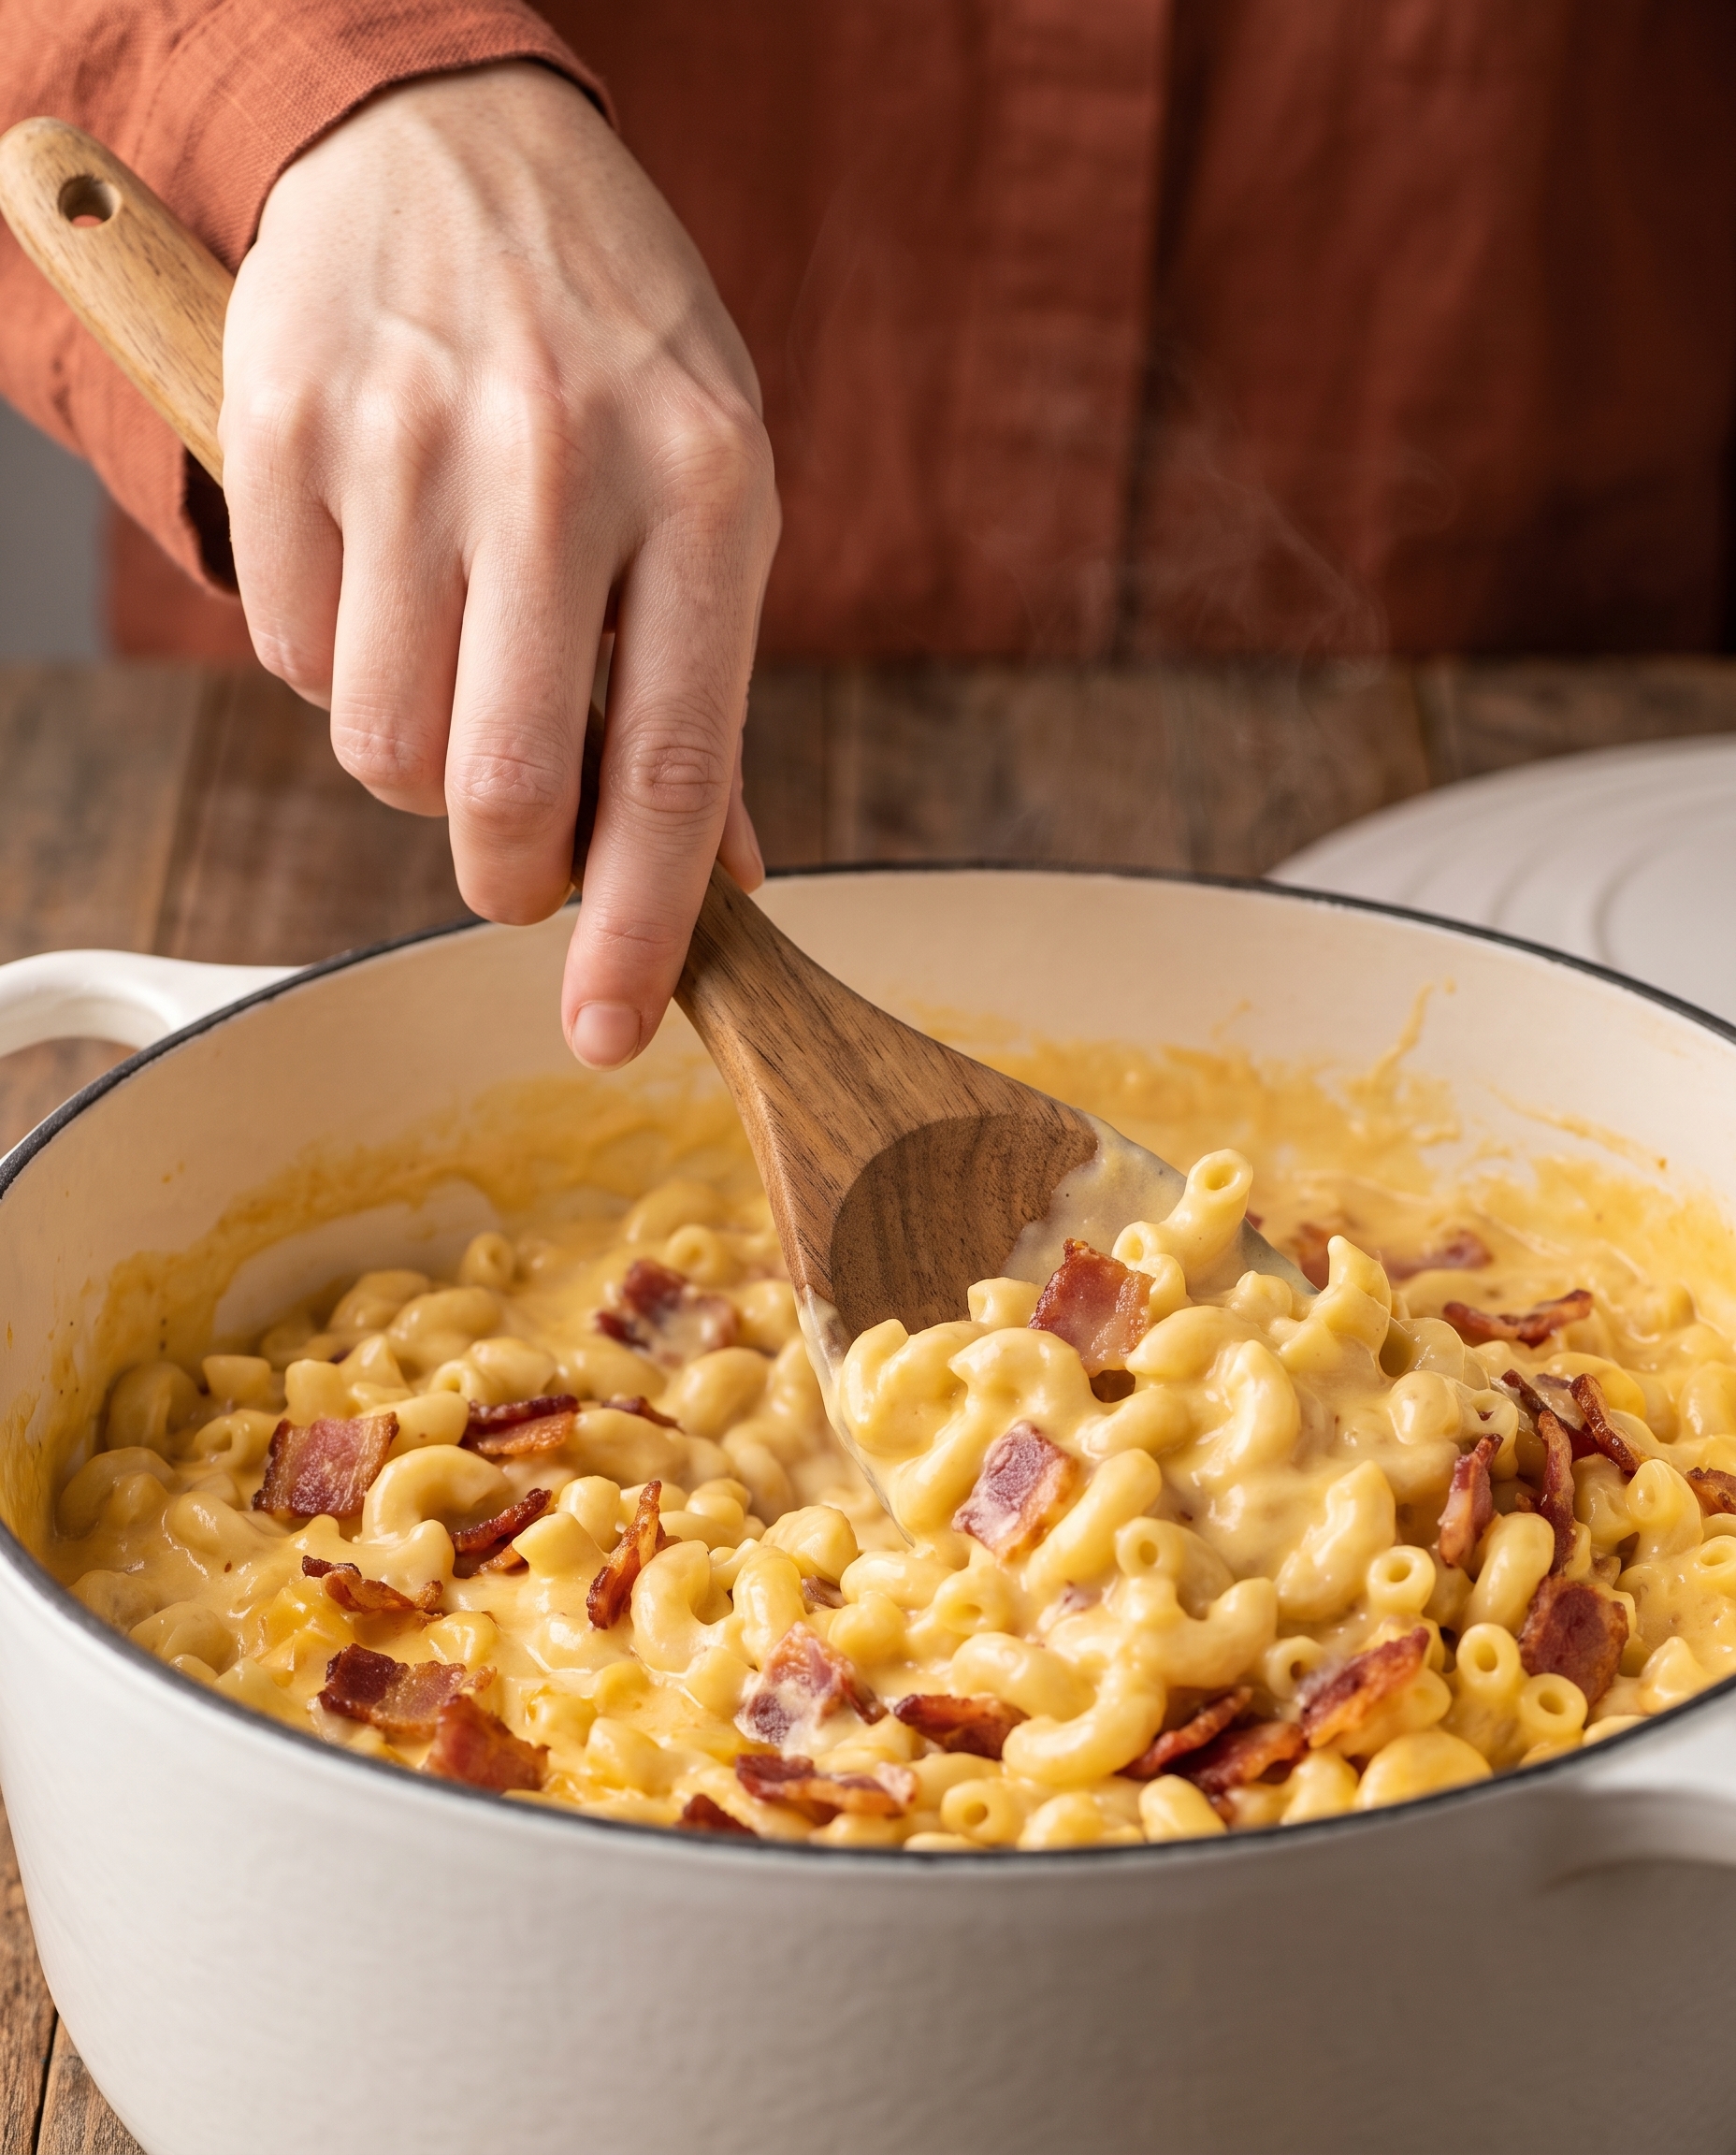
Step 6: Take the pot off the heat. Add the shredded cheddar and stir in slow circles until the cheese is completely melted and the sauce is silky. Don’t rush this with the burner on — residual heat is plenty. Taste and adjust the salt and pepper.
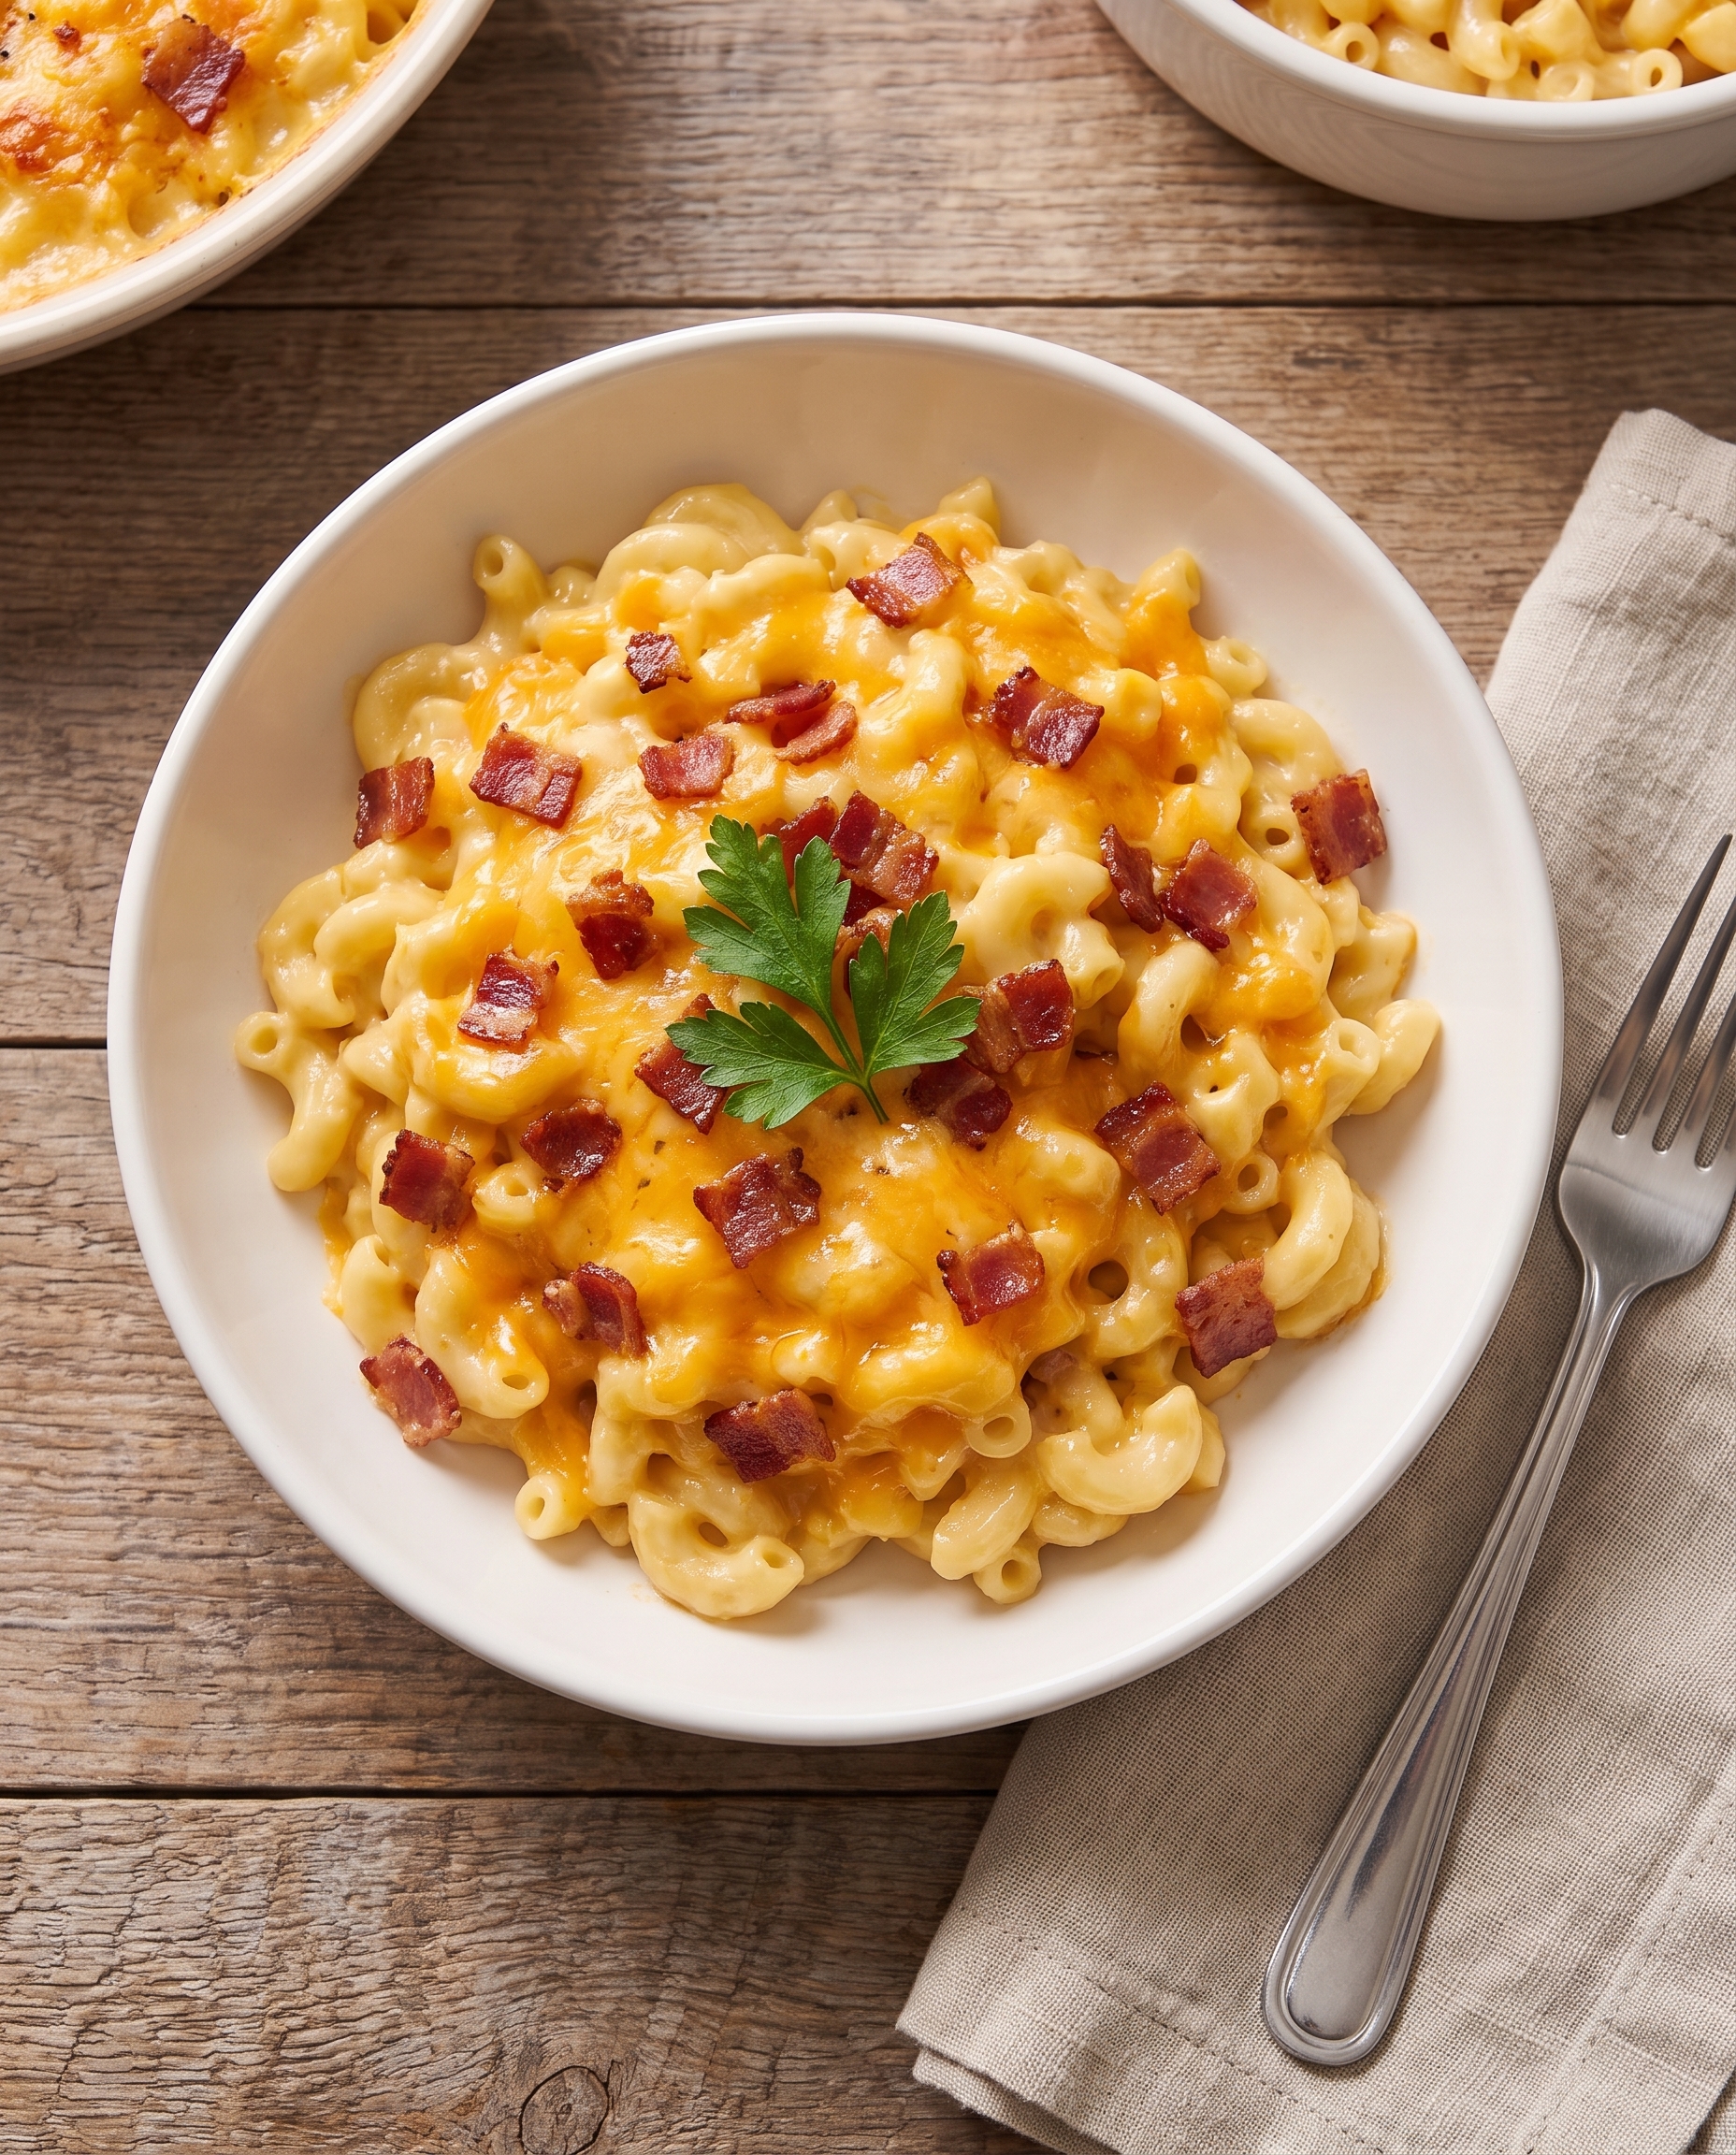
Step 7: Add the cooked pasta to the cheese sauce and toss gently until every noodle is coated. Sprinkle the crispy bacon over the top, saving a little for garnish if you like. Serve immediately, with extra black pepper and a scatter of chives.
Creative Twists
This is where the recipe gets fun. Once you’ve made the base a few times, you can take it in half a dozen directions without any extra fuss. Here are the variations my family asks for most often:
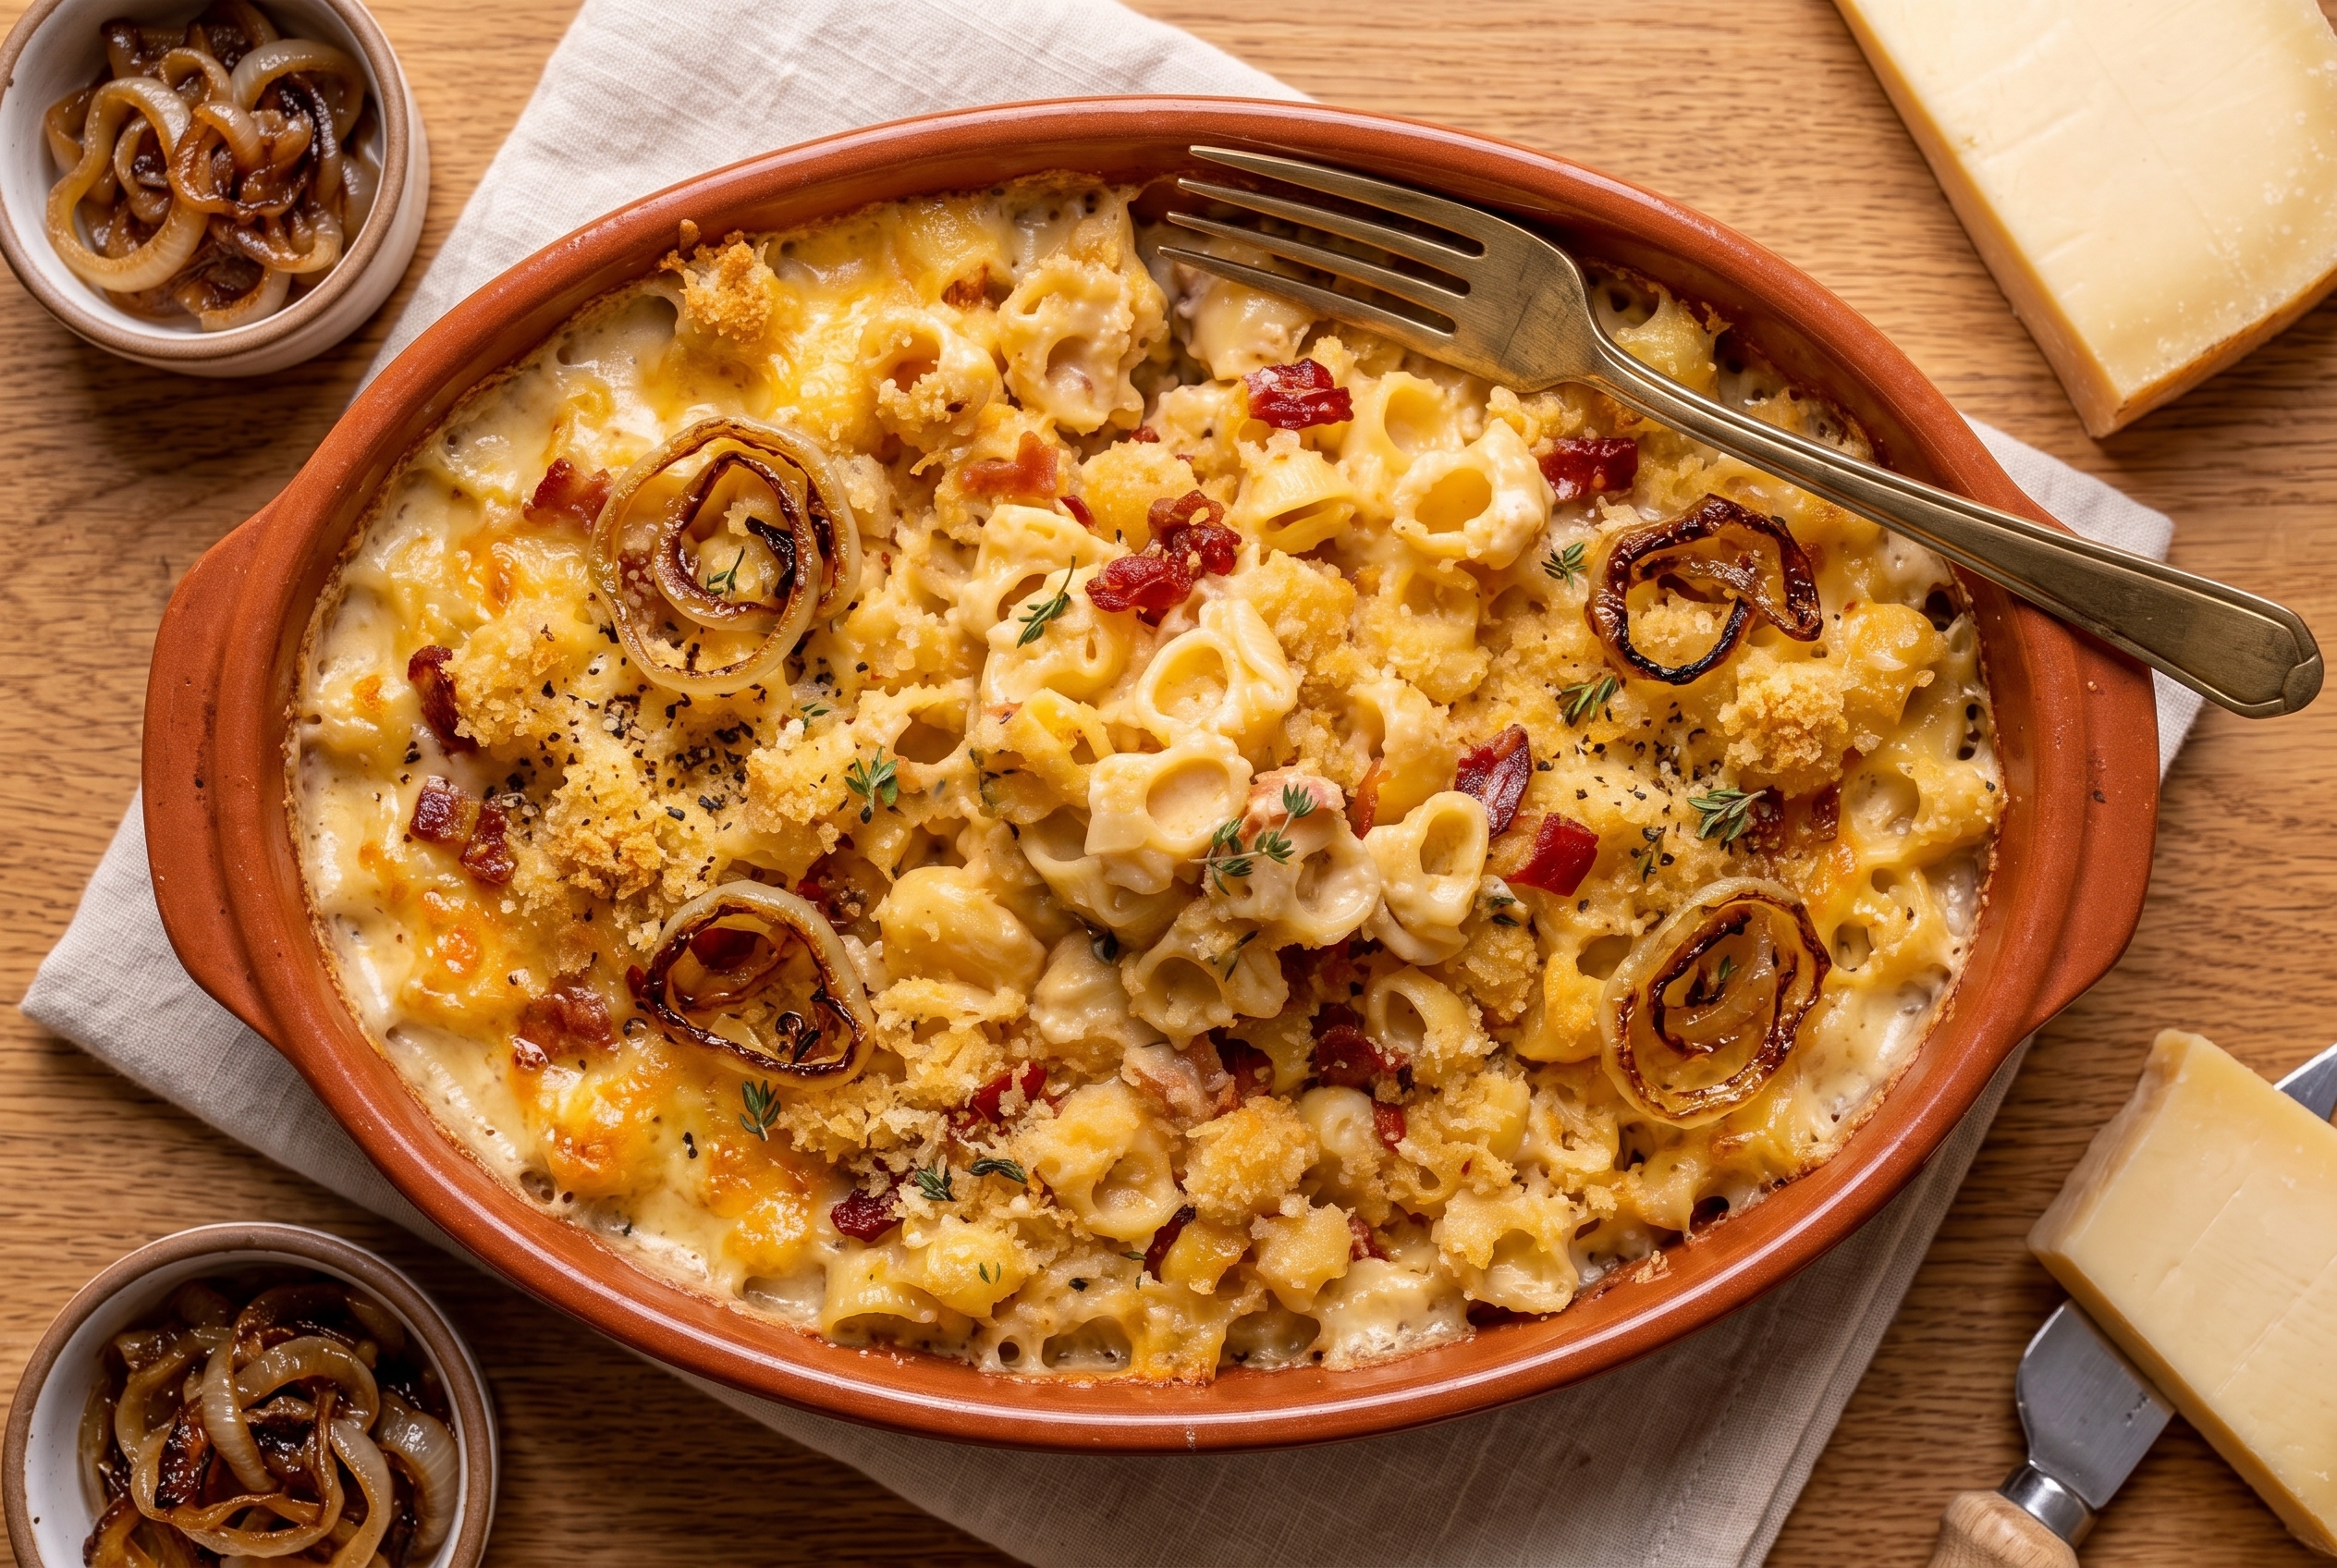
Baked casserole style: Transfer the finished mac and cheese to a buttered 9×13 baking dish, top with 1 cup of panko tossed in 2 tablespoons of melted butter, and bake at 375°F for 15 to 20 minutes until the top is golden and crunchy.
Spicy smoky: Add 1 diced jalapeño along with the garlic and a 1/2 teaspoon of smoked paprika to the sauce. Top with crispy bacon and a drizzle of hot honey.
Three-cheese version: Replace 1 cup of the cheddar with shredded gruyère and 1/2 cup of grated parmesan for a more grown-up, French-onion vibe.
Buffalo chicken style: Stir 1/2 cup of buffalo sauce and 1 cup of shredded rotisserie chicken into the cheese sauce. Top with crumbled blue cheese and scallions.
Broccoli cheddar: Fold in 2 cups of small steamed broccoli florets at the very end. The green against the golden cheese is gorgeous on the table.
Which one would you try first? My oldest votes buffalo every time, but I’m partial to the broccoli version on a cool weeknight.
Serving & Pairing Ideas
What should I serve with creamy cheddar bacon mac and cheese? This is one of the most common questions I get, and the answer is simpler than you’d think. Because the dish is rich and savory, it pairs best with something bright or crunchy on the side. A simple arugula salad with lemon vinaigrette is my go-to. Roasted green beans with a little garlic and olive oil work beautifully too, and a bowl of tomato soup alongside turns dinner into pure comfort.
For a heartier meal, I like to serve smaller portions of this creamy cheddar bacon mac and cheese as a side dish next to a roasted chicken or a simple pan-seared pork chop. The cheese sauce acts almost like a built-in gravy. If you love mac and cheese sides, you might also enjoy my Lobster Mac and Cheese for special occasions, or my Creamy Chicken Bacon Alfredo for a heartier weeknight dinner. Both lean on the same stovetop technique.
Why I Love This Recipe
There are a hundred mac and cheese recipes in the world, and most of them are good. What I love about this one is how un-fussy it is. There’s no bechamel made separately, no breadcrumb topping to fuss with, and no special trip to the store. Everything in this pot is something you probably have on hand: pasta, milk, flour, a block of cheese, a few strips of bacon. When my grandchildren ask for “the bacon mac,” I almost always say yes — partly because it’s easy, mostly because watching them scrape the dish clean is the best compliment a cook can get.
I also love that this recipe is forgiving. Forget to add the rosemary? It’s still delicious. Want to use smoked gouda instead of cheddar? Wonderful. Got a few sad scallions in the fridge? Toss them on top. The bones of a good mac and cheese — a solid roux, warm milk, properly melted cheese, and decent pasta — will hold up to almost any swap. Trust yourself, taste as you go, and dinner will be great.
Storage and Batch Cooking
Leftover mac and cheese keeps in an airtight container in the fridge for up to 4 days. The sauce will thicken as it chills, so when you reheat it, add a splash of milk and stir it over low heat until it’s creamy again. I try to avoid the microwave for leftovers if I can — the stovetop gives you much more control and keeps the sauce from breaking.
This recipe also doubles beautifully for a crowd. Just use a larger pot, give yourself an extra few minutes to bring everything to temperature, and stir the sauce a little more often. If you’re hosting a holiday or a potluck, you can assemble the whole dish in advance, hold it covered in the fridge for a few hours, and gently rewarm it on the stove with a splash of milk right before serving. I would not recommend freezing the finished dish — cheese sauces tend to separate when thawed — but the cooked, unsauced pasta and the bacon can both be frozen separately and combined with a fresh sauce on a busy night.
Troubleshooting Your Mac and Cheese
Even a simple recipe can go sideways. Here are the problems I hear about most often, and how to fix them.
My sauce is grainy or clumpy. This almost always means the cheese got too hot. Always take the pot off the burner before you stir in the shredded cheese — the residual heat is enough. If it’s already broken, you can sometimes rescue it by whisking in a tablespoon or two of warm milk off the heat until it comes back together.
My sauce is too thin. Let it simmer a few minutes longer before adding the cheese. The flour needs time to do its job. If it’s still thin after the cheese melts, you can whisk in a teaspoon of cornstarch mixed with a tablespoon of cold milk and simmer briefly.
My sauce is too thick. Whisk in more warm milk, a little at a time, until it loosens to the consistency you want. Remember, the pasta will absorb some of the sauce as it sits, so err on the looser side when you’re serving it right away.
My pasta is mushy. You probably cooked it a touch too long before draining. Always pull the noodles out a minute early — they’ll finish cooking in the hot cheese sauce and hold their shape much better.
Your Quick Questions, Answered
Can I use pre-shredded cheese? You can, but the sauce won’t be as smooth. Pre-shredded cheese is coated with anti-caking agents that prevent it from melting cleanly. If you must use it, give it a quick toss with a teaspoon of cornstarch before stirring it in — it helps a little.
Can I make this ahead of time? Yes. Cook the pasta and bacon, make the sauce, and store everything separately in the fridge. When you’re ready to serve, rewarm the sauce with a splash of milk, toss in the pasta and bacon, and dinner is on the table in about ten minutes.
What pasta shape works best? Anything with nooks and crannies will hold onto the sauce. I love cavatappi for that reason, but elbow, shells, and fusilli all work. Avoid long noodles like spaghetti or fettuccine — they don’t hold the sauce as well and the presentation gets awkward.
Can I skip the bacon? Absolutely. Use 3 tablespoons of butter in place of the bacon fat and you’ll have a classic stovetop mac and cheese. You can also stir in a teaspoon of smoked paprika if you want to keep a hint of that smoky flavor without the meat.
Is this recipe kid-friendly? It’s the most kid-friendly recipe in my entire collection. My grandchildren will eat an entire pot of this without complaint, and yours probably will too. If you’re cooking for very young kids, just go light on the black pepper.
A Few Last Thoughts
If you’ve been looking for a creamy cheddar bacon mac and cheese that actually tastes like a real dinner — not a side dish, not a stovetop shortcut, but the main event — I hope you’ll give this one a try. It’s the recipe I make when I need dinner to feel warm, generous, and uncomplicated. It’s also the one I make when I want to remember that the best meals don’t have to be complicated. They just have to be made with care and shared with people you love.
Let me know how yours turns out. Did you stick to the original, or did you riff with one of the twists? Either way, I’d love to hear from you. For more stovetop pasta dinners like this one, swing by the pasta category on the site — there’s a whole collection of cozy weeknight recipes waiting for you.
A quick and easy stovetop mac and cheese with bacon, rosemary, and white cheddar. Ready in 35 minutes, deeply cheesy, and the kind of cozy dinner the whole family shows up for.
Ingredients
Instructions
Bring a large pot of generously salted water to a boil. Cook the pasta one minute shy of al dente. Drain and set aside.
In the same pot over medium heat, cook the bacon until deeply golden and crisp, 6-8 minutes. Transfer to a paper towel-lined plate, leaving 3 tablespoons of fat in the pot.
Add the garlic and rosemary to the bacon fat and cook 60 seconds, stirring constantly, until fragrant.
Sprinkle the flour over the fat and stir into a paste. Cook 90 seconds to toast the flour.
Slowly whisk in the warm milk. Add a generous pinch of salt and pepper. Simmer 6-10 minutes, stirring often, until the sauce thickens and coats a spoon.
Remove the pot from the heat. Stir in the shredded cheddar until completely melted and the sauce is silky. Adjust seasoning.
Add the cooked pasta to the sauce and toss to coat. Top with the crispy bacon, garnish with chives, and serve immediately.
Notes
Pull the noodles out a minute early — they finish cooking in the sauce and stay perfectly al dente. For a baked version, transfer to a buttered 9×13, top with buttered panko, and bake at 375°F for 15-20 minutes.
Keywords:mac and cheese, bacon, cheddar, weeknight dinner, pasta, comfort food