

My First Cannoli Mistake
I tried to make real cannoli once. It was a mess. The tubes fried into funny shapes. The filling was too runny. I still laugh at that.
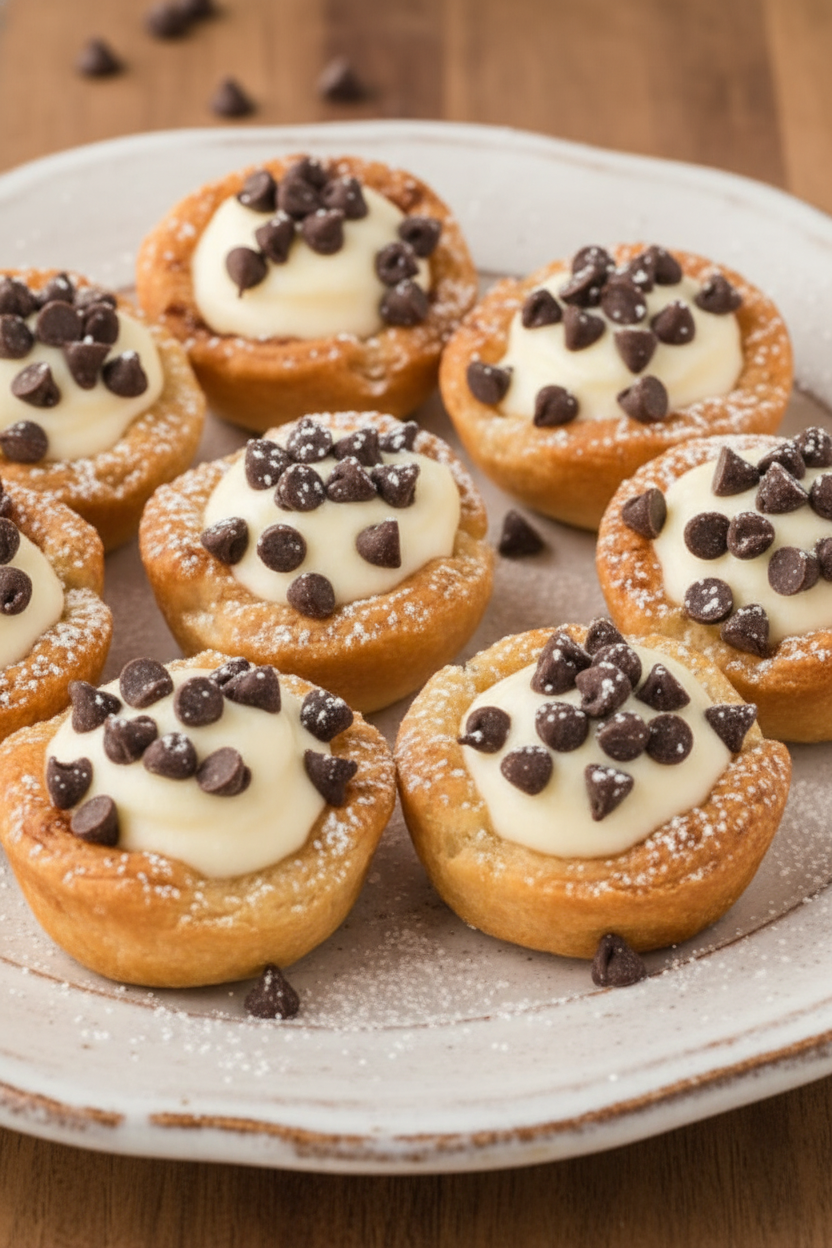
These mini cups are my happy solution. No frying, no fuss. Just crispy shells and sweet, creamy filling. They give you all the joy. Have you ever had a kitchen disaster turn into a win?
Why The Cheese Mix Matters
Using both ricotta and cream cheese is the secret. Ricotta gives it that real Italian feel. Cream cheese makes it smooth and stable.
This matters because texture is everything. You want it creamy, not grainy. You want it to hold its shape in the little shell. Beat them together until it’s like a cloud. Doesn’t that sound nice?
A Little History For You
Real cannoli come from Sicily. They were a Carnival treat. The story goes, they were made to celebrate.
*Fun fact*: The name “cannoli” means “little tubes”. That makes sense! This matters because food connects us to people far away. We are sharing a centuries-old party dessert. What’s a food from your family’s history?
Making It Your Own
This recipe is your starting point. You can add a pinch of orange zest. It makes the filling taste sunny. Or a tiny bit of cinnamon.
You can garnish with chopped pistachios. Or a cherry on top. The mini chocolate chips are my favorite, though. They are little bursts of joy. What would you add to make it yours?
The Simple Joy of Sharing
These are perfect for a party. Everyone can just grab one. No plates needed. They look fancy but are so easy.
This matters most. Food is about sharing happiness. It is about making someone smile with a tiny, sweet bite. That is the best recipe of all. Now, go make some memories.
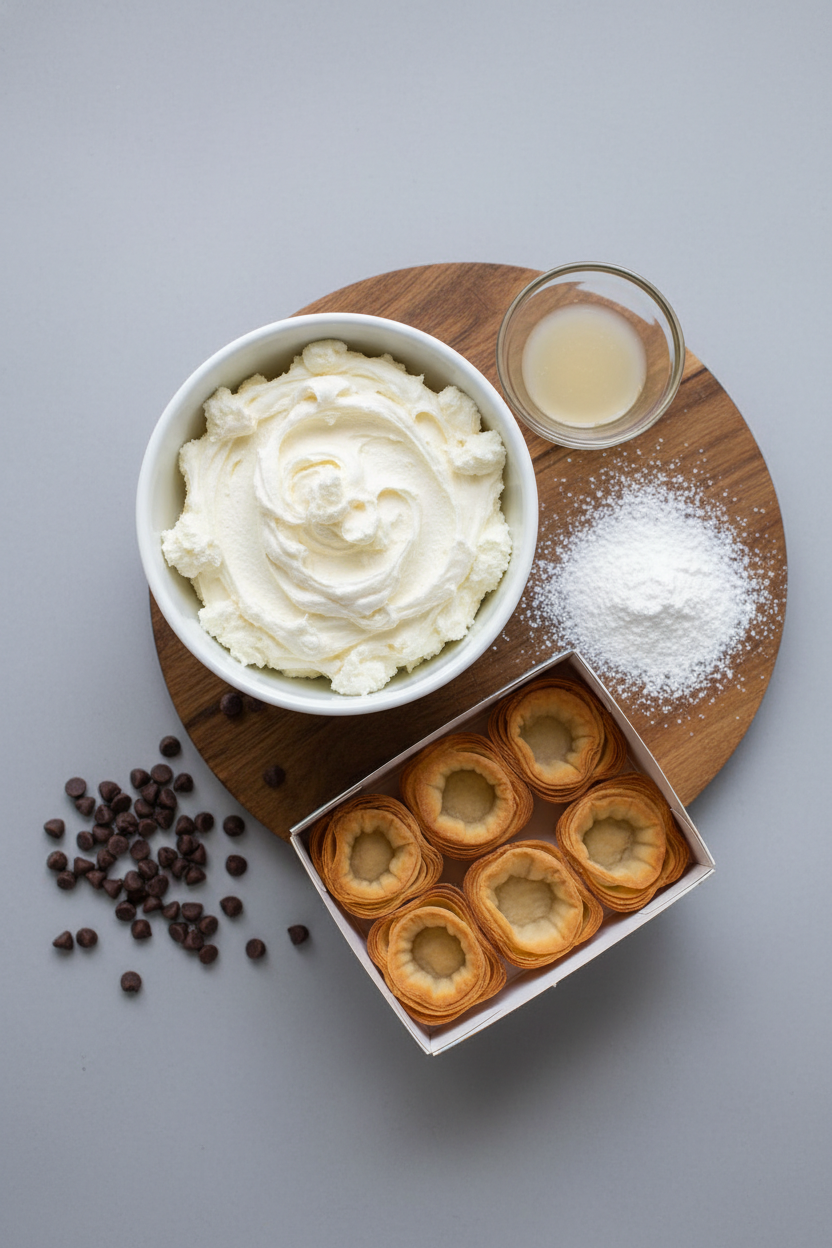
Ingredients:
| Ingredient | Amount | Notes |
|---|---|---|
| Mini fillo shells | 48 shells | Such as Athens brand |
| Whole milk ricotta cheese | 15 oz (1 container) | |
| Cream cheese | 8 oz | Softened |
| Powdered sugar | 1 1/2 cups | |
| Vanilla extract | 1 teaspoon | |
| Mini chocolate chips | 1/2 cup | Plus more for garnish |
Instructions
Step 1: First, warm up your oven to 350°F. Place your little fillo shells on a baking sheet. Pop them in for just 3-5 minutes. This makes them nice and crisp. Let them cool completely on the counter. I always tap one to test it.
Step 2: Now, let’s make the sweet filling. Beat the ricotta and soft cream cheese together. Add the powdered sugar and vanilla. Keep mixing until it’s super smooth. (A little extra beating makes it extra fluffy!) Fold in those mini chocolate chips. Doesn’t that look good already?
Step 3: Time to fill our cups! You can use a spoon or a piping bag. Gently fill each crispy shell with the creamy mixture. Try not to overfill them. What’s your favorite filling to pipe? Share below! Top each one with a few more chocolate chips for a pretty finish.
Creative Twists
Citrus Zing: Add a teaspoon of orange zest to the filling. It’s so bright and cheerful.
Berry Swirl: Gently swirl a spoonful of raspberry jam into each filled cup.
Candy Crunch: Swap chocolate chips for crushed pistachios or toffee bits.
Which one would you try first? Comment below!
Serving & Pairing Ideas
Arrange these cups on a fancy plate. A dusting of powdered sugar looks like snow. They pair wonderfully with fresh berries on the side. For a special treat, serve them with small cups of strong coffee. The grown-ups will love that. Which would you choose tonight?
Keeping Your Cannoli Cups Happy
Let’s talk about storing these sweet treats. First, keep the filling and shells separate until you serve. Store the baked shells in a sealed container at room temperature. Keep the filling in a bowl in the fridge.
I once filled them all ahead for a party. They got soggy! Now I fill them just before guests arrive. This keeps the shells wonderfully crisp. You can make the filling two days early.
Batch cooking the filling saves so much time. It matters because it makes hosting easy. You can enjoy your own party without last-minute fuss. Have you ever tried storing it this way? Share below!
Simple Fixes for Common Hiccups
Sometimes our baking doesn’t go as planned. Here are three easy fixes. First, if your filling is too runny, just chill it. Cold filling thickens up nicely in the fridge.
Second, if shells crack while baking, don’t worry. The filling will hide most cracks. I remember when my first batch cracked. They still tasted perfect!
Third, if the filling tastes bland, add a pinch of salt. Salt makes the sweet flavors pop. Fixing small issues builds your cooking confidence. It also makes your food taste its very best. Which of these problems have you run into before?
Your Quick Questions, Answered
How to make cannoli filling from scratch?
Our recipe above is a perfect scratch filling. Beat whole milk ricotta with softened cream cheese. Add powdered sugar and vanilla for sweetness and flavor. Fold in mini chocolate chips last. The key is beating until it is totally smooth. This makes a creamy, delicious filling everyone will love.
What can I use instead of cannoli shells?
You can use many things instead of traditional shells. Mini fillo shells are our favorite easy swap. You could also use small pastry cups or even waffle cones. Want a homemade option? Try baking wonton wrappers in a muffin tin. They get crispy and hold the filling well. It’s fun to experiment with different containers.
Can I make cannoli cups ahead of time?
Yes, you can prepare parts ahead. Bake the shells and let them cool completely. Store them in a sealed container. Make the filling up to two days before. Keep it covered in the refrigerator. But only fill the shells right before you serve. This is the best way to keep everything crisp and fresh.
What is the best ricotta for cannoli filling?
Always use whole milk ricotta cheese. It has the richest flavor and creamiest texture. Drain any extra liquid from the container first. This step prevents a watery filling. Some brands are creamier than others. A full-fat, high-quality ricotta makes all the difference. Your filling will be smooth and not grainy.
How do you keep cannoli cups crispy?
The secret is to keep filling and shells apart. Fill them just before you are ready to eat. Store any leftover baked shells in a tight container. Keep them at room temperature. Do not store them in the fridge. The fridge makes them lose their crispness. A *fun fact*: fillo dough has very little moisture, which helps it stay crisp.
Can you freeze cannoli filling?
I do not recommend freezing the cannoli filling. Dairy-based fillings can separate when thawed. The texture becomes watery and grainy. It is best made fresh. You can keep it in the fridge for two days. For best results, always enjoy your filling chilled and fresh. Which tip will you try first?
From My Kitchen to Yours
I hope you love making these little cups. They are a bite of sweet joy. Sharing food is one of life’s greatest pleasures.
I would love to hear about your baking adventure. Tell me how it went for you. Your stories make my day brighter. Have you tried this recipe? Let me know in the comments below!
Happy cooking!
—Danielle Monroe

Easy Creamy Cannoli Cups with Ricotta Filling
Description
Mini Cannoli Cups
Ingredients
Instructions
- Preheat oven to 350°F. Place the fillo shells on a baking sheet and bake for 3-5 minutes or according to package directions. Allow to cool completely.
- In a large bowl, beat the ricotta cheese, cream cheese, powdered sugar, and vanilla extract until smooth and creamy. Fold in 1/2 cup mini chocolate chips.
- Spoon or pipe the filling into the cooled fillo shells. Garnish with additional mini chocolate chips. Serve immediately or refrigerate until ready to serve.
Notes
- Nutrition information is automatically calculated, so should only be used as an approximation.