

Why We Make Jam Together
There is something about a jar of homemade jam that feels like a hug. I remember my first summer making peach jam with my own grandmother. She let me stir the big pot, and I splashed sticky juice all over her apron. I still laugh at that.
This recipe is special because it turns a pile of ripe peaches into a treasure you can enjoy all year. You are capturing the taste of summer in a jar. That is why this matters: a simple jar of jam can make a cold winter morning feel warm again.
Have you ever made jam before, or is this your first time? Tell me in your heart right now. I want to know.
Picking the Peaches
For this recipe, you need four pounds of ripe peaches. That is about ten to twelve medium-sized ones. Look for peaches that smell sweet and give just a little when you squeeze them gently.
If your peaches are too hard, your jam will be less flavorful. If they are too soft and mushy, they might be past their prime. This is where the magic starts: picking good fruit means your jam will taste like pure sunshine. Doesn’t that smell amazing just thinking about it?
Here is a little question for you: Do you like your jam super smooth, or do you like little chunks of fruit in there? I am a chunk lover myself.
The Peeling Trick That Never Gets Old
Peeling peaches used to be a big job until I learned this trick. You score a small X on the bottom of each peach with a knife. Then you drop them into boiling water for thirty seconds.
Right after that, you move them to a bowl of ice water. The skins practically jump right off. I still smile every time I see it work. It feels like a little kitchen magic.
Fun fact: This trick works for tomatoes too! You can use it for peeling fresh tomatoes for salsa or sauce.
Stirring and Simmering
Once your peaches are peeled, pitted, and chopped, you mash them a little. I use a potato masher, but a fork works too. Leave some chunks if you like a chunky jam.
Then you add the sugar and lemon juice to the pot. You stir it all together and bring it to a boil. This is the part where you need to stand nearby and stir often. If you walk away, it might burn on the bottom.
Why does this matter? Because patience in the kitchen gives you the best results. You cannot rush good jam. It is a slow and steady kind of love.
The Wrinkle Test
After about thirty to sixty minutes of cooking, you need to check if your jam is ready. I use a little trick called the wrinkle test. You put a small spoonful of jam on a cold plate that you kept in the freezer.
Then you push it with your finger. If the jam wrinkles on top, it is done. If it is still runny, you keep cooking. This test never lies.
I add my vanilla extract right at this moment, after the jam is ready. It gives a warm, cozy flavor that makes the peaches taste even better. Have you ever tried vanilla in your jam? It might surprise you.
Filling and Sealing the Jars
Now comes the careful part. You ladle the hot jam into your sterilized jars. Leave a little space at the top, about a quarter of an inch. Then you wipe the rims clean so the lids stick perfectly.
You tighten the bands until they are fingertip tight. That means you do not crank them with all your strength. Just snug enough.
Why does this step matter so much? Because a good seal keeps your jam safe and fresh for months. You want to hear that satisfying pop when you open a jar in the middle of winter.
A Little Gift in Every Jar
After you process the jars in boiling water for ten minutes, you let them cool on a towel. You might hear little popping sounds as the lids seal. That is the sound of success.
I love giving jars of this peach jam as gifts. People always smile when they see the golden color and taste that fresh fruit flavor. It is a piece of your heart in a jar.
So I have one more question for you: Who would you give a jar of homemade jam to? Think about that person. Maybe it is time to surprise them.
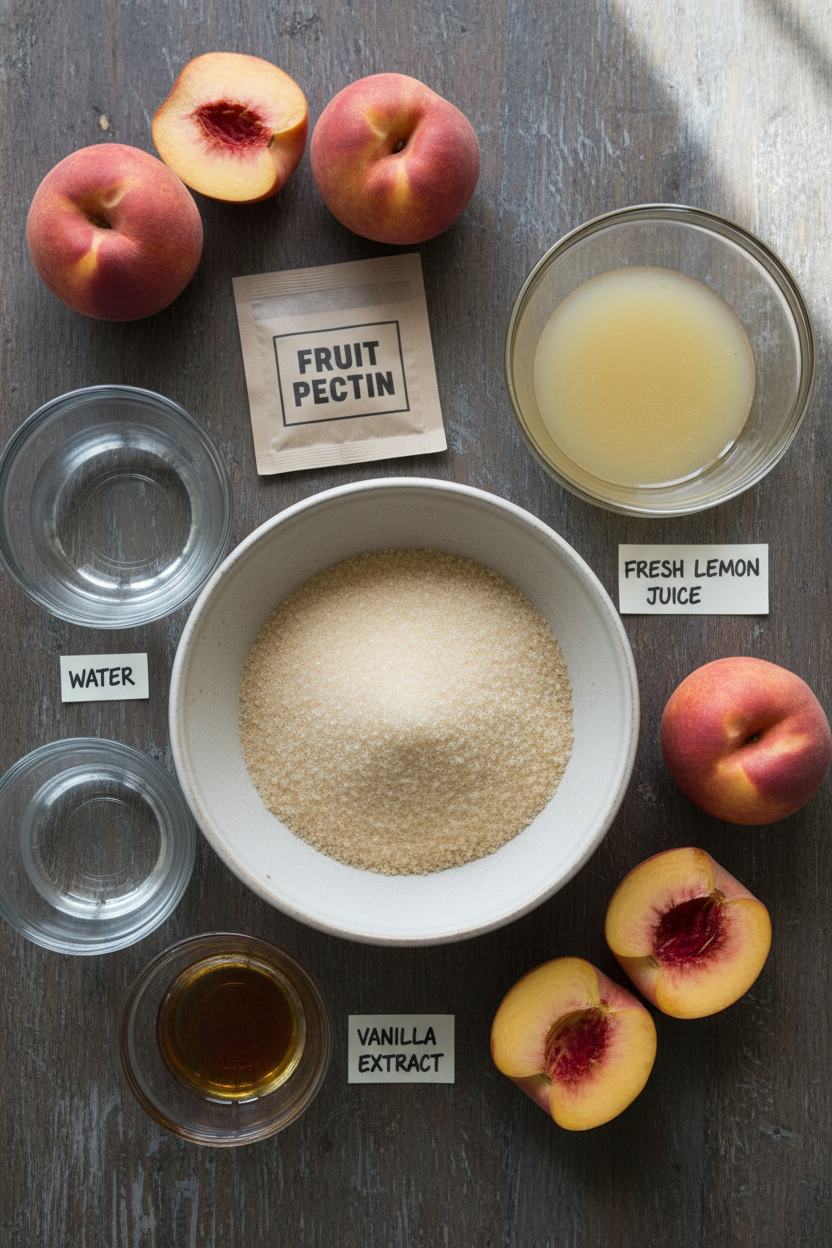
Ingredients:
| Ingredient | Amount | Notes |
|---|---|---|
| Ripe peaches | 4 pounds (10-12 medium) | Peeled, pitted, and chopped |
| Granulated sugar | 4 cups | |
| Fresh lemon juice | 1/4 cup | About 1-2 lemons |
| Vanilla extract | 1 teaspoon | Optional, but highly recommended |
| Fruit pectin | 1 packet | Optional, for thicker jam |
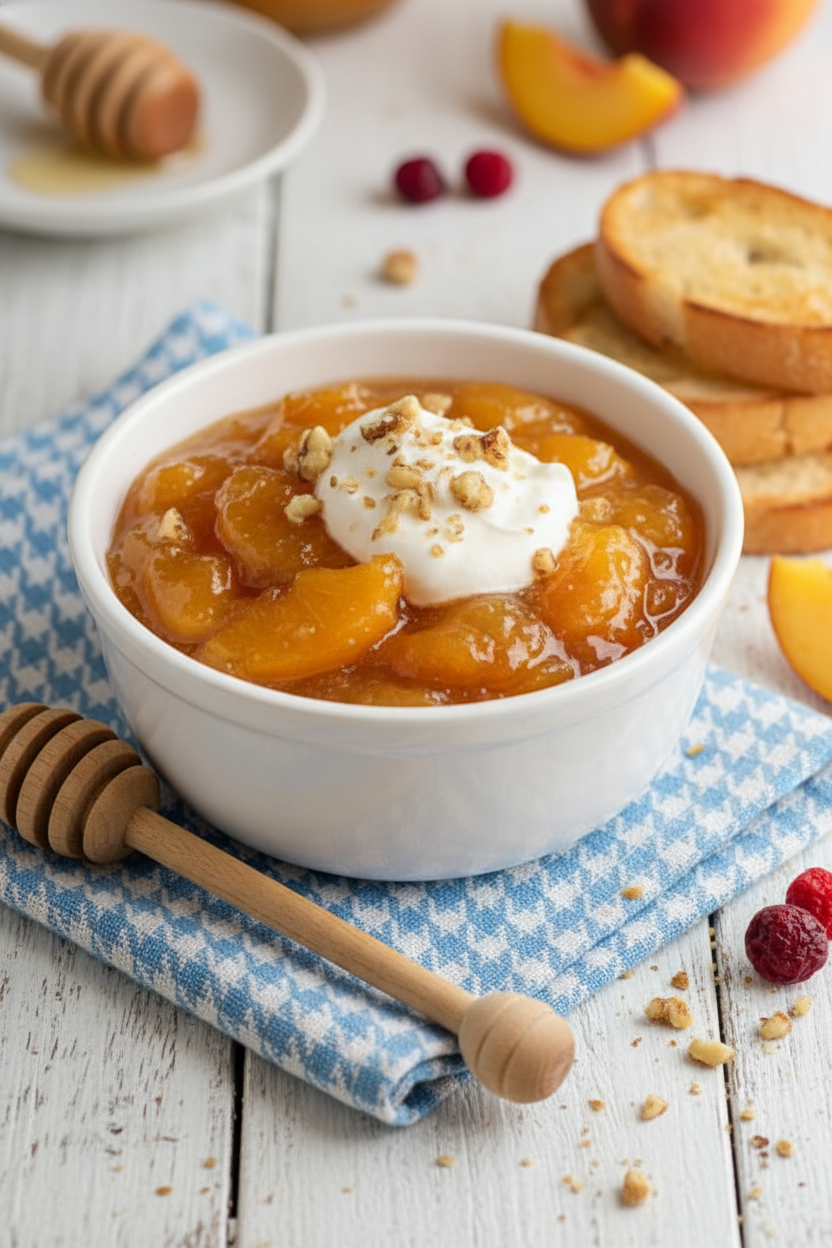
Homemade Peach Jam
Step 1: Sterilize your jars first. Boil them in a big pot of water for 10 minutes. Keep them hot until you are ready to fill them. (I once forgot this step and lost a whole batch. Learn from me!)
Step 2: Peel and pit your peaches. Score a small “X” on each peach bottom. Blanch them in boiling water for 30 seconds, then dunk in ice water. The skins slip right off. Cut them in half, remove the pits, and chop the flesh into small pieces. Mash slightly with a fork if you like some texture.
Step 3: Combine the peaches, sugar, and lemon juice in a large pot. Stir well. Bring to a boil over medium-high heat, stirring constantly to dissolve the sugar. Reduce heat to medium and let it simmer. Stir often so it does not burn. How does your kitchen smell right now? Share below!
Step 4: Add pectin if you want a thicker jam. Just follow the package instructions. I always mix it with a little sugar first. Cook the jam until it reaches your desired consistency. This takes about 30 to 60 minutes. Test it by placing a small spoonful on a chilled plate. If it wrinkles when you push it, it is ready.
Step 5: Stir in the vanilla extract once the jam is done. Ladle the hot jam into your sterilized jars, leaving 1/4 inch of space at the top. Wipe the rims clean, put on the lids, and screw the bands until fingertip tight. Process the jars in a boiling water bath for 10 minutes to seal them. Let them cool on a towel. Listen for the little pop as the lids seal!
Creative Twists
… Add a pinch of cinnamon and nutmeg for a spicy, warm peach jam.
… Swap half the sugar for honey for a floral, lighter sweetness.
… Stir in a handful of fresh raspberries for a colorful, tangy twist.
Which one would you try first? Comment below!
Serving & Pairing Ideas
Spread this jam on warm, buttered biscuits for a simple breakfast. It also tastes great spooned over vanilla ice cream for a quick dessert. Try it as a glaze for grilled chicken or pork chops. Just brush it on during the last few minutes of cooking. Which would you choose tonight?
How to Store and Reheat Your Peach Jam
Once your peach jam is sealed and cooled, store it in a cool, dark place. A pantry works perfectly. The cold helps it last longer. I remember my first batch, sitting on the counter for weeks. It got a little cloudy. Now I know better! Pop it in the fridge after opening. For reheating, just spoon some jam into a small pot. Warm it gently over low heat. Stir until it’s smooth again. Batch cooking is a lifesaver. When peaches are in season, I make a double batch. I give jars to neighbors. It saves money and time.
Why does this matter? Proper storage keeps your jam safe and tasty. It also stops mold. Have you ever tried storing it this way? Share below! If you freeze extra jam in a zip-top bag, it stays fresh for months. Lay it flat in the freezer. That is my secret trick! Thaw it in the fridge before using. Easy peasy.
Three Common Jam Problems and Easy Fixes
First, runny jam. This happens if you did not cook it long enough. I once had a runny batch that looked like peach soup. The trick is the plate test. Put a spoonful on a cold plate. If it wrinkles when you push it, it is done. Second, hard jam. That means you cooked it too long. Next time, watch the clock closely. Set a timer for 30 minutes. Third, mold on top. This means the jar was not sealed well. Always check the lid. It should pop down when pressed.
Why does fixing these problems matter? It gives you confidence in the kitchen. You will know exactly what to do. It also makes your jam taste perfect every time. Which of these problems have you run into before? If you have never made jam, start today. Practice makes perfect. *Fun fact: Peach jam was a favorite of my grandmother. She taught me this trick.*
Your Quick Questions, Answered
What is the best type of peach for making jam?
The best peach for jam is a ripe, juicy freestone peach. Freestone peaches are easy to pit because the flesh separates cleanly from the stone. Clingstone peaches are harder to work with. Look for peaches that are firm but give slightly when squeezed. They should smell sweet. Yellow peaches work well, but white peaches are also good. Avoid overripe or mushy peaches. They make the jam too runny. In my kitchen, I always use local, in-season peaches. The flavor is unmatched. Try it with peaches from a farmers market.
How do you get perfect set (thickness) in peach jam?
Getting the perfect set takes practice. The most important step is the “wrinkle test.” Place a spoonful of hot jam on a cold plate. Put it in the freezer for 60 seconds. Push the jam with your finger. If it wrinkles, it is ready. If it slides around, cook it for 3 to 5 more minutes. Stir constantly to avoid burning. You can also use fruit pectin. It helps the jam thicken faster. I use pectin when my peaches are very juicy. The key is patience. Do not rush the cooking process. Also, use the right amount of sugar. Sugar helps the jam set.
Do you need to peel peaches for jam?
You do not have to peel peaches for jam, but I always do. Peach skins can be tough and fuzzy. They leave little bits in the jam that some people do not like. Blanching the peaches makes peeling easy. Drop them in boiling water for 30 seconds. Then transfer them to an ice bath. The skin slips right off. If you like a rustic texture, leave the skins on. That is a personal choice. I remember my first batch with the skins on. It was okay, but not as smooth. Now I always peel them. The jam tastes silkier.
How long does homemade peach jam last?
Homemade peach jam lasts a long time if stored correctly. Unopened jars can sit in a cool, dark pantry for up to one year. The high sugar content and acid keep it safe. Once you open a jar, store it in the refrigerator. It will stay good for three to four weeks. Always use a clean spoon when scooping out jam. Dirt or crumbs can cause mold. I write the date on every jar with a marker. That way I never lose track. If you see any mold, throw the whole jar away. Better safe than sorry.
Why did my peach jam turn out runny?
Runny jam usually means you did not cook it long enough. The pectin in the fruit needs heat and time to thicken. Another reason is too much water in the fruit. If your peaches are very juicy, drain off some liquid before cooking. You can also add a packet of fruit pectin. It helps the jam set faster and firmer. I had a runny batch once because I added extra water by accident. I learned to measure everything carefully. A trick is to cook the jam until it reaches 220F on a candy thermometer. That is the gel point for jam.
Can you reduce the sugar in peach jam?
You can reduce the sugar, but it changes the jam. Sugar acts as a preservative and helps the jam thicken. If you cut the sugar by half, your jam might be runny. It will also spoil faster. Some people use low-sugar pectin. That works better with less sugar. I have made low-sugar jam before. It works, but it has a different texture. The flavor is more like fresh peaches. If you try it, keep the jam in the refrigerator. Eat it within two weeks. I prefer the full sugar recipe. The flavor is richer and it lasts longer.
Which tip will you try first?
A Sweet Send-Off from Elowen Thorn
I hope you make a batch of this peach jam soon. There is nothing better than the smell of peaches bubbling on the stove. Every time I make it, I think of summer days at my grandmother’s house. She always said a jar of jam holds a little bit of sunshine. I believe her. Have you tried this recipe? Let me know how it turned out below. I love reading your stories. Happy cooking!
—Grace Ellington.

My Journey to Perfect Peach Jam
Description
A classic homemade peach jam recipe with ripe peaches, sugar, lemon juice, and optional vanilla and pectin for the perfect summer preserve.
Ingredients
Instructions
- First things first – you need to sterilize your canning jars and lids. This is crucial for ensuring your jam stays fresh and safe to eat. Boil the jars and lids in a large pot of water for at least 10 minutes. Keep them hot until you’re ready to fill them.
- Bring a large pot of water to a boil. While it’s heating up, score a small “X” on the bottom of each peach. Blanch the peaches in the boiling water for 30 seconds, then transfer them to an ice bath to cool. The skins should peel off easily. Cut the peaches in half, remove the pits, and chop the flesh into small pieces. Place the chopped peaches in a large bowl and mash them slightly with a potato masher or fork. Leave some chunks if you like your jam with a bit of texture.
- In a large, heavy-bottomed pot, combine the mashed peaches, sugar, and lemon juice. Stir well to mix everything together. Bring the mixture to a boil over medium-high heat, stirring constantly to dissolve the sugar. Once boiling, reduce the heat to medium and let it simmer. Keep stirring frequently to prevent sticking and burning.
- If you prefer a thicker jam, now’s the time to add the fruit pectin. Follow the package instructions, usually mixing the pectin with a small amount of sugar before adding it to the jam.
- Cook the jam until it reaches the desired consistency. This can take anywhere from 30 to 60 minutes. To test, place a small amount of jam on a chilled plate. If it wrinkles when you push it with your finger, it’s ready. For an extra layer of flavor, stir in the vanilla extract once the jam has reached the right consistency.
- Carefully ladle the hot jam into the sterilized jars, leaving about 1/4 inch of headspace at the top. Wipe the rims clean, place the lids on top, and screw on the bands until fingertip tight.
- Process the jars in a boiling water bath for 10 minutes to ensure they are sealed properly. Remove the jars and let them cool on a towel or cooling rack.
Notes
- Store sealed jars in a cool, dark place for up to one year. Once opened, refrigerate and use within 3 weeks.