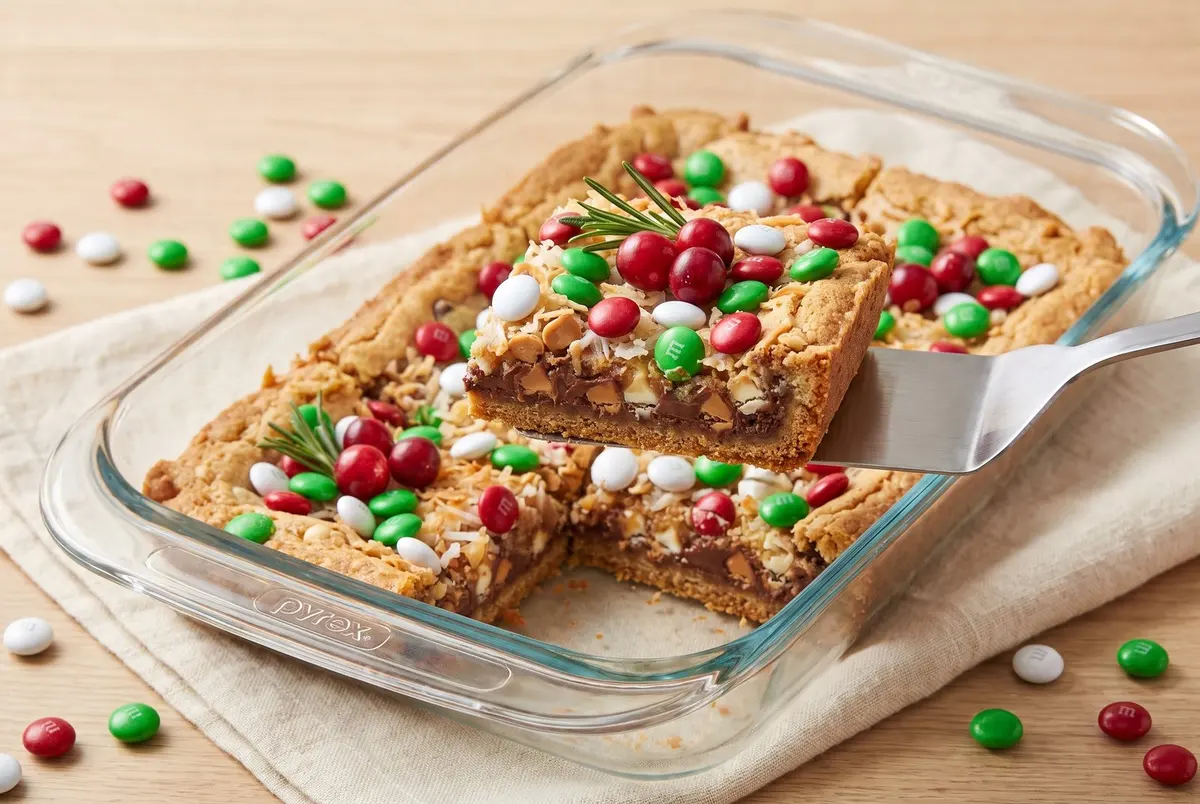
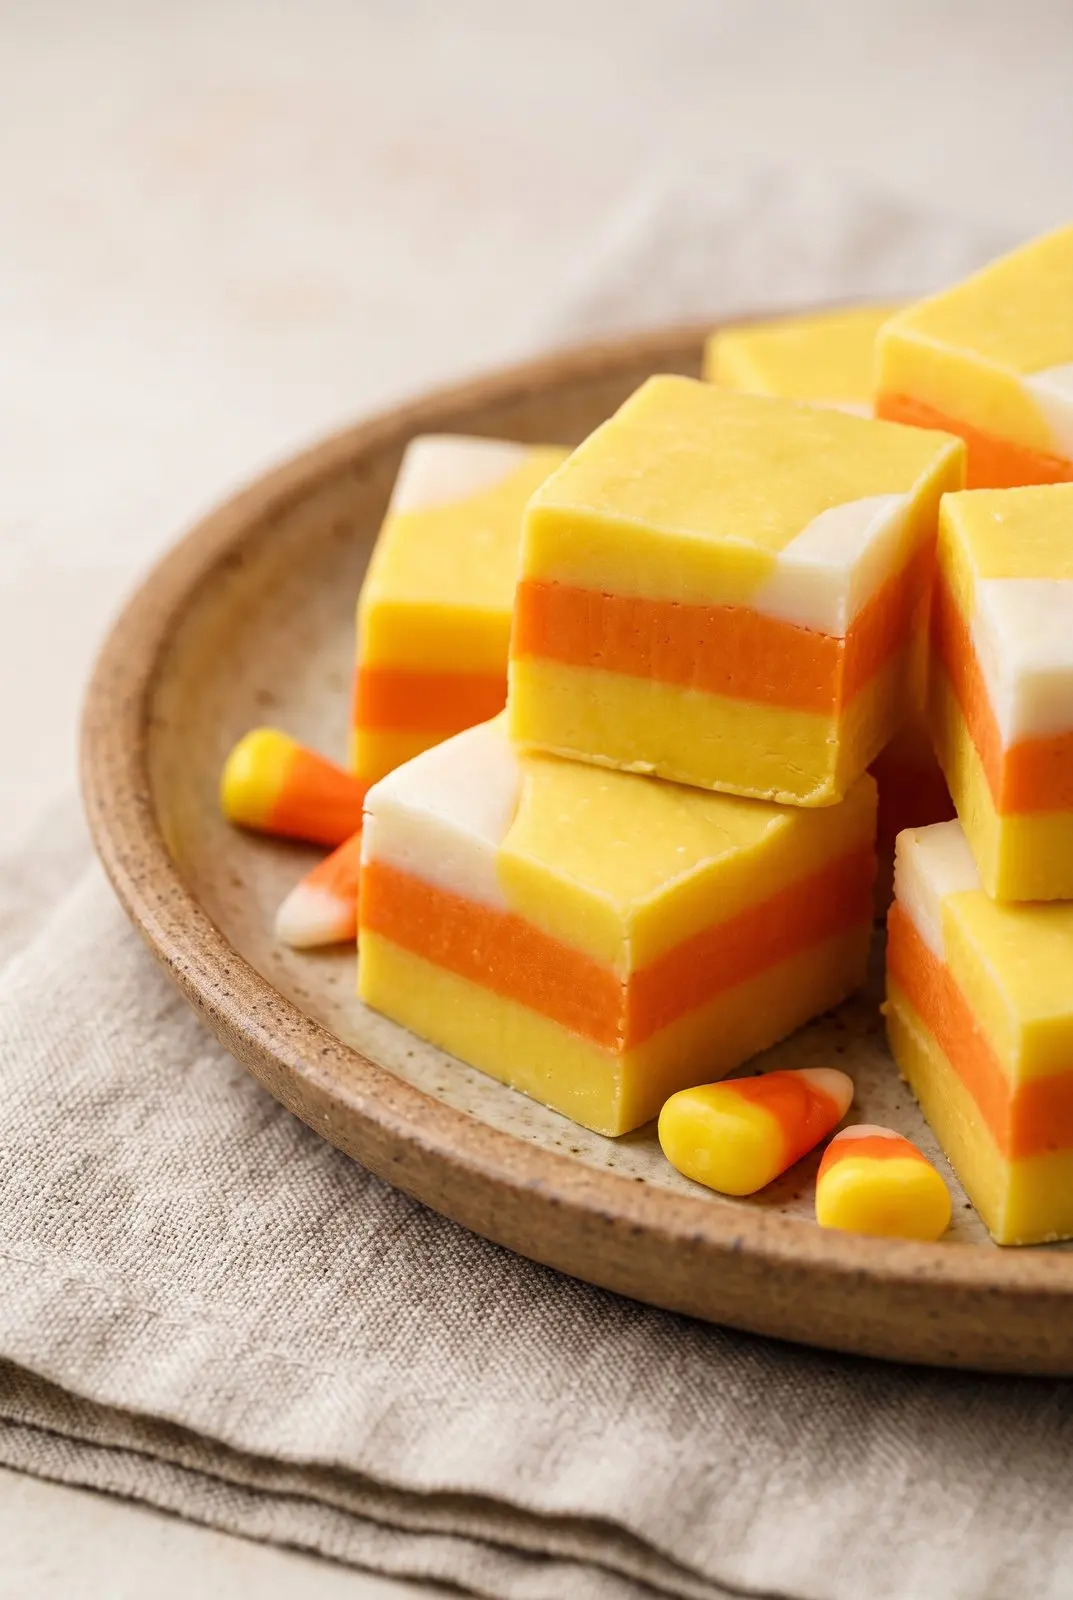
The first time my grandmother made these for me, I was maybe seven years old and completely convinced she was hiding something from me. There is no way a one-pan dessert with seven layers could come together that easily. There is no way something so colorful, so gooey, so impossibly good could start with a can of sweetened condensed milk and a sleeve of graham crackers. And yet — every single December, the same magic happened in her kitchen. The bars came out. They disappeared. The plate got refilled.
I have been chasing that version of December ever since, and these Christmas Magic Cookie Bars are the closest I have come. Have you ever had a dessert that looked like it took all day but actually came together in about thirty minutes flat? That is what we are doing here. Pull up a stool, preheat the oven, and let me show you how my grandma made the whole holidays taste a little bit brighter.
Best-Ever Christmas Magic Cookie Bars
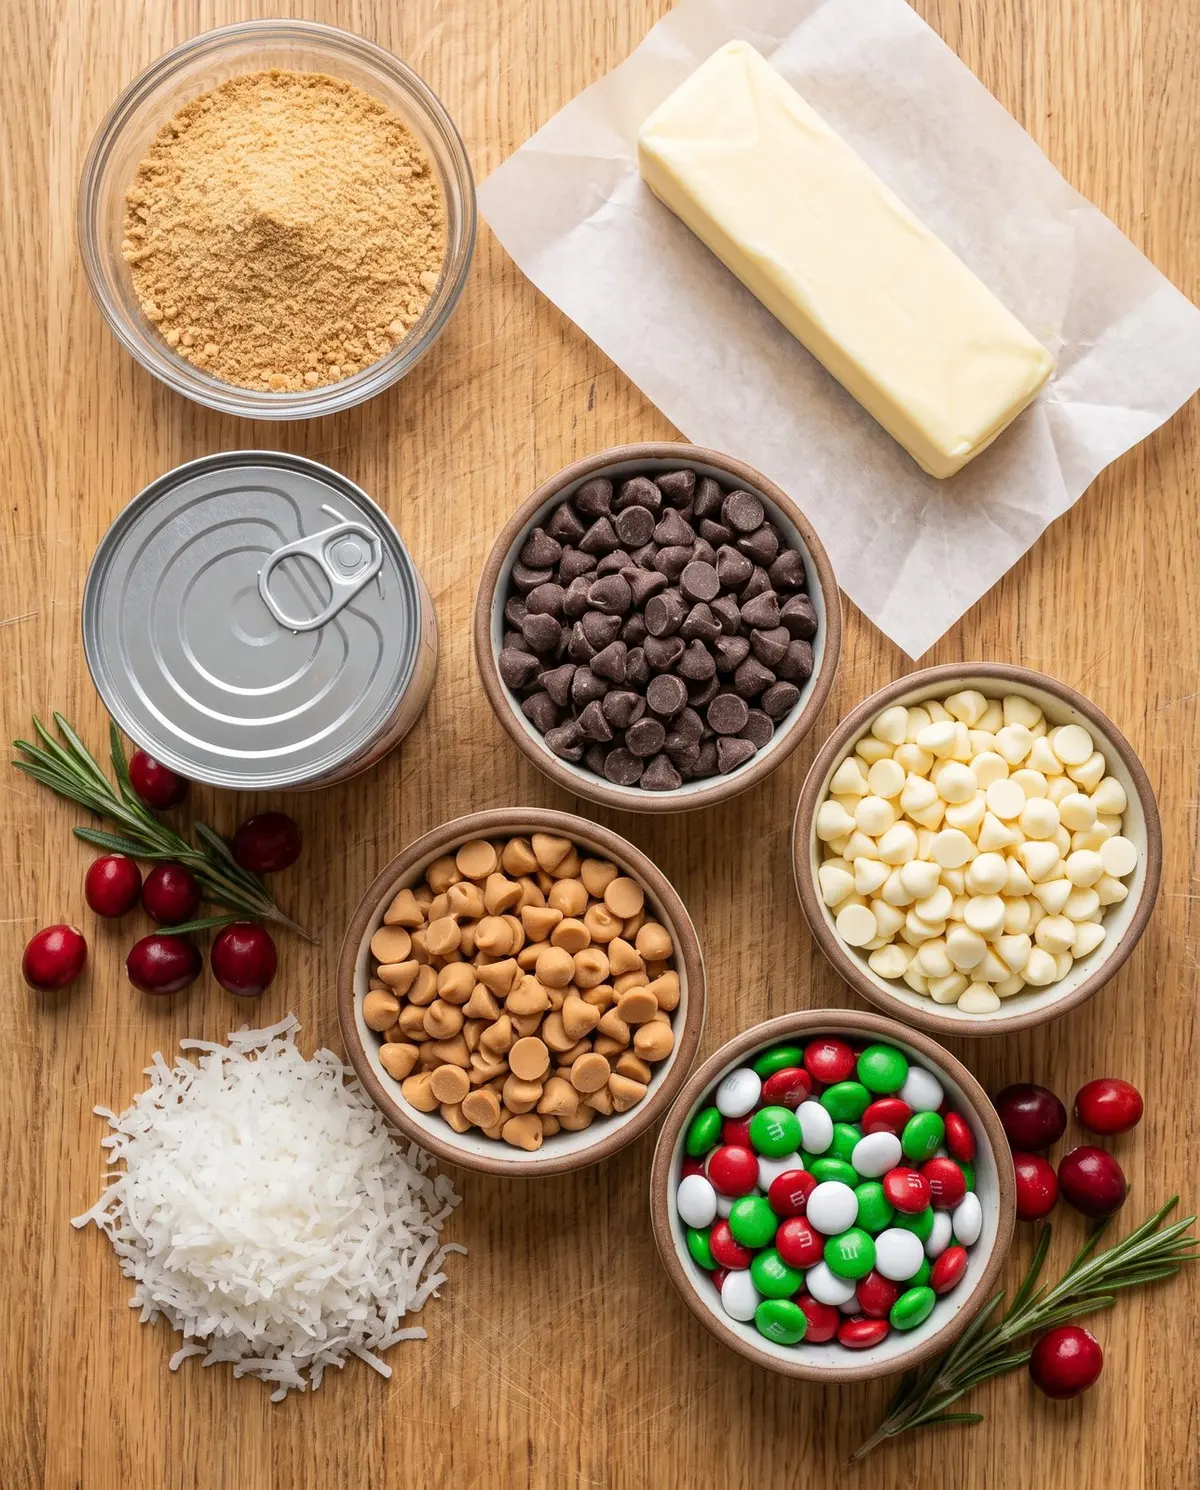
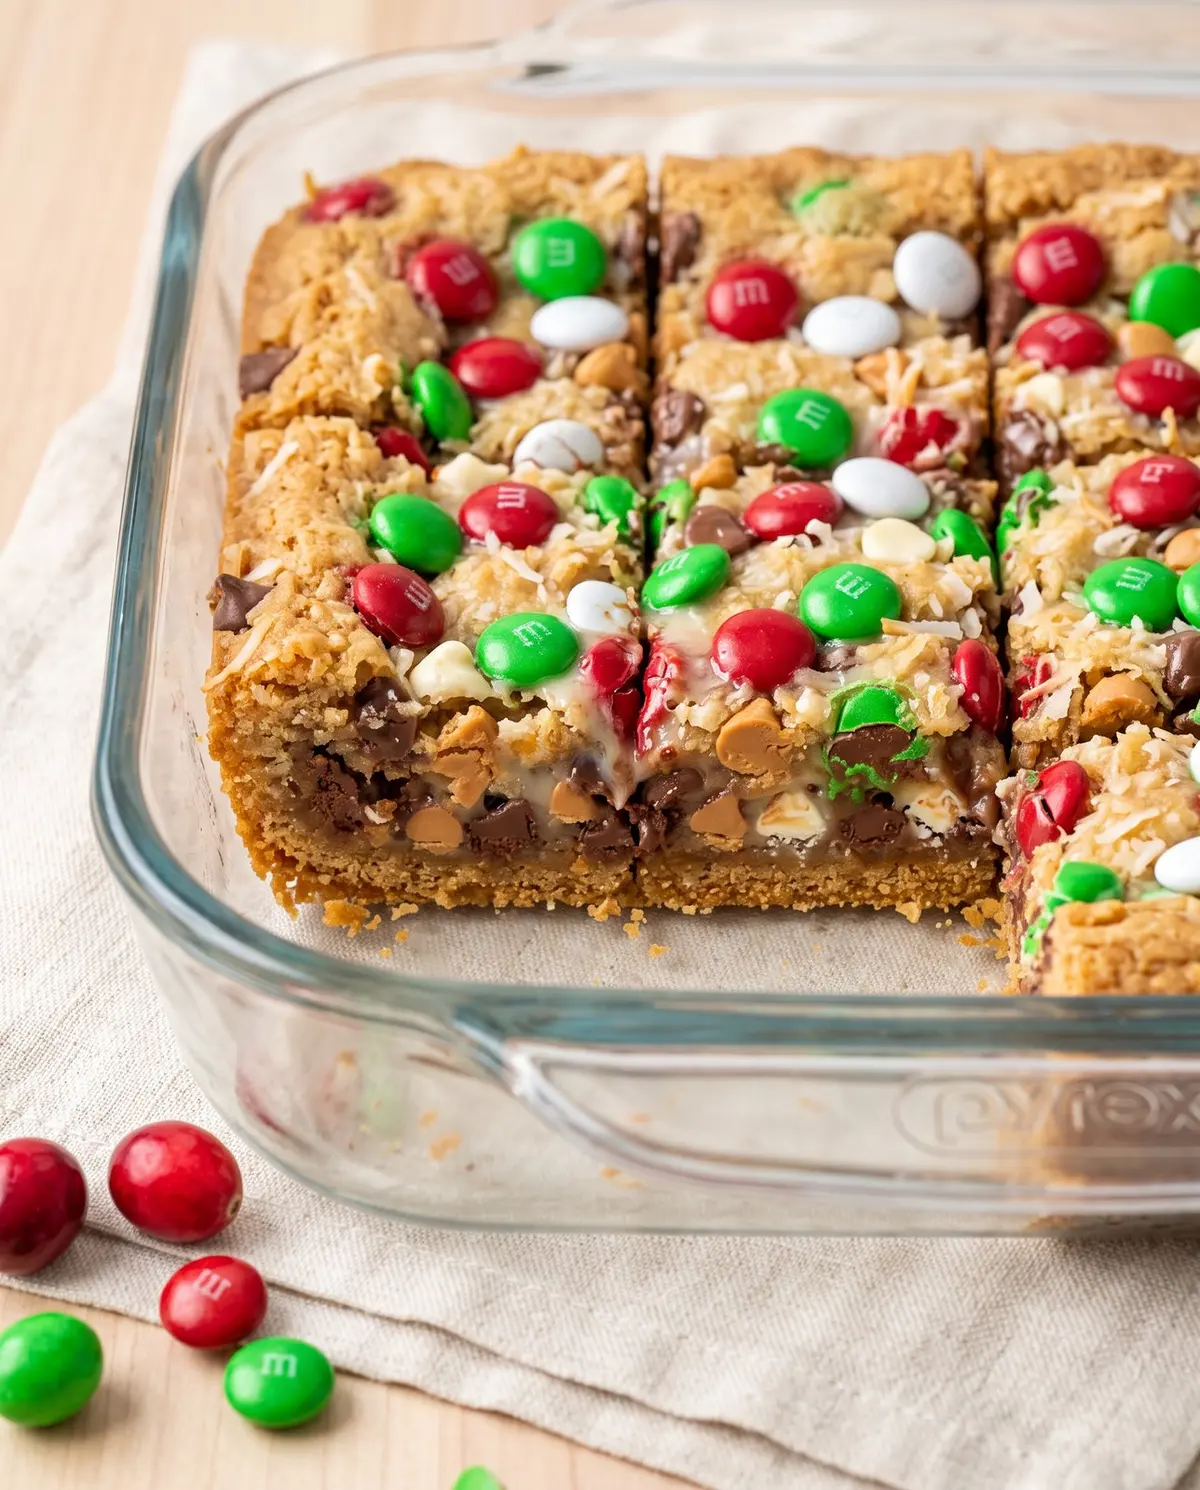
Here is the part that feels like a small kitchen miracle. You press a buttery graham cracker crust into a pan, scatter a few simple pantry staples on top, and finish the whole thing with a slow drizzle of sweetened condensed milk. The condensed milk is the trick. As it bakes, it sinks down through every layer and welds everything together into one thick, chewy, golden slab that cuts into perfect squares. No flour. No eggs. No stand mixer. No fuss.
This is the dessert I bring to every cookie exchange, every neighbor’s plate, every December dinner where I have been told “just bring something small.” It is also the dessert that disappears first. Every single time. So if you are planning to share, bake two. Trust me on this one.
From the Pantry to the Pan
Step 1: Preheat your oven to 350°F. Lightly grease a 9×13 inch baking dish with a little butter, or line it with parchment paper so the bars lift out cleanly when they are cool. I am a parchment convert at this point — it makes slicing so much easier later on.
Step 2: Build the graham cracker crust. Melt half a cup of butter and stir it together with a cup and a quarter of graham cracker crumbs until every crumb is moistened. Press this mixture firmly and evenly into the bottom of your prepared pan. I use the flat bottom of a measuring cup to really pack it in — a loose crust is the most common reason these bars crumble when you slice them.
Step 3: Layer the coconut. Sprinkle half a cup of shredded coconut evenly over the crust. It does not look like much right now, but trust me — by the time the bars come out, the coconut will have toasted into a sweet, golden layer that almost caramelizes against the condensed milk.
Step 4: Add the chips and the M&M’s. Sprinkle a cup and a half of semi-sweet chocolate chips, a cup of peanut butter chips, and a cup of holiday M&M’s in that order. I like the peanut butter chips underneath the M&M’s because the M&M colors stay brighter that way — the chocolate from the candy shell does not melt quite as evenly when it is sitting right on top of the warm chips.
Step 5: Drizzle the condensed milk. Slowly and evenly pour a 14-ounce can of sweetened condensed milk over the entire pan. Take your time here. If you dump it all in one spot, the milk pools and you will end up with one very dense corner and one dry one. I like to use a small ladle and work in a zigzag pattern from one end of the pan to the other.
Step 6: Bake for 25 to 30 minutes. You will know the bars are ready when the edges are golden and the center looks just set — it should not jiggle much when you give the pan a gentle shake. The top will still look a little glossy from the condensed milk, and that is exactly right.
Step 7: Cool completely before slicing. I know this is the hardest part. But cutting into warm magic bars is a recipe for a sticky mess. Let them cool in the pan for at least two hours, or pop them in the fridge for an hour if you are impatient like me. They slice like a dream when they are properly chilled.
Creative Twists Worth Trying
Swap the M&M’s for chopped pretzels and a sprinkle of flaky salt. The sweet and salty version is a serious crowd-pleaser, especially if you have a few salty-snack lovers in your life.
Use butterscotch chips instead of peanut butter. This is closer to the classic seven-layer bar my grandma made, and it has a deep, almost caramel-like warmth that I love in December.
Add a teaspoon of cinnamon to the graham cracker crust. It is a small change, but it makes the whole pan smell like Christmas morning.
Top with chopped toasted pecans or walnuts. For a nuttier, more grown-up bar that still feels like the holidays.
Drizzle melted white chocolate over the cooled bars. A little extra indulgence for the white chocolate lovers in your house.
Serving and Pairing Ideas
What should you serve alongside these bars? Honestly, they do not need much. A cold glass of milk is the classic move, and so is a mug of hot cocoa with a small splash of peppermint schnapps if you are baking for grown-ups. For cookie exchanges, I cut them into smaller squares and stack two or three in a parchment-lined tin — they travel beautifully and stay chewy for days.
If you want to turn them into a full dessert plate, add a small bowl of fresh raspberries and a few sprigs of rosemary. The tart berries and the herbal note balance the sweetness of the bars in a way that feels very intentional, even though it takes about thirty seconds to set up.
Why I Love This Christmas Magic Cookie Bars
What I love about this recipe is how forgiving it is. You can swap almost any of the toppings and they still work. You can use a different size pan — the bars will just be thicker or thinner. You can skip the coconut if you have a house divided on coconut, and the bars will still come together. There is no wrong answer here, only your answer.
I also love that this is the dessert that brings people into the kitchen. Something about the smell of butter and sweetened condensed milk baking together makes even my teenagers wander in to “see what is going on.” The bars have become a small tradition in our house — and if they become one in yours, I would love to hear about it.
Storage and Make-Ahead Tips
Store the bars in an airtight container at room temperature for up to five days. If you are stacking them, place a sheet of parchment paper between the layers so they do not stick together. They also freeze beautifully — wrap individual squares in plastic wrap and store in a freezer bag for up to three months. Thaw at room temperature for about twenty minutes before serving.
If you are baking for an event, you can make the bars two days ahead and keep them in the fridge. Cold bars actually slice the cleanest, so I sometimes bake them the night before a party and slice them in the morning.
Troubleshooting Your Bars
If the crust is crumbly and falls apart when you slice: You did not pack the graham cracker crumbs firmly enough. Next time, really press them into the pan with the bottom of a measuring cup — they should feel like one solid layer before they go in the oven. Also make sure the bars are completely cool before slicing; warm bars are almost impossible to cut cleanly.
If the top is browning too quickly: Tent a piece of foil loosely over the pan for the last ten minutes of baking. Some ovens run hot, and the M&M candy shells can scorch before the center is fully set.
If the center seems underdone after 30 minutes: Give it another five minutes, but watch closely. The center should look just set, not wet, when you pull the pan out. It will continue to cook a little as it cools in the pan, so err on the side of slightly underbaked rather than overbaked.
Your Quick Questions, Answered
Can I make these ahead of time for the holidays? Absolutely. In fact, I think they taste better on day two, after the layers have had time to settle into each other. You can bake them up to four days ahead and store them in an airtight container at room temperature.
Can I freeze them? Yes. Cool the bars completely, then wrap individual squares in plastic wrap and store in a freezer-safe bag for up to three months. Thaw at room temperature for about twenty minutes before serving — they come back tasting almost as good as fresh.
What if I do not have a 9×13 pan? You can use a 9×9 square pan for thicker bars (bake for about 35 minutes) or two 8×8 pans for thinner bars (bake for about 22 minutes). A cast iron skillet also works beautifully and gives you that golden, slightly crisp edge that I love.
Can I use a different type of chip? Of course. Butterscotch, white chocolate, milk chocolate, dark chocolate, toffee bits — any of them will work. I have even used a mix of chopped candy canes and chocolate chips for an extra-festive version.
Do I have to use sweetened condensed milk? Yes, this is one of those recipes where the magic is in the can. Evaporated milk will not work — it does not have the sugar content to caramelize the way the condensed milk does. If you are in a pinch, you can make a quick substitute by simmering two cups of whole milk with half a cup of sugar until reduced by half.
How do I keep the M&M colors from bleeding? Press them in gently with your fingers rather than stirring them through the other layers. The candy shell holds up best when the M&M’s are sitting on top of the chips, not buried underneath.
A Few Last Thoughts
That is really all there is to it. A few pantry staples, a single pan, and about half an hour of your time. These bars have been the quiet star of our December for as long as I can remember, and I hope they find a place in your holiday kitchen too. If you make them, I would love to hear how they turned out — leave a comment below, snap a photo, and tell me what you layered in. From our kitchen to yours, happy holidays, friends.
Classic seven-layer magic cookie bars all dressed up for the holidays with graham cracker crust, chocolate chips, peanut butter chips, coconut, and festive holiday M&M’s bound together with sweetened condensed milk.
Ingredients
Instructions
Preheat oven to 350°F (175°C). Lightly grease a 9×13 inch baking dish or line with parchment paper.
Stir melted butter and graham cracker crumbs together until evenly moistened. Press firmly and evenly into the bottom of the prepared pan.
Sprinkle shredded coconut evenly over the crust.
Layer chocolate chips, then peanut butter chips, then holiday M&M’s over the coconut.
Slowly and evenly pour the sweetened condensed milk over the entire pan in a zigzag pattern to cover all layers.
Bake for 25 to 30 minutes until edges are golden and the center is just set.
Cool completely in the pan (about 2 hours, or 1 hour in the fridge) before slicing into 24 squares.
Notes
Bars slice cleanest when fully chilled. Store in an airtight container at room temperature for up to 5 days, or freeze wrapped for up to 3 months.
Elowen Thorn I cook, photograph and re-test every recipe in an ordinary home kitchen before it goes up, so what you make matches what you see. Savory Discovery is where simple weeknight cooking, seasonal ideas and the odd bit of kitchen craft sit side by side — written plainly, and worth cooking twice.