Make golden homemade pasta with flour, eggs, and a little patience. This illustrated guide covers the dough, the machine, the tricky moments, and the loose pasta nests you will finish with.
4 modest servings · About 65 minutes to fresh pasta · Cooking instructions included
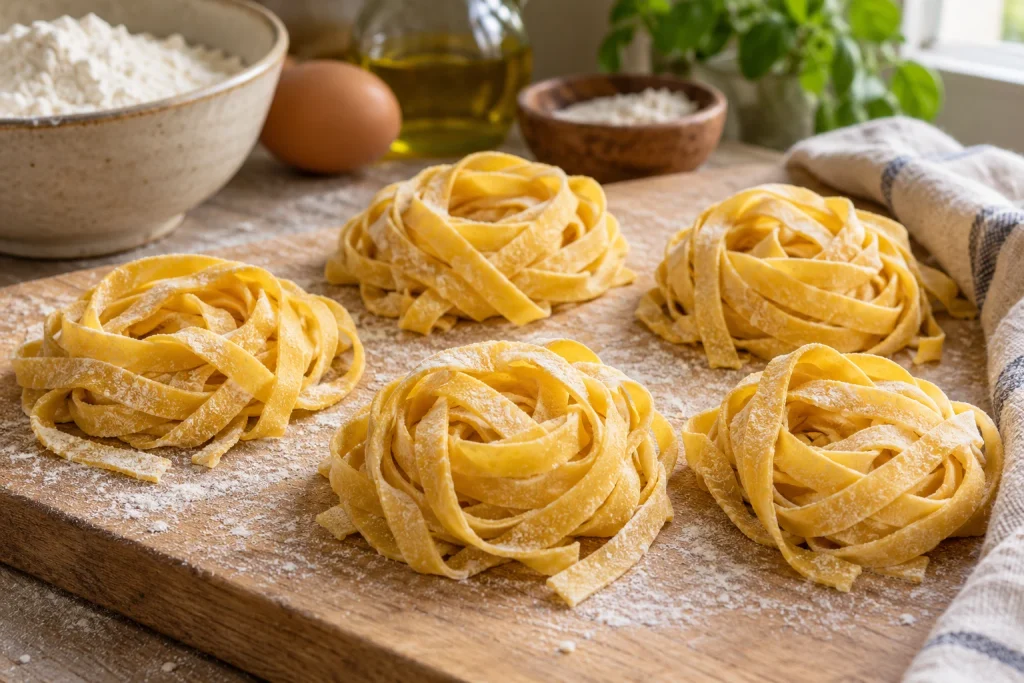
The finished result: flour-dusted, uncooked pasta nests, ready to cook or freeze.
Homemade pasta starts with a simple transformation: a shaggy pile of flour and eggs becomes a smooth dough, then a thin sheet, then a handful of soft ribbons. The satisfying part is seeing the texture change at each stage. You do not need perfectly straight edges to make a useful first batch.
This recipe uses 300 g flour and 3 large eggs, with a small amount of salt. A manual pasta machine makes it easier to roll evenly. A rolling pin also works, and a KitchenAid attachment is another option if you already own the mixer.
The goal here is fresh, uncooked egg-pasta nests. Cooking and sauce ideas come later. Keep a lightly floured tray nearby, leave some clear counter space, and work through one small piece at a time.
Weighing the flour is the most useful small improvement you can make before starting. A tightly packed cup can contain more flour than a loosely filled one, leaving you with dough that seems impossible to knead. A scale removes that uncertainty.
Ingredient
Amount
Purpose and practical notes
All-purpose flour
300 g, plus extra for dusting
About 2½ US cups when measured at 120 g per cup. Spoon and level if you cannot weigh.
Large eggs
3, approximately 150 g without shells
The main source of moisture and richness. Egg size affects the dough.
Fine salt
¼ teaspoon
A small amount for the dough. Salt the cooking water separately.
Water, if needed
1 teaspoon at a time
Only for dough that remains too dry to hold together after initial mixing.
Flour and eggs form the dough. The oil shown alongside is optional for serving, not a dough ingredient.
All-purpose flour, 00 flour, or semolina?
All-purpose flour is a practical choice for a first batch of egg pasta. Pasta-suitable 00 flour is another option, but the “00” label does not mean every bag behaves identically. Different products can absorb different amounts of liquid, so the texture still matters.
Coarse semolina is not a straight replacement for all the flour here. If you want to experiment with semolina-rich dough, use a recipe developed for it. For this guide, keep the base simple and use only a light dusting of extra flour on your work surface.
What should pasta dough feel like?
After kneading, aim for a firm, cohesive dough that bends without breaking apart. It should not smear across the counter or stick heavily to your fingers. A few shallow surface lines are less concerning than deep cracks or loose dry crumbs.
Why this matters: the machine shapes the dough you feed into it. It cannot turn a sticky paste into clean ribbons or repair a very dry, crumbly mixture. Adjust the texture before reaching for thinner roller settings.
Equipment to have ready
You need a digital scale or measuring cups, a fork, a clean board, a dough scraper or kitchen knife, food wrap, and a lightly floured tray. Choose one rolling setup: a manual pasta machine, a rolling pin, or a compatible mixer attachment.
The main method below follows the Marcato Atlas 150 Classic. Its smooth rollers produce sheets; its separate cutting attachment produces noodles. That distinction is worth understanding before you begin. Turning the crank in the rolling socket does not operate the cutter.
A drying rack is optional. It helps separate long strands, but a floured tray is enough for the loose nests in this recipe. You do not need to buy a mixer, rack, and multiple cutters to try homemade pasta.
How to make homemade pasta, step by step
Read through the rolling and cutting steps before mixing. Keep the dough covered whenever you are not working with it. The following stages finish with fresh pasta; allow additional time when you decide to boil it.
1. Mix the eggs into the flour
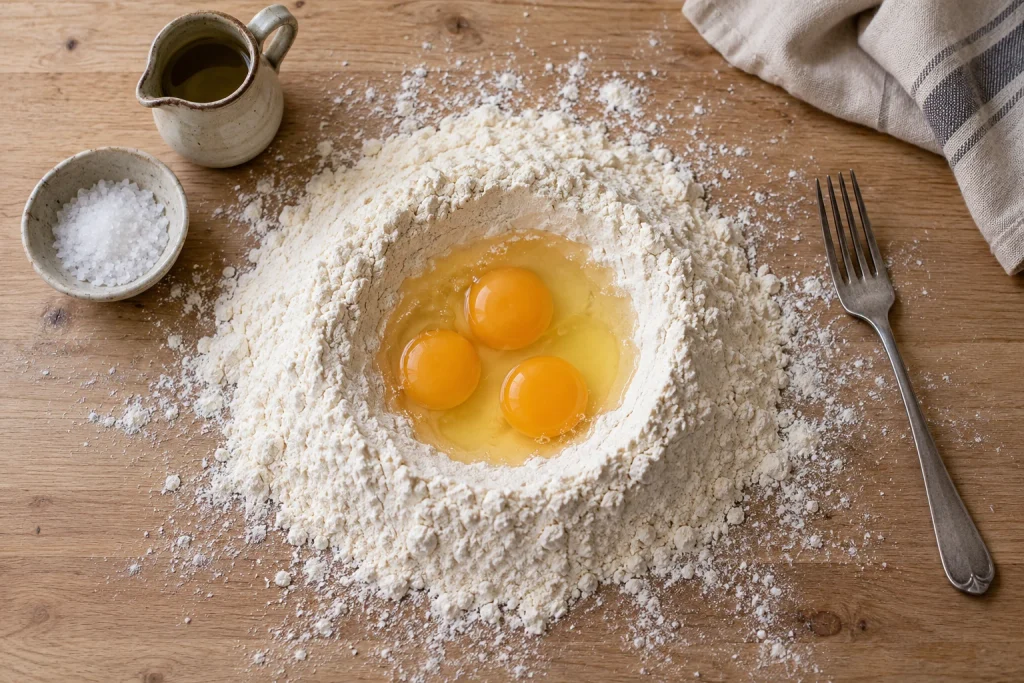
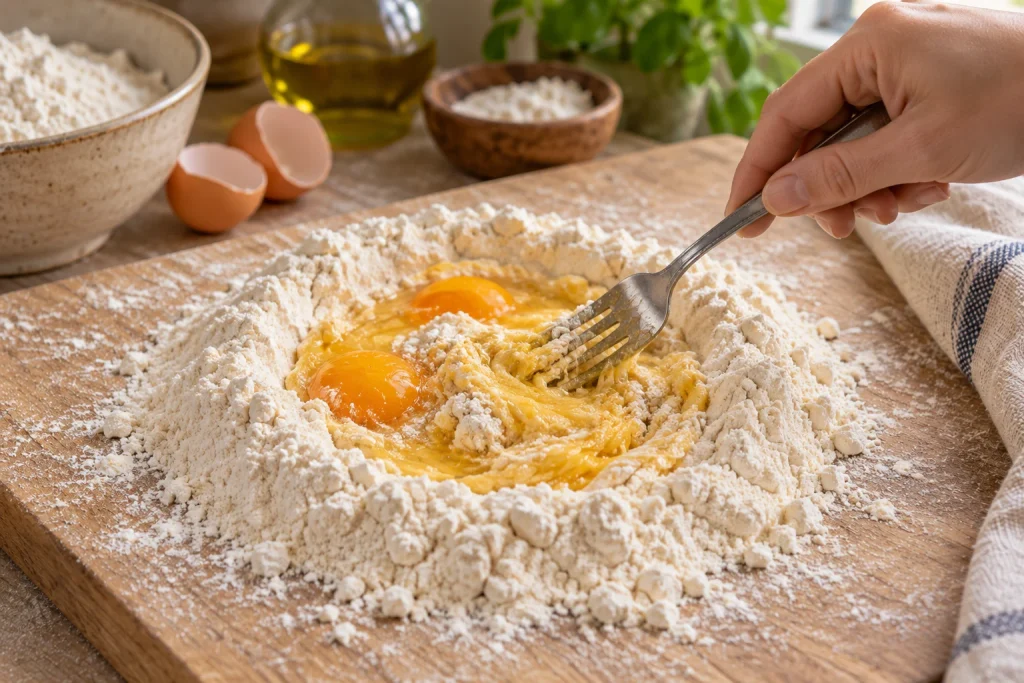
Mix the flour and salt on a clean board. Make a broad well in the center, leaving a sturdy flour wall around the outside. Add the eggs to the well and break them up with a fork. Gradually draw small amounts of flour into the eggs from the inside edge.
As the mixture thickens, use a scraper and your hands to gather it into a rough mass. A large bowl is a tidier alternative if the flour well feels awkward. At this stage, the mixture can look uneven and shaggy; do not rush to add a large splash of water.
Draw flour into the eggs gradually, keeping the outer wall intact.
2. Knead and make small moisture adjustments
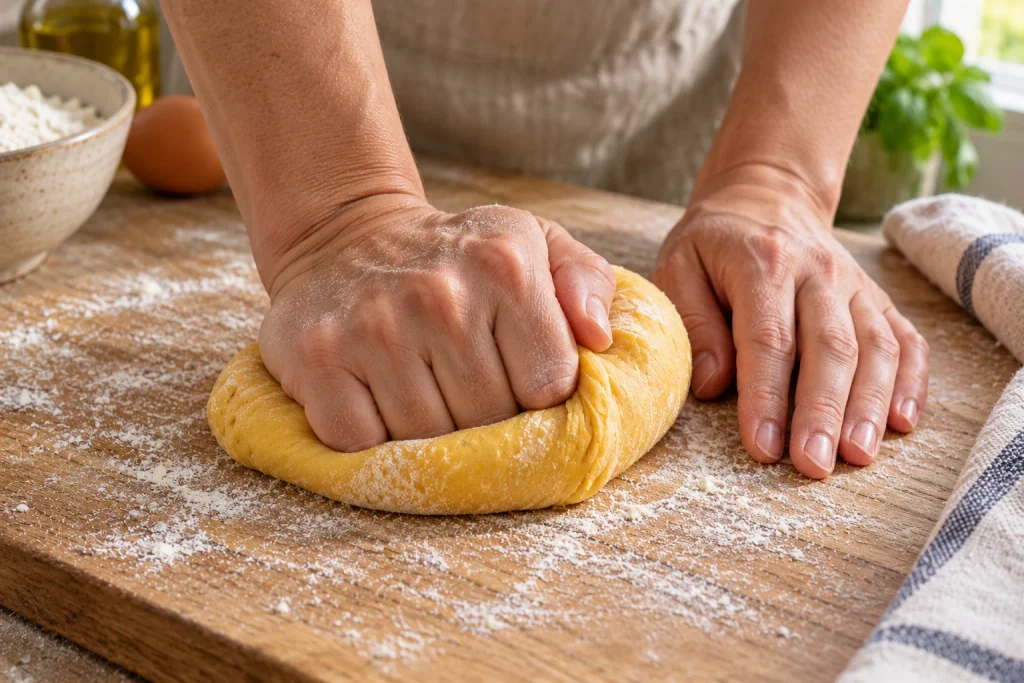
Press the dough forward, fold it back, and rotate it. Repeat for about 8–10 minutes, gathering loose crumbs as you go. It should gradually feel more connected and develop a smoother surface.
If it remains crumbly after you have worked it together, add a teaspoon of water and knead again. If it leaves a sticky coating on the counter, add a little flour instead. Make one small adjustment at a time; adding water and flour back and forth in large amounts makes the texture harder to judge.
Work the dough until it holds together and feels firm rather than crumbly.
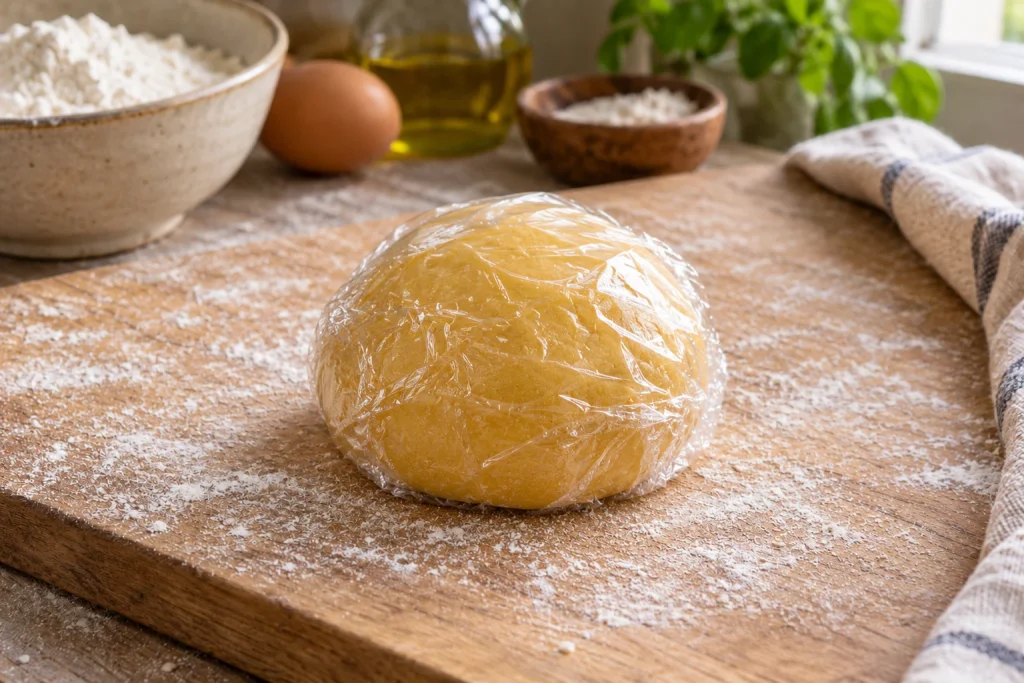
3. Cover and rest for 30 minutes
Wrap the dough tightly and leave it to rest for 30 minutes in a cool kitchen. This gives the flour time to hydrate and makes the dough easier to stretch. If the room is hot or you need a longer pause, refrigerate the wrapped dough, then let it soften enough to roll.
The rest is especially helpful when a sheet keeps shrinking back under a rolling pin. Do not leave the dough uncovered: a dry skin can break into flakes when it reaches the rollers.
A tight covering protects the dough while it rests.
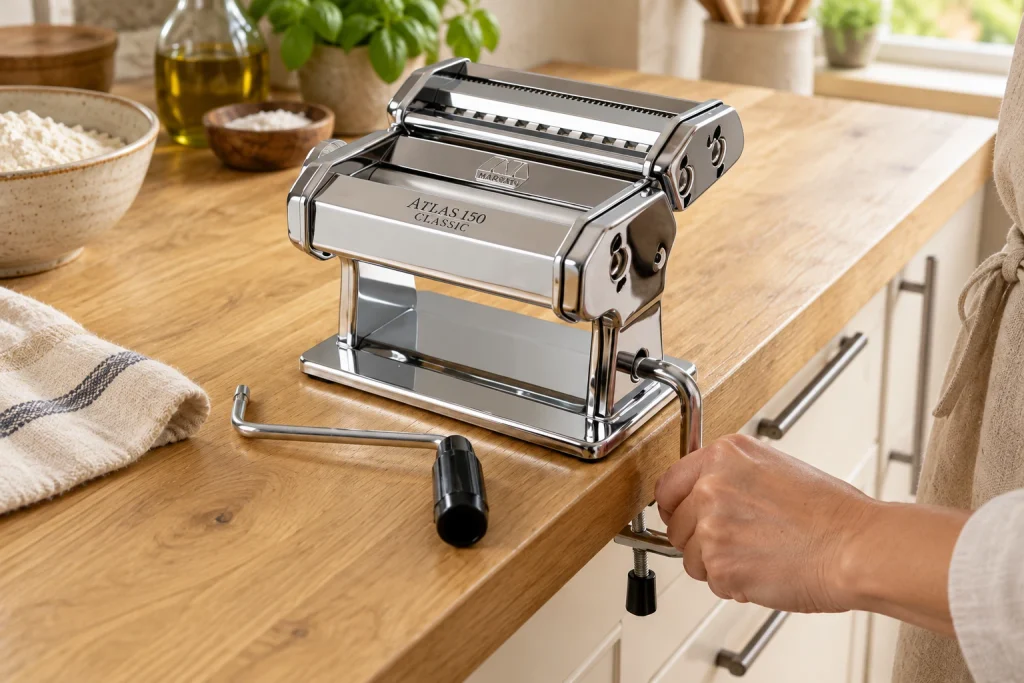
4. Secure the machine and identify the two working parts
Place the Atlas 150 on a stable worktop with an edge that accepts its clamp. Tighten the clamp so the machine does not shift during cranking. Leave enough room for the handle to turn and for a sheet to emerge without falling onto the floor.
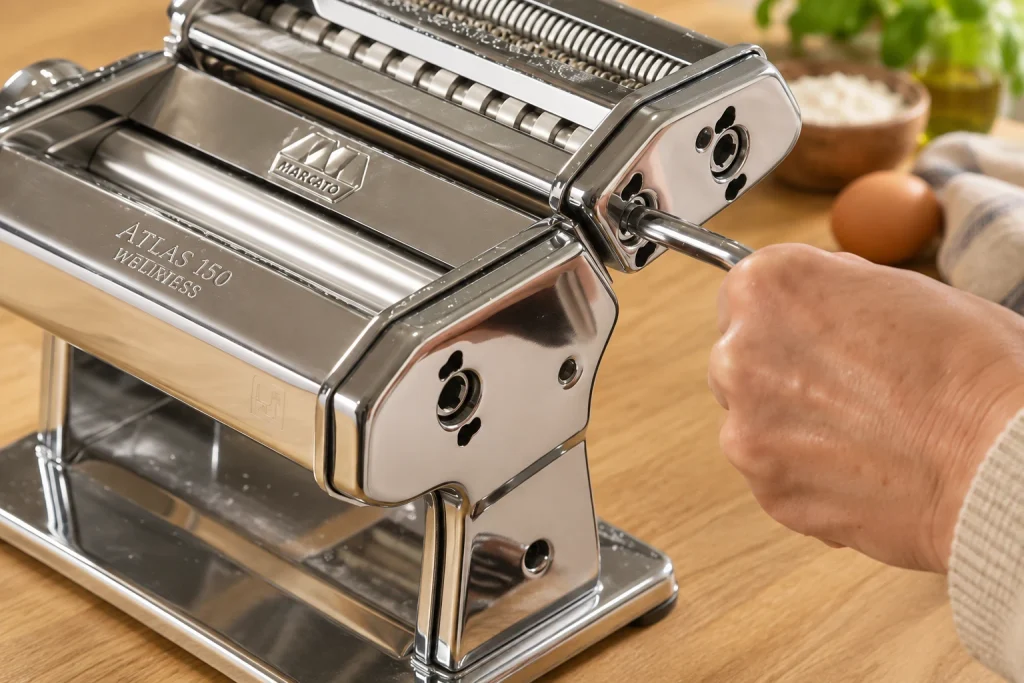
Fit the crank to the smooth-roller drive socket. Set the thickness dial to 0, the widest opening on the Atlas 150 Classic. Check the instructions supplied with your machine; other brands use different numbering. Keep fingers clear of the roller openings.
Secure the table clamp before fitting the crank and rolling dough.
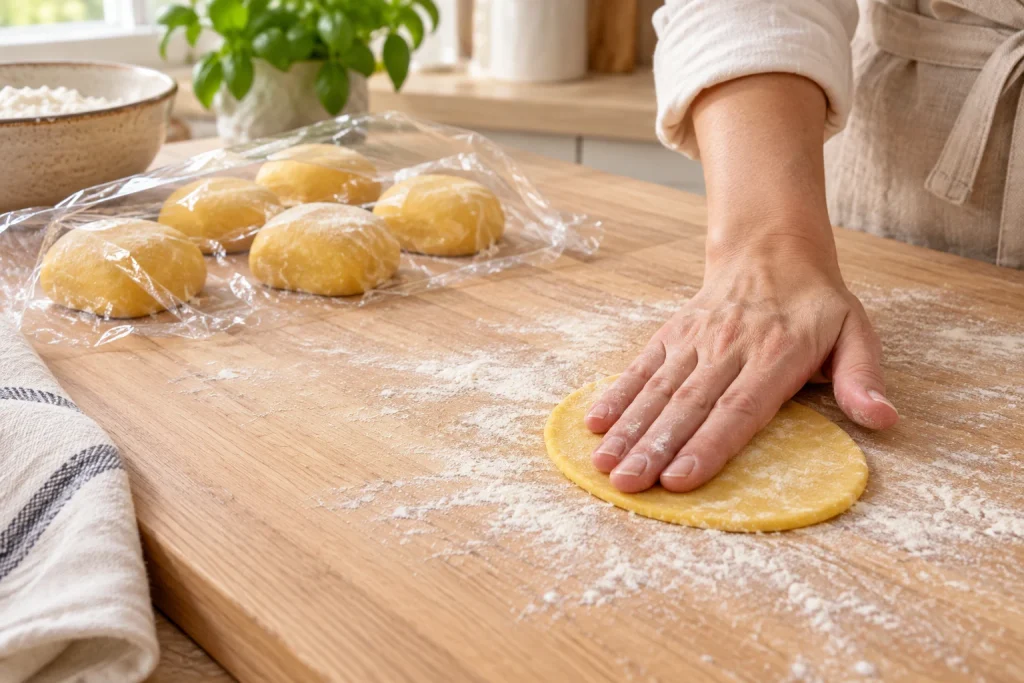
5. Divide the dough and flatten one portion
Cut the rested dough into six pieces. Cover five and press the remaining piece into a short oval or rectangle. It should be narrow enough to fit between the roller sides and thin enough to enter the widest gap without force.
Dust both faces lightly with flour, brushing away any thick patches. Working with small portions makes long sheets easier to support. If you are rolling by yourself, shorter pieces are usually more manageable than one impressive, counter-length ribbon.
Flatten one small portion; keep the remaining dough covered.
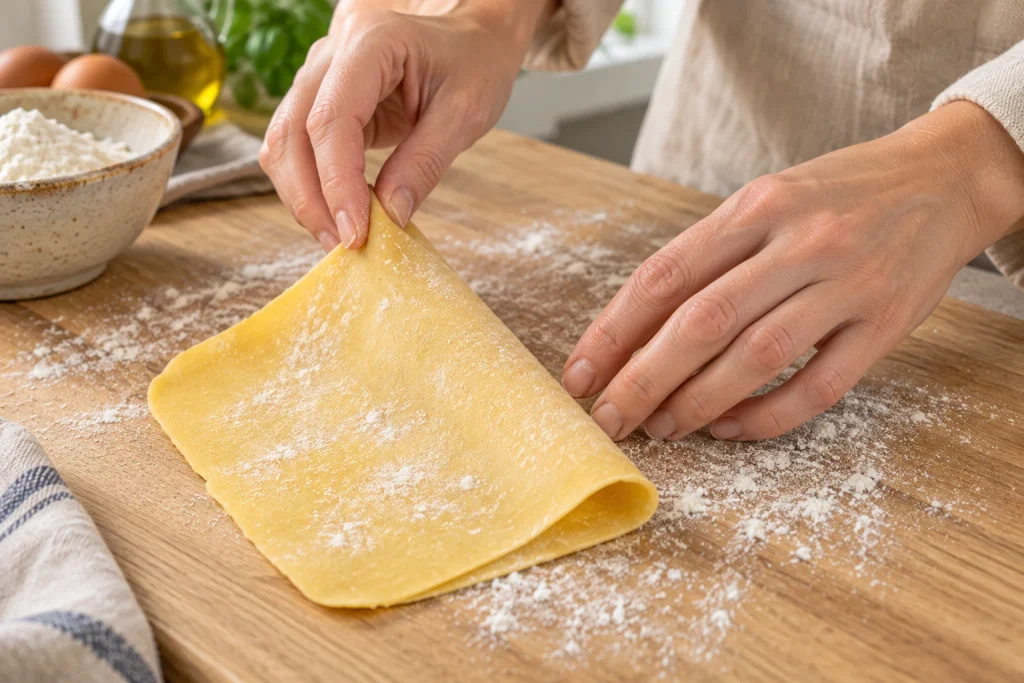
6. Roll at the widest setting, then fold
Feed the flattened dough into the smooth rollers and turn the crank steadily. Lay the short sheet on the board, fold it in half, and pass it through again at the widest setting. Repeat until it looks more even and cohesive, using a little flour only if it sticks.
Marcato’s demonstration uses several passes at this stage. The useful cue is a more uniform sheet, not a race to reach the thinnest setting. Folding belongs in this early smoothing stage; stop folding once you begin progressively thinning the sheet.
Fold the early sheet in half before another pass through the widest gap.
7. Thin the sheet one setting at a time
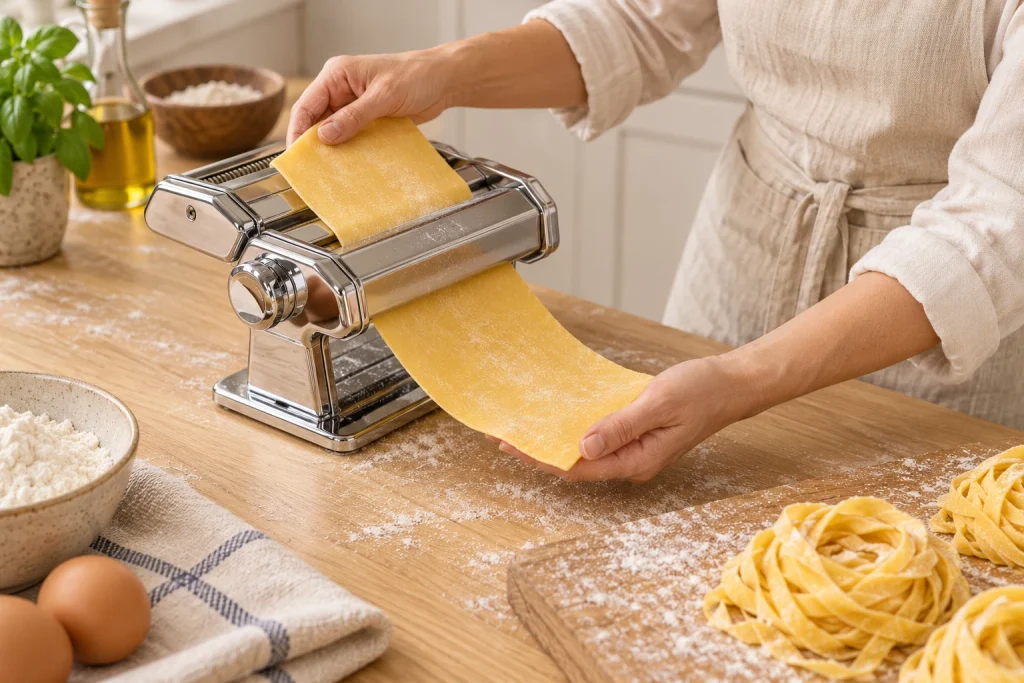
Move to the next narrower opening and roll once. Continue through the settings gradually, supporting the sheet as it comes out. Let the rollers pull it through; tugging at the lower end can stretch some areas more than others.
In the Atlas 150 Classic video, the fettuccine sheet finishes at setting 6. Treat that as a model-specific reference, not a universal number. Aim for an evenly thin, flexible sheet, roughly 1 mm thick for these ribbons. If it becomes too long to handle, cut it across into shorter sections.
Why this matters: gradual thinning puts less strain on the sheet. Skipping straight from a thick setting to a narrow one can cause ragged edges, tearing, or bunching at the opening.
Support the continuous sheet as it passes through the smooth rollers.
8. Dust the sheet and move the crank to the cutter
Lay the sheet flat and lightly flour both sides. It should feel dry enough on the surface to separate cleanly, while still bending easily. If it feels tacky, give it a brief pause on the floured board and check again. Do not wait until it becomes stiff or brittle.
Make sure the cutting attachment is seated correctly. Stop turning the handle, remove it from the smooth-roller socket, and insert it into the fettuccine cutter’s socket. The smooth rollers and the cutter are separate mechanisms; this change is essential.
Move the crank to the cutter attachment; the smooth-roller socket remains empty.
9. Cut the ribbons and separate them immediately
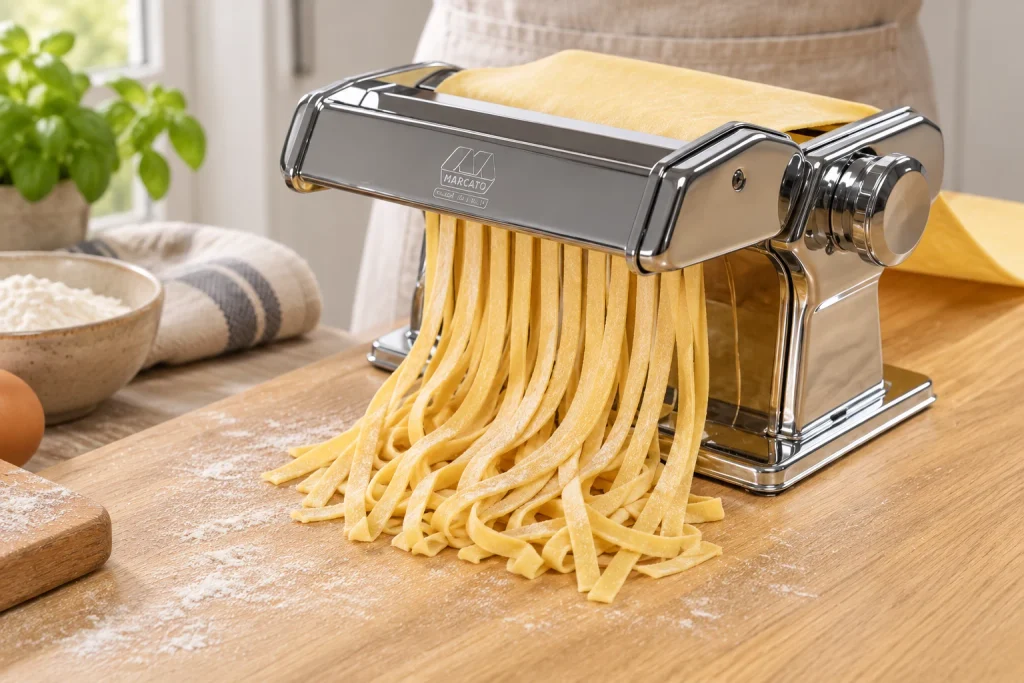
Feed the prepared sheet through the fettuccine cutter while turning the crank steadily. Support the emerging ribbons without pulling. Catch them on a clean hand held below the opening or a suitable pasta-transfer rod, keeping fingers away from the moving parts.
Lay the cut pasta on a lightly floured tray and gently separate the strands. If neighboring ribbons remain joined, pause before feeding the next sheet: it may need a slightly drier surface or a little more dusting flour.
The cutting attachment turns a thin sheet into individual flat ribbons.
10. Shape loose, flour-dusted nests
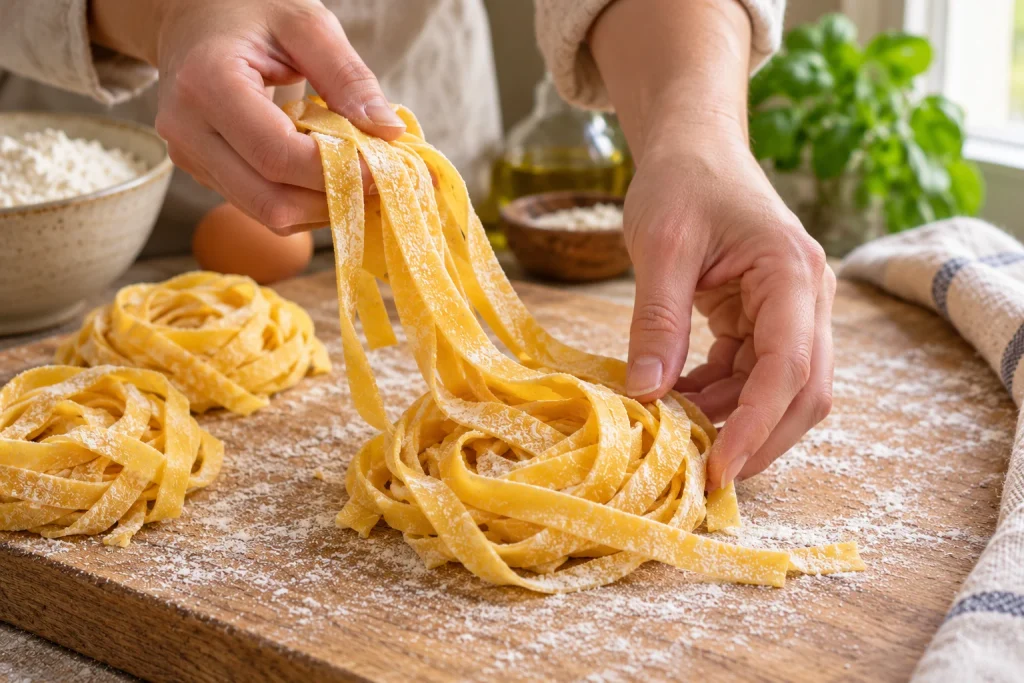
Lift a small bundle of separated ribbons and lower it into a loose coil. Let the strands settle naturally instead of twisting them tightly around your hand. Leave room between nests and avoid pressing the center into a dense knot.
Several small nests are easier to handle than one large, compressed portion. The number of nests does not determine the serving count: divide the whole batch into four modest portions, or three larger ones, when you plan the meal.
Lower the ribbons into an open coil without squeezing them together.
Your fresh pasta is finished. It should look like the image below: golden, uncooked ribbons with a light flour coating. Cook it promptly, refrigerate it briefly, or freeze the portions for another day.
Finished uncooked homemade pasta nests on a floured wooden board.
How to make homemade pasta without a machine
Prepare and rest the same dough. Work with one small portion at a time on a lightly floured board. Roll from the center outward, turn the dough often, and continue until the sheet is evenly thin. Check the edges as well as the center; thick borders can produce chewy ends.
If the sheet springs back repeatedly, cover it and pause for 5–10 minutes. When it is thin and flexible, flour both sides, fold it loosely, and cut strips about 6–8 mm wide. Unfold each ribbon straight away and separate it on the tray.
A rolling pin takes more physical effort and may produce less uniform sheets, but it is a reasonable way to decide whether you enjoy making pasta before buying dedicated equipment.
Marcato Atlas 150 review and KitchenAid alternative
About this review: this is an editorial comparison of documented features and the Marcato demonstration, not a hands-on durability or performance test. The photos are AI-generated illustrations; consult the product listings for exact product appearance and included parts.
Marcato Atlas 150 Classic: a practical standalone choice
The strongest reason to consider the Atlas 150 is its simple workflow. You prepare the dough by hand, flatten it with the smooth rollers, then move the crank to the cutting attachment. You can stop immediately whenever the sheet needs attention. The standard setup handles sheets, fettuccine, and fine tagliolini. See the manufacturer’s listing details on Amazon.
Who it suits: someone starting with fresh ribbon pasta who wants a dedicated tool without buying a stand mixer. Manual control can also make it easier to pause and inspect each pass while learning.
Trade-offs: one hand is occupied by the crank, the machine needs a suitable counter edge, and long sheets can be awkward when working alone. It does not mix the ingredients for you. Check your worktop before ordering, especially if it has a thick edge or an apron underneath.
Editorial verdict: shortlist it if your main goal is occasional homemade fettuccine and you have a workable place to clamp it. Its suitability depends more on your counter and preferred workflow than on how many accessories you can add.
KitchenAid KSMPRA: an alternative for existing mixer owners
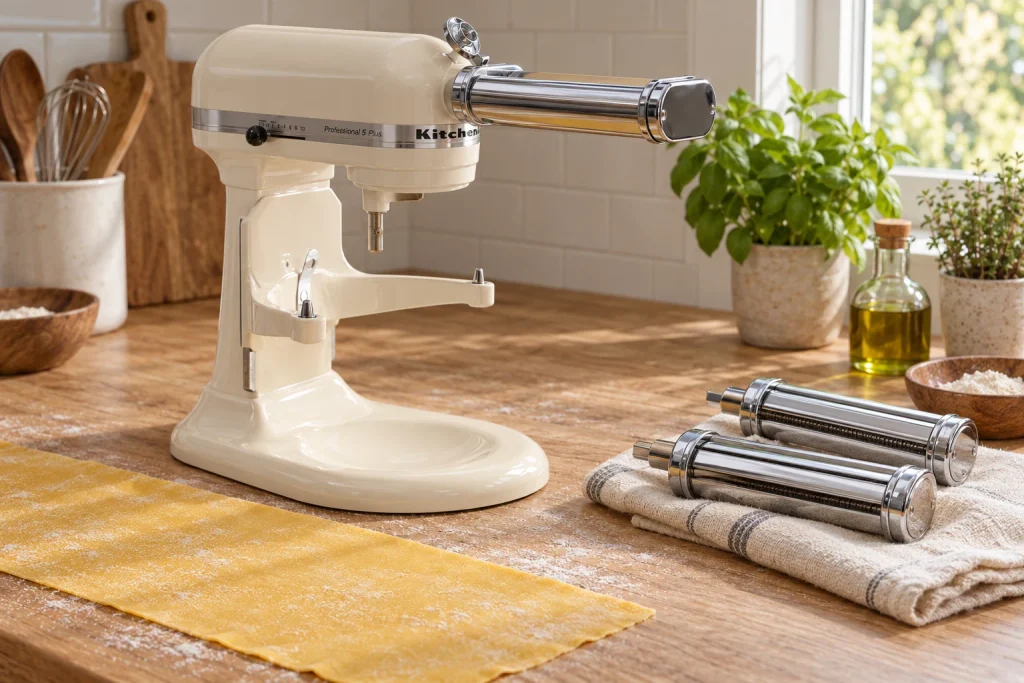
The KSMPRA set uses a KitchenAid stand mixer to drive a separate sheet roller, fettuccine cutter, or spaghetti cutter. The mixer is sold separately. KitchenAid lists eight roller thickness settings and compatibility with its household stand mixers. Verify your model and the exact set before purchase. KitchenAid product specifications.
Alternative equipment: a stand mixer with a pasta attachment. The mixer is separate from the KSMPRA set.
Who it suits: someone who already keeps a compatible mixer on the counter and wants powered rolling. Removing the need to turn a hand crank leaves both hands available to guide the dough.
Trade-offs: the full setup needs electricity and mixer space, and you must exchange attachments between rolling and cutting. Buying a mixer solely for one pasta recipe is a larger equipment commitment than adding attachments to a mixer you already use.
Editorial verdict: consider it for convenience within an existing KitchenAid setup. It is not automatically the better purchase for someone starting from zero, and neither setup guarantees good noodles if the dough is too wet or too dry.
The useful buying decision: choose the workflow you will actually use. If you make pasta rarely, start with a rolling pin or a manual machine. If you already use a KitchenAid often and expect to roll pasta regularly, compare the attachment cost with the manual option. Check the live prices, seller, return terms, and what is included; no fixed price is assumed here.
Using this dough with the KitchenAid attachment
With the mixer switched off and unplugged, install the sheet roller according to its instructions. The KSMPRA quick-start guide begins at roller setting 1 and mixer speed 2. Fold during the initial smoothing passes, then narrow the gap progressively without folding.
Switch off and unplug before exchanging attachments. The same guide lists speed 5 for the fettuccine cutter. Follow the guide supplied with your exact model; the mixer speed and roller thickness dial are different controls, and Marcato’s setting 6 does not transfer directly to KitchenAid. KitchenAid’s KSMPRA quick-start guide.
Homemade pasta troubleshooting
Before changing the recipe, identify when the problem appears. Crumbling during mixing, tearing during rolling, and sticking after cutting can have different causes.
What you notice
Likely cause
What to try
Dough will not hold together
Not enough moisture, excess flour, or incomplete mixing
Gather and knead first. If still crumbly, work in water a teaspoon at a time.
Dough smears on the board
Too much surface moisture
Knead in a small dusting of flour, then reassess.
Sheet repeatedly shrinks
Dough needs more relaxation
Cover it and pause for 5–10 minutes.
Sheet tears or has ragged edges
A large jump in thickness, dry dough, or pulling the sheet
Return to a wider gap. Support the dough and reduce the opening gradually.
Cutter leaves connected ribbons
Tacky surface or an overly thick sheet
Separate gently, then adjust the next sheet’s thickness and surface flour.
Nests become one sticky lump
Wet strands or tight coiling
Dust and separate before shaping; keep nests loose and freeze promptly if storing.
Noodles crack when bent
They have dried too far for shaping
Stop coiling them. Keep straight or broken pieces for cooking and shape the next batch sooner.
Cooked pasta has a floury center
It needs more cooking or was rolled too thick
Cook a little longer and taste again; roll the next batch more evenly.
How to clean the pasta machine
After use, remove the loose flour and dough with an appropriate dry brush. The Marcato video shows the cutter removed for access and demonstrates its removable combs. Follow your model’s manual before taking anything apart.
Do not treat a pasta roller like an ordinary saucepan: check the cleaning instructions before exposing it to water or putting any part in a dishwasher. For mixer attachments, switch off and unplug the mixer before removal. Let stubborn scraps dry enough to brush away rather than reaching into the mechanism with a sharp object.
How to cook, store, and freeze fresh pasta
Cooking the fresh ribbons
Have the sauce ready before cooking the pasta. Bring a large pot of salted water to a boil, add the ribbons, and stir gently to separate them. Start checking at about 90 seconds. Thin fresh ribbons often take around 2–3 minutes, but thicker hand-rolled noodles need longer.
Taste a strand for tenderness without a floury center. Do not judge only by whether the noodles float. Save a mug of cooking water before draining, then toss the pasta with sauce immediately. Add reserved water in small splashes if the coating needs loosening.
Short-term refrigeration
For best quality, use tightly wrapped dough within 24 hours in the refrigerator. Store at 40°F/4°C or below. For cut pasta, arrange lightly floured nests in a shallow covered container and cook within 24 hours, or freeze instead. Keep raw egg dough refrigerated during longer breaks.
Freezing uncooked nests
Place separated nests on a lined tray and freeze until firm. Transfer them to a freezer bag or sealed container, label the date, and use within about a month for best quality. Freezing them on a tray first helps preserve separate portions.
Cook the noodles directly from frozen. Allow extra time and loosen the strands gently as they soften. This method prepares fresh pasta for refrigeration or freezing; hanging noodles briefly does not establish that they are shelf-stable.
Simple ways to serve your pasta
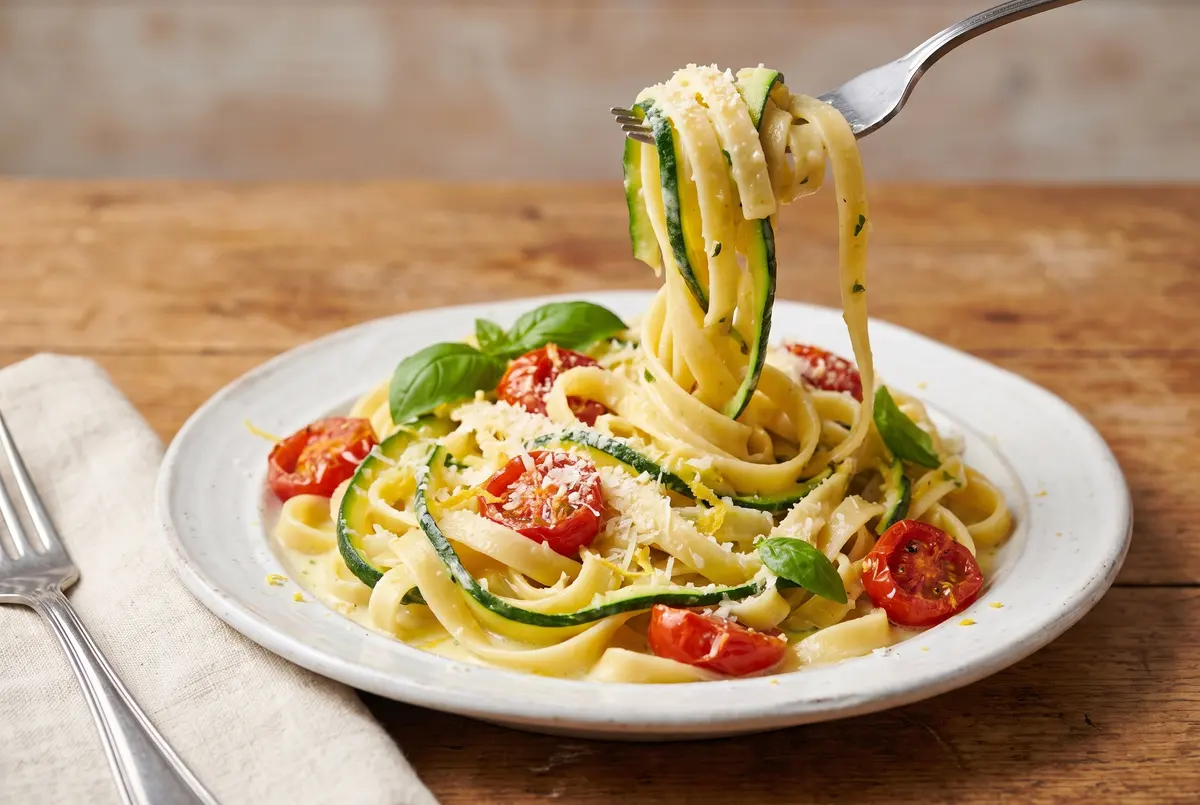
Try olive oil and Parmesan, a light tomato sauce, basil pesto, or sautéed mushrooms. Keep the first sauce straightforward so you can judge the pasta’s texture. Add cheese off the heat when appropriate, and use the saved cooking water to help the sauce coat the ribbons.
Frequently asked questions
How much flour do I need per egg?
This recipe starts with 100 g flour per large egg. That is a starting ratio rather than a guarantee: egg size and flour absorption vary. Check the kneaded texture and make small adjustments.
Do I need olive oil in pasta dough?
No oil is needed in this version. Other recipes include it, but adding it changes the dough balance. Use the ingredient list here as written for your first batch.
Can I use this dough for ravioli?
It can be rolled into sheets for filled pasta, but ravioli needs additional guidance on filling, sealing, thickness, and cooking. Follow a complete ravioli recipe instead of assuming the ribbon-pasta instructions cover those steps.
Can I make this recipe without eggs?
Not by simply removing them. An egg-free flour-and-water dough uses a different balance. Choose a recipe designed for that method.
Why are homemade noodles sometimes chewy?
Thickness is often the first thing to check. A thick sheet takes longer to cook and can feel heavy. Look for even rolling, allow the dough to rest, and taste during cooking rather than following the timer alone.
Do I need a pasta drying rack?
No. A rack is useful for separating long strands, but a floured tray works for this recipe. Keep nests loose and choose refrigeration or freezing when you are not cooking promptly.
Are fettuccine and spaghetti cutters interchangeable?
They make different noodle shapes and widths. Use the flat-ribbon cutter for the result shown here. Check the attachment labels and the instructions for your machine.
Can I double the recipe?
Yes: start with 600 g flour and 6 large eggs, doubling the salt as well. Kneading two smaller batches may be easier. Keep waiting portions covered and allow more rolling time.
Homemade Fresh Egg Pasta
A firm egg dough rolled into thin sheets, cut into flat ribbons, and shaped into loose uncooked nests.
4 modest servingsAbout 450 g fresh pasta
Active prep
35 min
Resting
30 min
Total to fresh pasta
65 min
Optional cooking
2–3 min
Ingredients
Instructions
Mix flour and salt. Make a well on a clean board or in a large bowl, add eggs, and gradually draw in flour with a fork.
Gather into a shaggy dough. Knead for 8–10 minutes until firm and cohesive. Adjust with small amounts of water or flour only as needed.
Wrap tightly and rest for 30 minutes. Refrigerate during longer delays.
Secure the pasta machine. Divide dough into six portions and keep all but one covered.
Flatten one portion, dust lightly, and roll through the widest gap. Fold in half and repeat until the sheet is more uniform.
Stop folding. Roll through progressively narrower settings until evenly thin and flexible. On the Atlas 150 Classic, the reference demonstration uses setting 6 for fettuccine.
Dust both sides. Move the crank to the fettuccine cutter, or use your model’s equivalent setup, and cut the sheet into ribbons.
Separate the strands immediately. Coil loosely into small nests and repeat with the remaining dough.
Cook promptly, refrigerate for short-term use, or freeze on a tray before packing. When cooking, boil in salted water until tender, checking thin fresh noodles from about 90 seconds.
A useful first batch, then a better second one
Focus on three things: dough that holds together, a sheet rolled evenly, and noodles kept separate after cutting. Note which flour you used, whether the dough needed water, and which setting gave a texture you liked. Those details will make your next batch more repeatable than chasing perfectly identical nests.
Method reference:Marcato’s Atlas 150 Classic demonstration. The smaller batch, resting step, troubleshooting, and nest finish are editorial adaptations. This draft has not been independently kitchen-tested.
Image note: all food and equipment images are AI-generated illustrations. They are not photographs of a tested batch or exact product documentation.