Every autumn dessert that disappoints does so for one of three reasons: the fruit gave up its water, the spice burned instead of blooming, or the crumb was worked until it turned to paste. Fix those three and almost anything you bake between September and December comes out right — crackling crisp, tender bars, custards that set, cookies that stay soft for days. Here is the whole system, with the ratios, pan sizes, oven temperatures and doneness cues written down where you can actually use them.
Autumn baking is different from summer baking, and the difference is water. Apples, pears, pumpkin and squash are all between eighty and ninety per cent water, and heat pushes that water out. A crisp that goes soupy and a pie with a soggy base are the same problem wearing two hats. If you remember nothing else here, remember that everything below either manages that water or gets ruined by it.
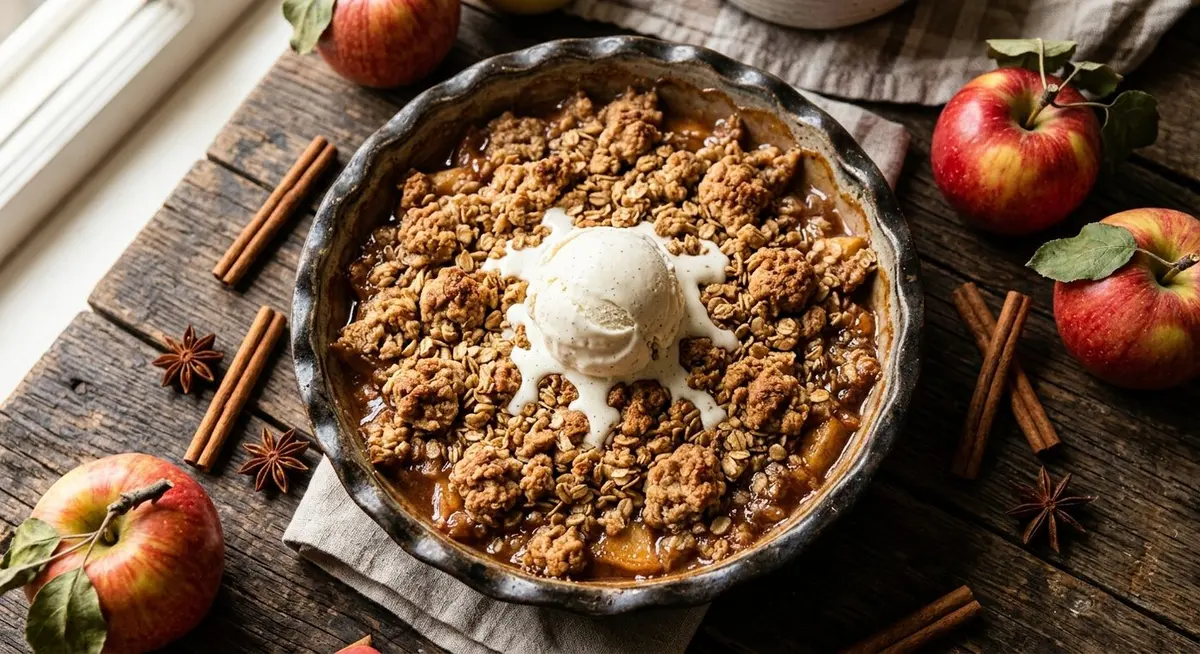
A crisp is the fastest route to a proper autumn dessert: twenty minutes of work, forty in the oven, and a topping that stays crisp because you never stirred the flour into the fruit.
The second failure is spice. Ground cinnamon, ginger, nutmeg and clove are fat-soluble, which means they taste like almost nothing when they are stirred dry into a cold batter. Warm them in butter or oil for half a minute and the whole kitchen changes smell — that is the difference between a dessert that tastes like autumn and one that tastes like brown cake. The third failure is overworking: the moment you beat a crumb topping into a dough, you have made a cookie crust and lost the shatter.
The whole method in one line: brine the fruit, bloom the spice in warm fat, keep the butter cold in the crumb, pull custards by temperature, and let everything rest before you cut it. That is it. The rest of this guide is detail.
The three ratios that decide everything
Professional bakers talk in ratios because they scale to any pan. These three cover almost every autumn dessert you are likely to make, and they are the ones worth writing inside a cupboard door.
The three ratios worth memorising
Component
The ratio
What it controls
Crumb topping
1 part flour : 3/4 part oats : 2/3 part sugar : 1/2 part cold butter, per 6 cups of fruit
Whether the top shatters or goes pasty
Fruit thickener
2 tbsp cornstarch per 6 cups of fruit (or 2 tbsp flour, for a softer set)
Whether the filling holds or floods
Custard set
1 large egg per 1 cup of dairy, plus 1 extra yolk for every 2 cups
Whether the custard slices or weeps
Quick bread batter
Equal weights of flour and sugar, 1 tsp leavener per cup of flour, pumpkin at 1 cup per 2 cups flour
Whether the loaf domes or sinks
Drop cookie dough
1 part butter : 1 part brown sugar : 1.5 parts flour, by volume
Whether cookies spread flat or hold a dome
Two details in that table do the most work. Cornstarch thickens more cleanly than flour and sets glossy rather than cloudy, which is why it is the better choice for a fruit filling you want to see through. And the extra yolk in a custard is not optional garnish — yolk fat is what stops a pumpkin custard from weeping a pool of water around its edge the day after you bake it.
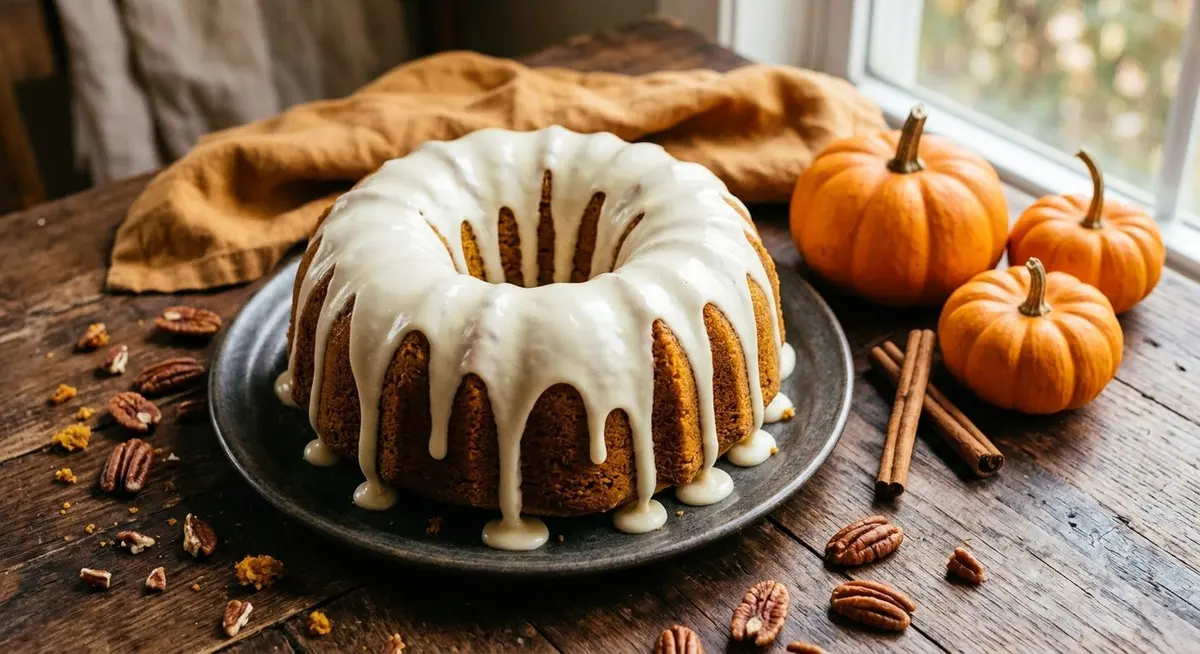
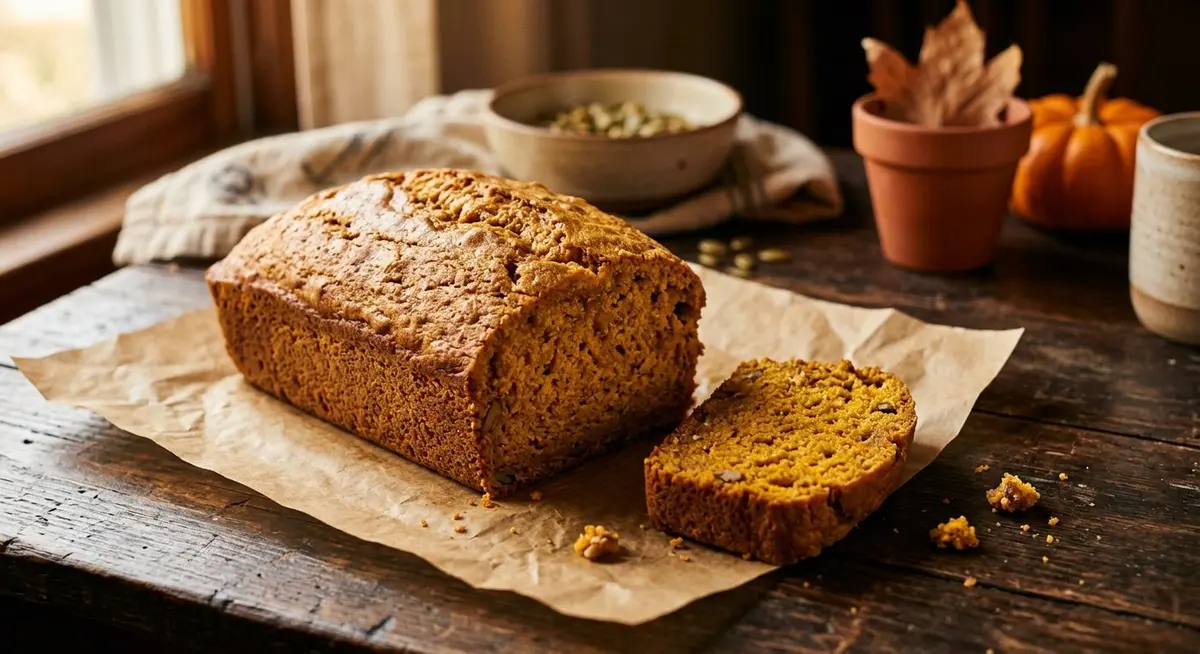
Once these are in your head, the recipes blur and the technique takes over. That is the point. If you want a worked example of the ratio approach applied to a single bake, the one-bowl method in this no-mixer pumpkin loaf is the clearest version of it.
Scale by fruit, not by pan. Measure how many cups of prepared fruit you actually have, then build the topping from that number. Filling a bigger pan by stretching a smaller recipe is the single most common reason a crisp comes out thin and dry at the edges.
Choosing apples: the chart that ends the guessing
The apple aisle is the biggest variable in autumn baking, and most advice about it is repeated rather than tested. What matters is not which apple is “best” but how a given variety behaves once heat hits it: whether it holds its shape, how much water it releases, and how much acidity it brings to balance the sugar you are about to add.
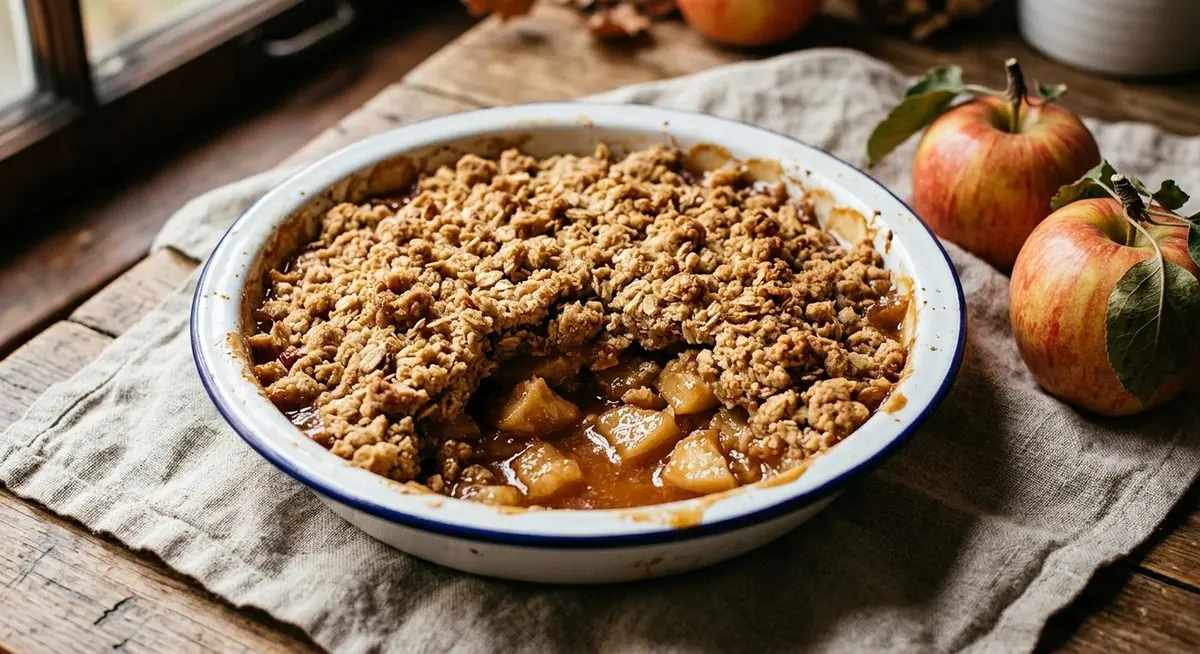
Cut into the crumb and you can read the whole bake: distinct apple pieces mean the variety held, and a thick glossy syrup means the starch did its job.
How common apples behave in the oven
Apple
How it bakes
Best for
Granny Smith
Very firm, very tart, keeps its edge
Pies and crisps carrying a lot of sugar
Honeycrisp
Firm, very juicy, honey-sweet
Crisps and cobblers, thickened a little extra
Golden Delicious
Softens but holds shape, low acid
Pies and cakes where sweetness leads
Braeburn
Firm, balanced sweet-tart
All-purpose — the safest single choice
Pink Lady
Firm, consistent sweet-tart
Pies and tarts, and eating alongside
Jonagold
Softens, holds shape, aromatic
Crisps, cakes, blended into sauce
Fuji
Medium-firm, very sweet, mild
Bars and muffins, where tartness is not the point
McIntosh
Falls apart, strong cider flavour
Sauce, or as a flavour booster — never alone
Northern Spy
Very firm, excellent balance
Pies and crisps, if your market has it
Winesap
Firm, tart, wine-like, very juicy
Pies; thicken the filling slightly more
The practical move is to blend. Two parts firm-tart to one part sweet-aromatic gives you structure from the first and flavour from the second, so for about three pounds of prepared fruit you would use two pounds of Granny Smith or Pink Lady and one pound of Honeycrisp or Golden Delicious. A single-variety crisp made entirely from McIntosh will taste like applesauce under crumbs; one made entirely from Granny Smith will taste austere.
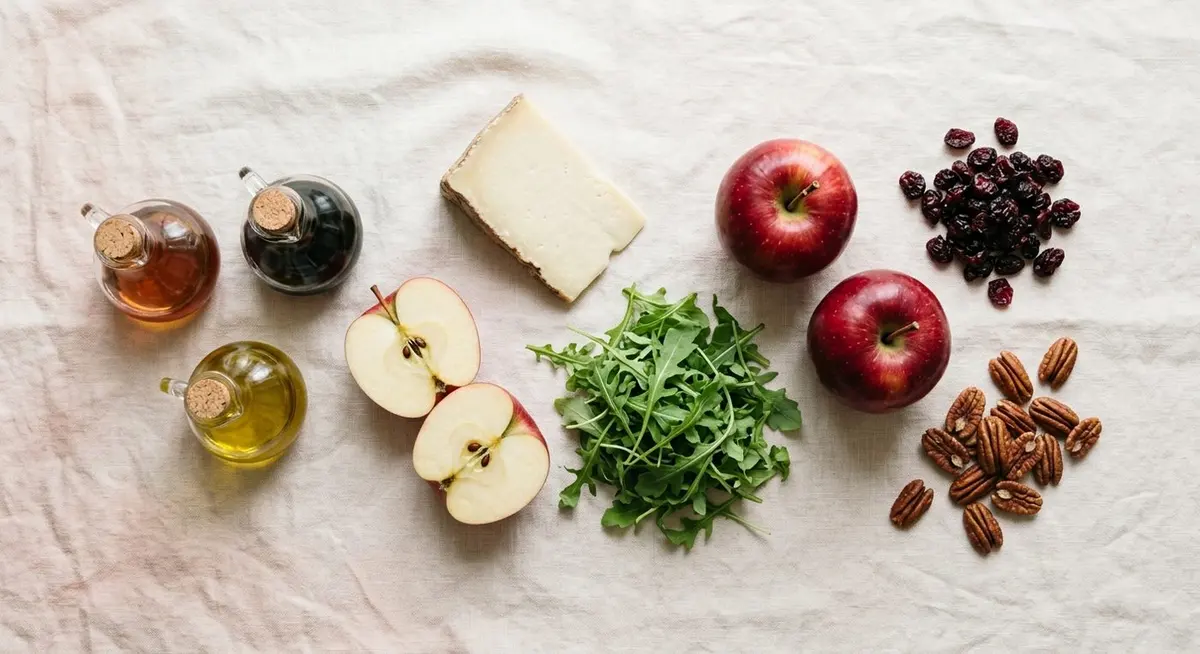
Peel or not is genuinely your call — the skin carries flavour and holds shape, and it does not survive badly in a crisp. What is not optional is stopping the browning. Lemon juice is the usual answer, but it leaves the fruit sour and fights whatever sugar you add. A ten-minute soak in salted water does the same job with no taste cost: about a teaspoon of fine salt per quart of cold water, then drain well and pat dry before you build the dish. Slice, brine and drain, and your apples hold their colour all day in the fridge.
Firmness beats reputation. The test that actually predicts a good bake is how the apple feels when you press a cut face — if your thumb leaves a dent, that variety will collapse in the oven no matter how good it is raw.
Building and blooming the spice blend
Buying a jar labelled pumpkin pie spice is convenient and slightly disappointing, because the proportions are set for a lowest common denominator. Mixing your own takes two minutes and lets you tune the one spice everyone gets wrong.
The blend, and a jar to keep
Spice
One batch
Jar to keep
Ground cinnamon
2 tsp
4 tbsp
Ground ginger
3/4 tsp
1 1/2 tbsp
Ground nutmeg
1/2 tsp
1 tbsp
Ground allspice
1/4 tsp
1 1/2 tsp
Ground cloves
1/8 tsp
3/4 tsp
Cinnamon is the base note and carries the most volume. Ginger gives the warmth at the back of the throat. Nutmeg and allspice round it out. Cloves are the loudest thing in the jar by a wide margin — an eighth of a teaspoon lifts a whole tray, and a quarter teaspoon makes it taste medicinal. Measure cloves over the bowl with a proper measuring spoon, never pour them from the jar, because there is no way to take them back out.
Then bloom. Warm your butter or oil in a small pan over medium heat, add the measured spices, and stir for thirty to forty-five seconds. You are waiting for two things: the smell turning sweet and toasty rather than raw and dusty, and the mixture darkening by a shade. Take it off the heat at that point and let it cool for a minute before it meets eggs. This single step is worth more to the final flavour than doubling the quantity of spice, and it is why restaurant pumpkin desserts taste deeper than homemade ones even when the recipe is identical.
Spices are fat-soluble, not water-soluble. Stirred into a cold batter they stay locked in their particles and largely go to waste. Bloomed in warm fat, they release everything they have. If a recipe tells you to whisk the spices into the flour, bloom them in the fat first and whisk the dry goods after.
The crisp and crumble method, step by step
A crisp is the highest return on effort in all of autumn baking, and it is also the one people most often ruin by treating the topping like cookie dough. It is not cookie dough. It is a loose rubble of flour, sugar and cold butter, and it should look unfinished when it goes into the oven.
Heat the oven to 375°F (190°C) and put a rack in the middle. Have a 9 by 13 inch glass or ceramic dish ready — glass lets you see whether the bottom is bubbling, which is the real doneness signal.
Prepare the fruit: peel if you like, core, and cut into pieces about an inch across. Soak in salted water for ten minutes, drain thoroughly, and pat dry. Wet fruit is a soggy base waiting to happen.
Toss the drained fruit with the sugar, the cornstarch and a teaspoon of the spice blend. Two tablespoons of cornstarch to six cups of fruit, no more — more than that and the filling turns gluey and tastes chalky.
Make the crumb in a separate bowl: flour, oats, both sugars, the rest of the spice and the salt, whisked together. Add cold butter cut into cubes and work it in with your fingertips or a pastry cutter until you have clumps the size of large peas with dry flour still visible in patches. Stop there.
Spread the fruit in the dish and scatter the crumb over the top in an even layer. Do not press it down. Pressing is what turns shatter into a slab.
Bake 40 to 45 minutes, until the topping is deep gold and the juices are bubbling thickly at the edges and up through the gaps in the middle. If the top browns before the centre bubbles, tent it loosely with foil and keep going.
Rest on a rack for at least 45 minutes before serving. This is the step everyone skips and it is the reason their crisp runs across the plate.
That resting time is not tidiness — forty-five minutes off the heat is what lets the starch finish thickening so the juices stay in the dish instead of under it.
Two variations are worth having in your pocket. Swap a quarter of the flour for ground almonds and you get a finer, sandier crumb that suits pears and plums. Swap the oats for crushed digestive biscuits and you get something closer to a crumble bar base, which is the version to use if you plan to cut and carry it. Either way, if you want to see the same fruit-and-crumb logic taken in a richer direction, the pairing in this apple crumble cheesecake is worth a look.
Cold butter is the whole trick. Warm butter coats the flour and makes a paste; cold butter stays in flakes that melt in the oven and leave steam pockets behind. Those pockets are the crunch. If your crumb starts looking like play dough, put the bowl in the fridge for ten minutes and start again.
Pumpkin bars and cheesecake bars
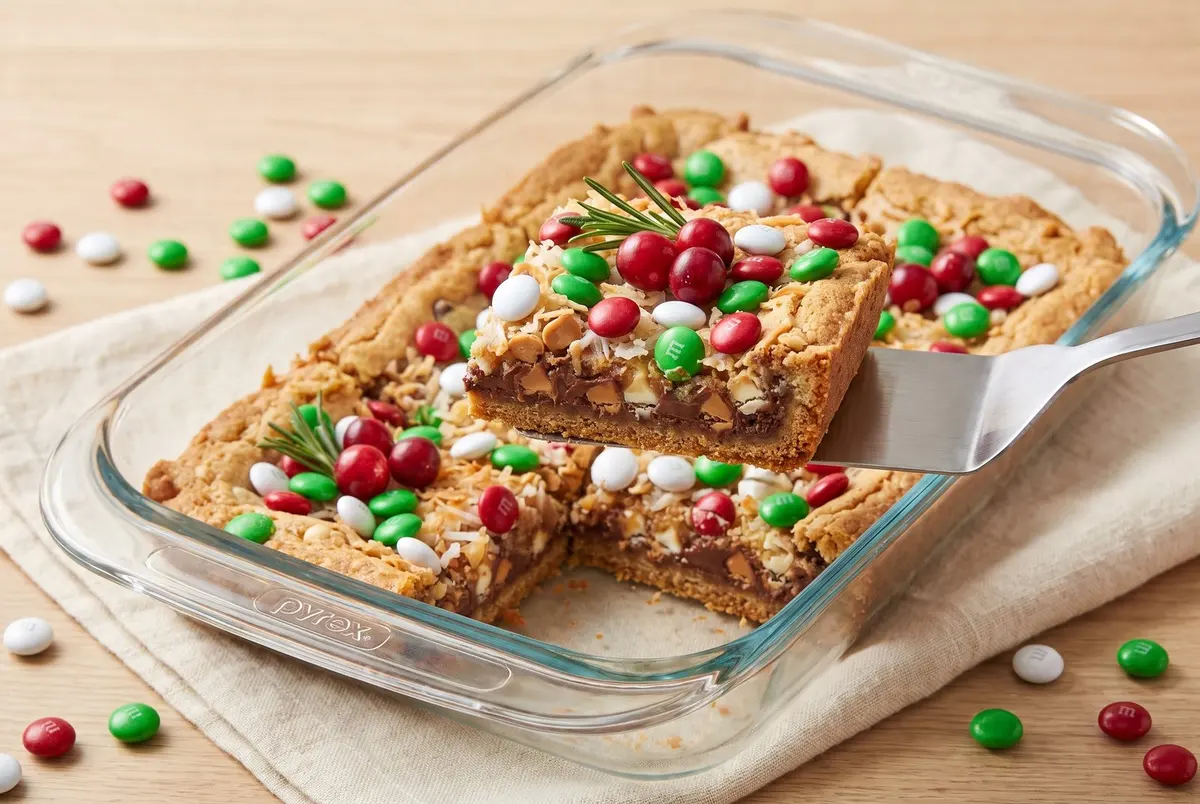
Bars are the most useful thing you can bake in autumn, because they travel, they cut cleanly and they feed a crowd without a plate and a fork. The only hard part is resisting the urge to underbake them, since a pumpkin bar six minutes short of done looks perfect and tastes raw the next day.
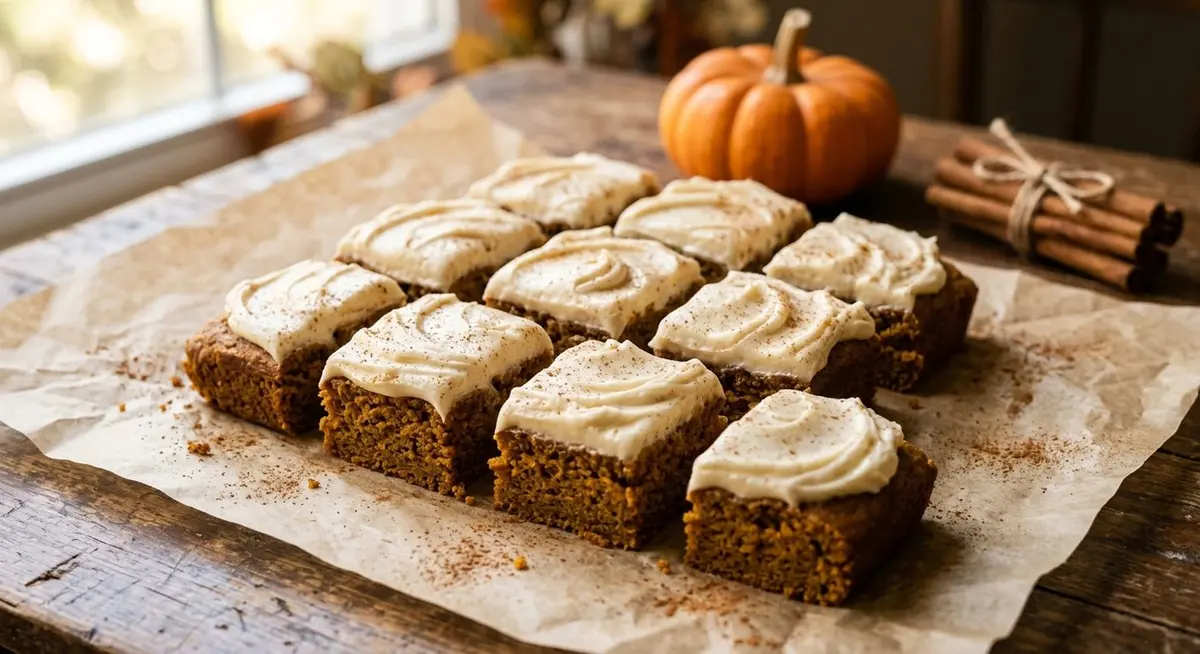
Cut bars cold and clean the knife between rows. A warm knife drags the frosting and turns tidy squares into a smear.
For a 9 by 13 inch pan of pumpkin bars, you are looking at 350°F (175°C) for 25 to 30 minutes, and the cues are specific: the centre springs back when you press it lightly with a fingertip, the edges have pulled away from the pan by a hair, and a skewer comes out with a few moist crumbs rather than wet batter. Cool completely before frosting, because cream cheese frosting on a warm bar melts and slides off the moment you spread it.
Bars at a glance
Bake
Pan
Oven
Time
Done when
Pumpkin spice bars
9 x 13 inch
350°F / 175°C
25 – 30 min
Centre springs back; skewer has moist crumbs
Pumpkin cheesecake bars
9 x 13 inch
325°F / 165°C
40 – 45 min
150°F at the centre; 2-inch soft spot
Maple pecan bars
8 x 8 inch, lined
350°F / 175°C
30 – 35 min
Filling barely jiggles; set at the edges
Apple oatmeal crumble bars
8 x 8 inch, lined
350°F / 175°C
35 – 40 min
Top is golden; fruit bubbles at the sides
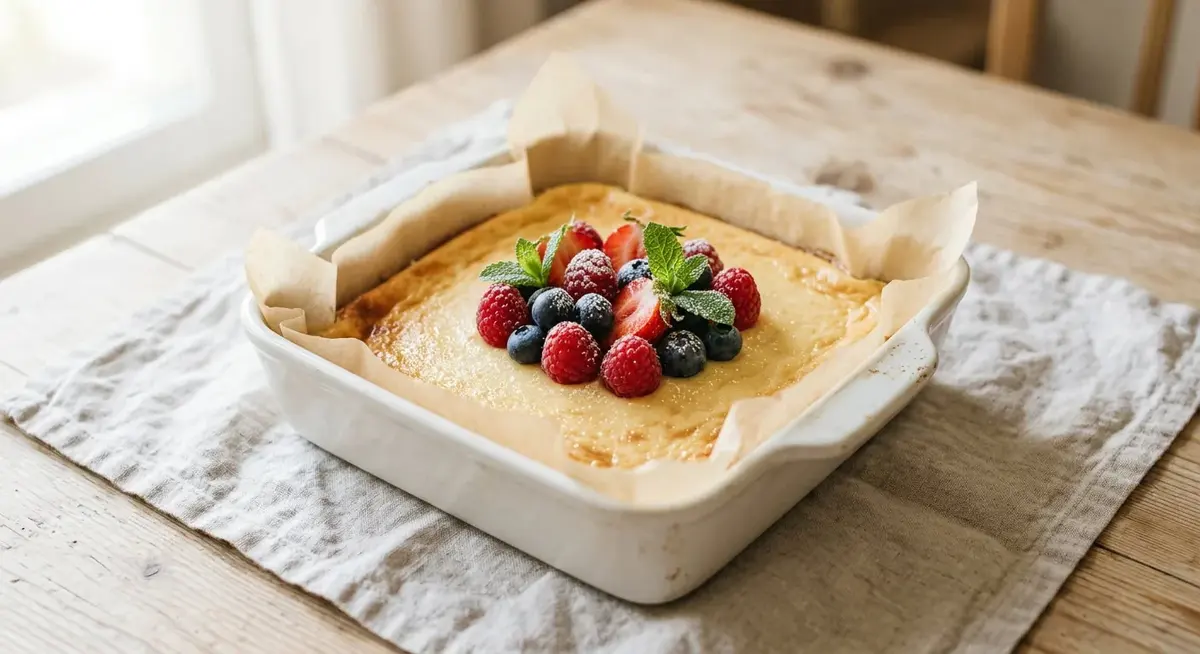
Cheesecake bars are the same idea with a custard in the middle, and they need one extra piece of discipline: pull them at an internal temperature of 150°F (65°C) while the centre still has a two-inch soft spot, then let them cool in the pan for two hours before they go into the fridge. A cheesecake baked until it looks set is a cheesecake on its way to cracking. If you want the fuller version of that bake, the layered take in these pumpkin cheesecake bars walks through it properly.
Line the pan, don’t grease it. Parchment with an overhang on two sides lets you lift the whole slab out and cut it on a board. It is the difference between a clean 24 squares and a pan full of ragged edges — and it costs you twenty seconds.
Doneness by temperature, not by clock
Pumpkin pie, pumpkin cheesecake, custard pots and sweet potato pie are all the same family: a spiced custard thickened by egg. And they all fail the same way, because the toothpick test that works beautifully on a sponge tells you nothing about a custard. By the time a skewer comes out clean, the protein has already over-coagulated and the custard is on track to weep or crack.
Use an instant-read thermometer instead. It costs ten seconds and it removes the guesswork entirely.
Pull temperatures for autumn custards
Dessert
Internal temperature
What it looks like when you pull it
Pumpkin pie
175°F / 79°C at the centre
Edge fully set, centre wobbles like firm jelly
Pumpkin cheesecake
150°F / 65°C
A two-inch soft spot in the middle
Pumpkin cheesecake bars
150°F / 65°C
Slight jiggle when the pan is nudged
Pumpkin custard pots
170°F / 77°C
Barely set; firms as it chills
Sweet potato pie
175°F / 79°C
Same cues as pumpkin pie
Two things then matter as much as the temperature. First, residual heat: a custard pulled at 150°F keeps climbing for several minutes out of the oven, so leaving it in for “just two more minutes” can carry it twenty degrees past where you wanted it. Second, cooling slowly. Run a thin knife around the edge of a cheesecake the moment it comes out to release it from the pan, then cool it in the switched-off oven with the door propped open for an hour. The gradual drop in temperature is what prevents the surface from cracking as it contracts.
The same reasoning applies to a classic baked custard pie, where the ratio of one egg per cup of dairy plus an extra yolk is the backbone — the version in this sweet potato pie is a good illustration of how little else a custard needs once the set is right.
If it has already cracked, it is not ruined. A cracked cheesecake is a cosmetic problem, and a warm knife run around the top, or a thin layer of sour cream, hides it completely. What you cannot undo is over-coagulation, which is why the thermometer matters more than the appearance.
The autumn flavour map
Once the technique is handled, autumn is really a question of what to pair with what. The season’s ingredients are unusually flattering to each other, and there is one rule underneath all of it: every sweet thing wants a tart or salty counterweight, and every tart thing wants fat.
Pairings that work, and why
If you are baking with
Reach for
And avoid
Apple
Brown sugar, cinnamon, pecans, sharp cheddar, oats
Delicate flavours — apple overwhelms vanilla and honey
Pumpkin
Ginger, maple, cream cheese, dark chocolate, pepitas
Strong citrus, which flattens the spice
Pear
Almond, cardamom, dark chocolate, blue cheese
Cloves — they read as medicinal against pear
Cranberry
Orange zest, rosemary, white chocolate, pecan
Extra sugar without acid to balance it
Maple
Pecan, bourbon, flaky salt, oats
Heavy cinnamon, which buries the maple
Sweet potato
Nutmeg, brown butter, marshmallow, orange
Allspice, which makes it taste vaguely savoury
Two combinations in that table are worth underlining because they are counter-intuitive. Maple is a delicate flavour that most people drown in cinnamon — if maple is the headline, use cinnamon sparingly or not at all, or you may as well have used golden syrup. And dark chocolate is one of the best things to put with pumpkin precisely because it is bitter; it does the job that acidity does elsewhere, cutting through a sweet, soft, low-acid base.
That logic is why the combination in these pumpkin chocolate chip cookies works so well, and why a batch of pumpkin spice cinnamon rolls benefits from a coffee icing rather than a plain sugar glaze. Coffee is bitter, the dough is sweet, and the two meet in the middle. If you want a table of the season’s bakes organised the same way, this pumpkin dessert guide groups them by how they set rather than by ingredient, which is a more useful way to plan a menu than by flavour alone.
Salt is the finishing move. A quarter teaspoon of flaky salt over a tray of maple pecan bars, or a pinch over a butter-rich crumb, does more for perceived flavour than any additional spice. Add it after baking, never before — the flakes need to survive intact to do their job.
The make-ahead and freezing timeline
Autumn baking rewards planning more than any other kind, because most of it improves with a rest and almost all of it freezes well. If you are baking for a holiday, the honest advice is to do it across three days rather than one: it is better for the bakes and it means you are not exhausted when people arrive.
How far ahead you can work
When
What to do
Up to 1 month
Roast and puree pumpkin or squash; freeze in 1 3/4-cup portions, which is exactly one can. Thaw overnight in the fridge.
Up to 2 weeks
Mix a jar of the spice blend. Toast and chop pecans, cool completely, store airtight.
Up to 3 days
Make crumb topping and refrigerate it in a bag — cold, firm topping bakes crisper than room-temperature topping.
Up to 2 days
Bake bars and cookies. Unfrosted bars and cookies keep perfectly; frost or ice on the day.
Night before
Set out eggs, butter and cream cheese so they come to room temperature. Peel, slice and brine the apples.
Day of
Bake crisps and custards. Rest the crisp 45 minutes; chill the custard at least 4 hours.
Freezing is where autumn baking earns its keep. A whole crisp freezes beautifully, either unbaked and assembled or baked and cooled, double-wrapped in foil and then bagged. Custards are the exception and need care: a cheesecake freezes well sliced and individually wrapped, but a custard pie does not, because ice crystals wreck the set. Cookies freeze superbly as portioned dough balls, which is the best argument for making a double batch every time — bake half, freeze half, and you have hot cookies in December on twenty minutes’ notice. For the surrounding weeks, the block-and-repeat approach in this four-week meal plan adapts neatly to a baking calendar.
Never wrap anything warm. Trapped steam is the single most common reason a crisp is soggy the next morning and cookies go soft in the tin. Cool on a rack to room temperature — genuinely room temperature — before anything touches plastic.
Storing, rescuing and serving
Storage is mostly about moisture moving in the wrong direction. Crisps dry out uncovered and go soft under plastic; cookies need a little moisture but not a lot; custards need cold and a lid. Get the wrapping right and most autumn bakes will hold for days.
Storage, and what to do when it goes wrong
Bake
Keeps
The fix if it goes wrong
Apple crisp
2 days covered at room temperature; 3 months frozen
Soggy top: reheat uncovered at 350°F for 10 minutes to drive off surface moisture
Pumpkin spice bars
3 days airtight, frosted
Dry: a slice of bread in the tin overnight returns the moisture
Pumpkin cheesecake bars
5 days refrigerated
Cracked: press a warm knife along the crack and spread a thin sour-cream layer
Cookies
5 days in a tin; 3 months frozen
Hard: store with a piece of apple for a day, then remove it
Crumb topping only
1 month refrigerated in a bag
Pasty: chill it firm again before baking, then work in 1 tbsp more cold butter
Fruit filling
3 days refrigerated; 6 months frozen
Runny: stir in 1 tsp cornstarch slackened in water, then simmer 2 minutes
Serving temperature is the last thing people think about and one of the most powerful. A crisp is at its best somewhere between fifteen and thirty minutes out of the oven — hot enough that ice cream melts on contact, cool enough that the filling has stopped moving. Cheesecake and custard are the opposite: they taste of almost nothing at room temperature and everything after four hours in the fridge, because cold firms the fat and sharpens the spice.
Reheat, don’t recook. Ten to twelve minutes uncovered at 350°F is enough to crisp a topping again. Any longer and you have driven off the water that was keeping the fruit tender, and you trade a soft top for dry filling.
Troubleshooting and questions
My crisp always comes out watery. What am I doing wrong?
Almost always one of three things: not enough starch, fruit that went in wet, or serving it straight from the oven. Use 2 tablespoons of cornstarch per 6 cups of fruit, drain and pat the fruit dry after brining, and let the dish rest 45 minutes before you cut it. If it is still loose, your fruit was unusually juicy — Winesap and Honeycrisp both are — so add another teaspoon of cornstarch next time.
Can I use fresh pumpkin instead of canned?
Yes, and it is worth doing once. Halve a small sugar pumpkin or a butternut squash, roast cut-side down at 400°F for about 45 minutes until a knife slides in with no resistance, then scoop and blend until completely smooth. You need to strain it: fresh puree carries noticeably more water than canned, so let it drain in a sieve for half an hour, or the extra liquid will unset a custard. Freeze what you do not use in 1 3/4-cup portions, which is one can exactly.
Why do my pumpkin bars taste flat even though I used plenty of spice?
Because the spice was never bloomed. Ground spices are fat-soluble, so when they are stirred dry into a cold batter most of their aroma stays locked away. Warm the butter or oil, stir the spices into it for 30 to 45 seconds until the pan smells sweet and toasty, then use that fat in the batter. That one change is usually the whole difference.
How do I stop sliced apples browning if I am baking later?
A ten-minute soak in salted water — about a teaspoon of fine salt per quart of cold water — then drain and refrigerate. Lemon juice works too, but it leaves the fruit sour and fights the sugar, whereas salt does the job invisibly. They will hold their colour for a full day.
My crumb topping turned into one solid slab. How do I avoid that?
Two causes: warm butter and heavy hands. The butter must be cold and cubed, and you must stop working it when you have clumps the size of large peas with dry flour still visible in patches. The moment the mixture looks like a smooth dough, you have made a cookie crust. Chilling the topping for ten minutes before it goes on the fruit also helps.
What internal temperature should I pull a pumpkin pie at?
175°F (79°C) measured at the centre, at which point the edge is set and the middle still wobbles like firm jelly. Remember that it keeps cooking out of the oven, so pull it on the number rather than giving it two more minutes. A skewer test does not work on custard — by the time it comes out clean, the pie is already past the point where it will slice cleanly.
Can I make these desserts ahead and freeze them?
Most of them, yes. A crisp freezes well either unbaked and assembled or baked and cooled, double-wrapped in foil and then bagged, for up to three months. Cookies freeze superbly as portioned dough balls. Cheesecake freezes well sliced and individually wrapped. The genuine exception is custard pie, which does not freeze well because ice crystals destroy the set.
How do I stop a cheesecake from cracking?
Pull it at 150°F (65°C) rather than waiting for it to look set, run a thin knife around the edge the moment it comes out, then cool it slowly — in the switched-off oven with the door propped open for an hour, then two hours on the counter, then four in the fridge. Cracks come from fast temperature change as much as from overbaking.
Do I really need to use two kinds of apple?
It helps more than almost anything else you can do. Firm-tart varieties give structure and acidity, sweet-aromatic ones give flavour and perfume. A blend of roughly two parts firm-tart to one part sweet-aromatic gives you both. A single-variety crisp made only from soft apples will taste like applesauce under crumbs.
What is the best pan for a crisp?
A 9 by 13 inch glass or ceramic dish, because you can see the juices bubbling at the base and that is your real doneness signal. Metal heats faster and browns the edges harder, which is fine for bars but can scorch a fruit filling before the centre is done. Whatever you use, choose something with decent depth — a shallow dish cooks the fruit down faster than it sets the crumb.
Can I cut the sugar in these recipes?
Somewhat. Crumb toppings and bar bases tolerate a reduction of about a quarter without texture problems, because their structure comes from flour and butter rather than sugar. Custards and fruit fillings tolerate much less: sugar holds water and keeps the set tender, so cut it hard and you get a weeping custard or a tough filling. If you want less sweetness, reduce the frosting or the glaze instead — that is where the sugar is concentrated and where nobody notices its absence.
How do I scale a crisp for a bigger crowd?
Scale by fruit rather than by pan, and bake in multiple pans rather than one enormous one. Two 9 by 13 inch dishes feed about 20 comfortably and bake more evenly than one deep pan, which will overcook at the edges before the centre is done. Bake them in batches of two, rotating once at the halfway point — three pans at once steams the topping and it will not crisp.
Take the numbers into the kitchen
The whole system on paper: the crumb ratio, the apple variety card, the spice blend, every pan size and bake time, the custard pull temperatures, the do-ahead timeline, the storage tracker and a set of gift tags. Print it, stick it in the cupboard and stop scrolling mid-bake.
Elowen Thorn I cook, photograph and re-test every recipe in an ordinary home kitchen before it goes up, so what you make matches what you see. Savory Discovery is where simple weeknight cooking, seasonal ideas and the odd bit of kitchen craft sit side by side — written plainly, and worth cooking twice.