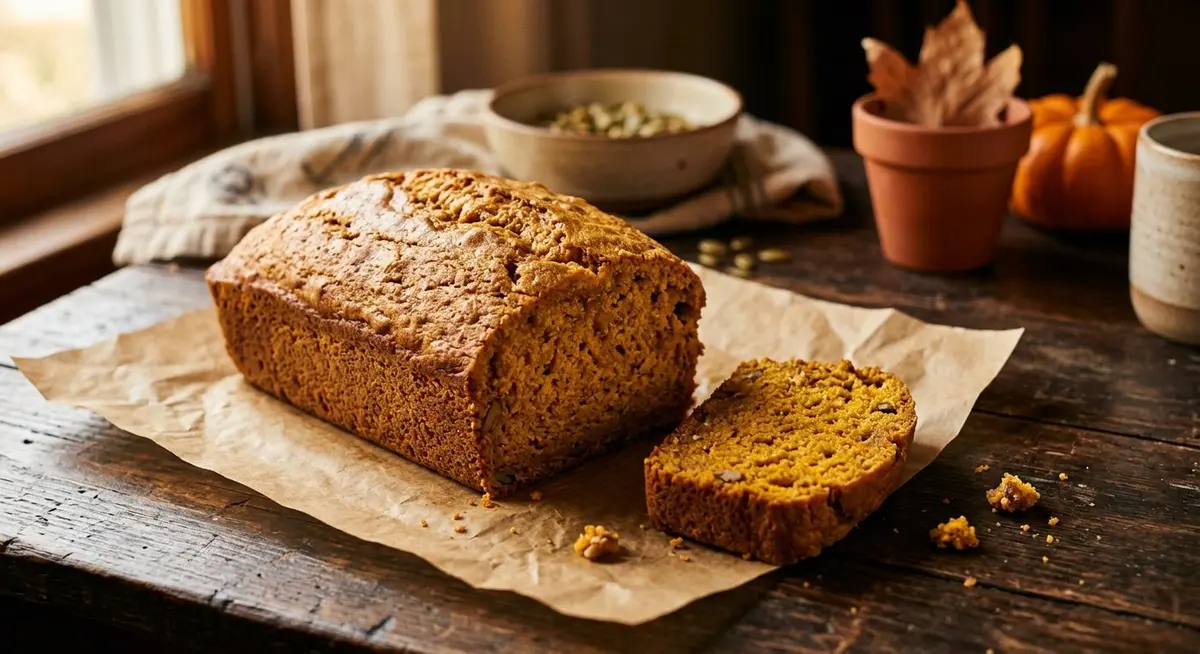
This is the pumpkin bread I bake from the first cool morning of September until the tins run out in December. One bowl, no mixer, and a crumb so soft it barely holds together when it is still warm. The trick is not a secret ingredient — it is the order you combine things and the temperature you bake at.
Most pumpkin bread recipes are fine. They are also a little dry by day two, slightly rubbery at the base, and faintly apologetic about the spice. This one solves all three problems with technique rather than extra ingredients, and it still takes about twelve minutes of hands-on work.
Three things do the heavy lifting. First, the batter is mixed by hand and stopped the instant the flour disappears — overmixing develops gluten, and gluten is what turns a quick bread tough. Second, it bakes at a moderate 350°F, which gives the thick batter time to set through the middle before the crust over-bakes. Third, a full cup of fat and a splash of buttermilk keep the crumb tender enough that a slice bends instead of snaps.
A crack down the domed top is not a flaw — it is what a properly raised quick bread does as it cools.
No stand mixer required. Every version of this loaf in my kitchen is made with a bowl and a spatula. If you own a mixer, resist using it here — hand mixing is what keeps the crumb tender.
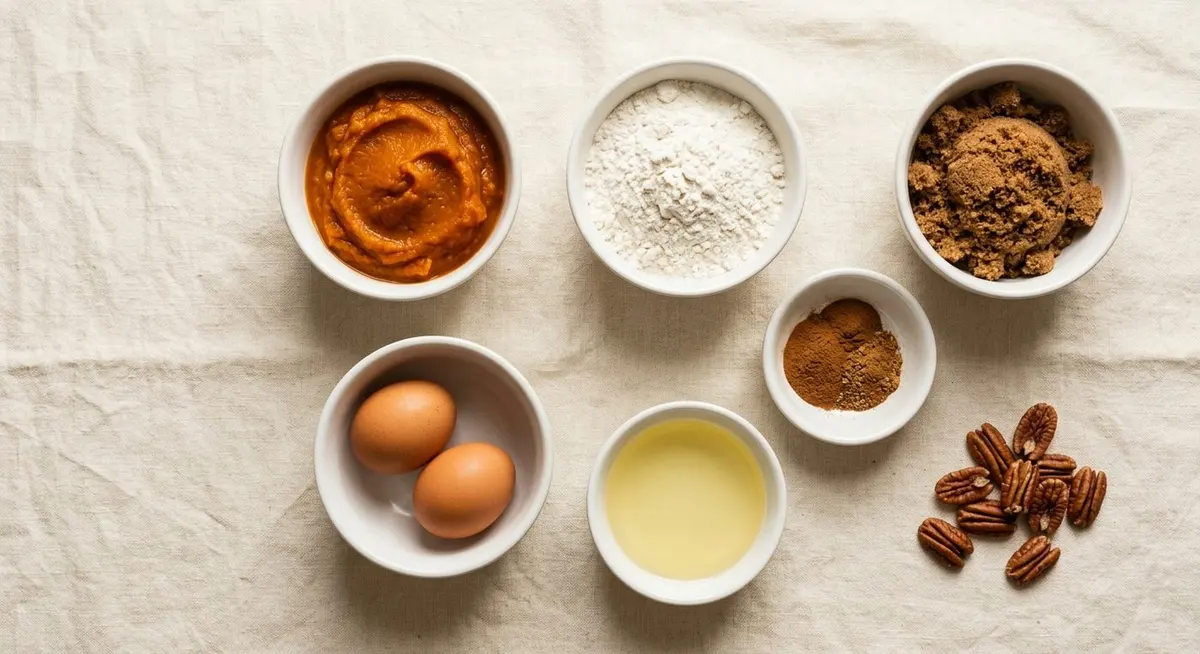
What Goes In, and What Each Thing Does
Everything at room temperature before you start. Cold eggs and cold pumpkin seize the fat and give you a lumpy batter.
Ingredients and their job
Ingredient
Amount
What it is doing
Pumpkin puree
1 can (15 oz) / 2 cups
Moisture, colour and the earthy sweetness the loaf is built on
All-purpose flour
2 cups
Structure — spooned and levelled, never scooped from the bag
Granulated sugar
1 cup
Sweetness and a tender crumb
Light brown sugar
3/4 cup, packed
Molasses depth and extra moisture retention
Baking soda
1 tsp
The main lift; it also neutralises the puree’s acidity
Baking powder
1/2 tsp
Secondary lift so the dome does not fall in the centre
Fine salt
3/4 tsp
Without it everything tastes flatly sweet
Neutral oil
1/2 cup
Keeps the loaf soft for days; butter alone firms up in the fridge
Eggs
4 large, room temp
Structure, richness and rise
Buttermilk or plain yogurt
1/4 cup
Acidity that wakes up the baking soda and tenderises
Vanilla extract
2 tsp
Rounds off the spice
One measurement note that matters more than any other: flour. Scooping straight from the bag compacts it and you can easily add 20% too much, which is the single most common cause of a dry loaf. Fluff the flour with a spoon, spoon it into the cup, then level it with a knife.
Canned or Fresh Pumpkin?
Both work, and they behave differently enough that it is worth knowing which you are using. Canned puree is consistent, dense and about 90% water by weight. Home-roasted and pureed pumpkin varies wildly — some squash is watery, some is starchy and thick.
If you are using canned
Buy plain pumpkin puree, not pumpkin pie filling. Pie filling is already sweetened and spiced, and using it will make the loaf cloying. One 15-ounce can is almost exactly the two cups this recipe wants; scrape the can out properly rather than leaving the last two tablespoons behind.
If you are roasting your own
Halve a small sugar pumpkin or a butternut squash, scoop the seeds, and roast cut side down at 400°F until a knife slides in with no resistance, about 40 minutes. Cool, scoop the flesh, and blend or mash it smooth. Then drain it: line a sieve with a coffee filter or a clean cloth and let it sit for 30 minutes. Homemade puree holds far more water than canned, and that water is what makes a loaf collapse in the middle.
Best squash for this loaf: sugar pumpkin, butternut, or kabocha. All three are sweet and low in water.
Avoid: the big carving pumpkins. They are bred for size and hollow structure, and the flesh is stringy and bland.
Butternut shortcut: a 2-pound squash yields roughly two cups of drained puree, exactly one batch.
Making it a year-round recipe: roasted and pureed squash freezes beautifully. Portion it into two-cup bags, press flat, and freeze. Thaw overnight in the fridge and this loaf becomes a February bake as easily as an October one.
One-Bowl Method, Step by Step
The order here is not arbitrary. Wet ingredients get combined first and thoroughly, because once flour enters the bowl you have to stop stirring almost immediately. Get all the mixing done before the flour goes in.
Heat the oven to 350°F and set a rack in the lower-middle position. Grease a 9 x 5 inch loaf pan, then line it with parchment, leaving an overhang on the two long sides. The overhang is your handle later.
In a large bowl, whisk together the pumpkin puree, both sugars, the oil, the eggs, the buttermilk and the vanilla. Whisk hard for a full minute — you want it glossy, uniform and slightly lightened, with no streaks of egg.
In a second bowl, whisk together the flour, baking soda, baking powder, salt and all the spices. Break up any lumps of brown sugar or clumps of spice.
Tip the dry mixture into the wet and fold with a spatula. Stop the moment the last streak of flour disappears. Lumpy batter is fine; overmixed batter is not.
If you are adding nuts or chocolate, fold them in now with two or three strokes.
Scrape the batter into the pan and smooth the top. Tap the pan twice on the counter to knock out large air pockets.
Bake 60 to 70 minutes. Start checking at 55 minutes. The loaf is done when a skewer in the centre comes out with a few moist crumbs and the centre springs back when pressed.
Cool in the pan for 15 minutes, then lift it out by the parchment and finish cooling on a rack. Wait until it is fully cool to slice it, however hard that is.
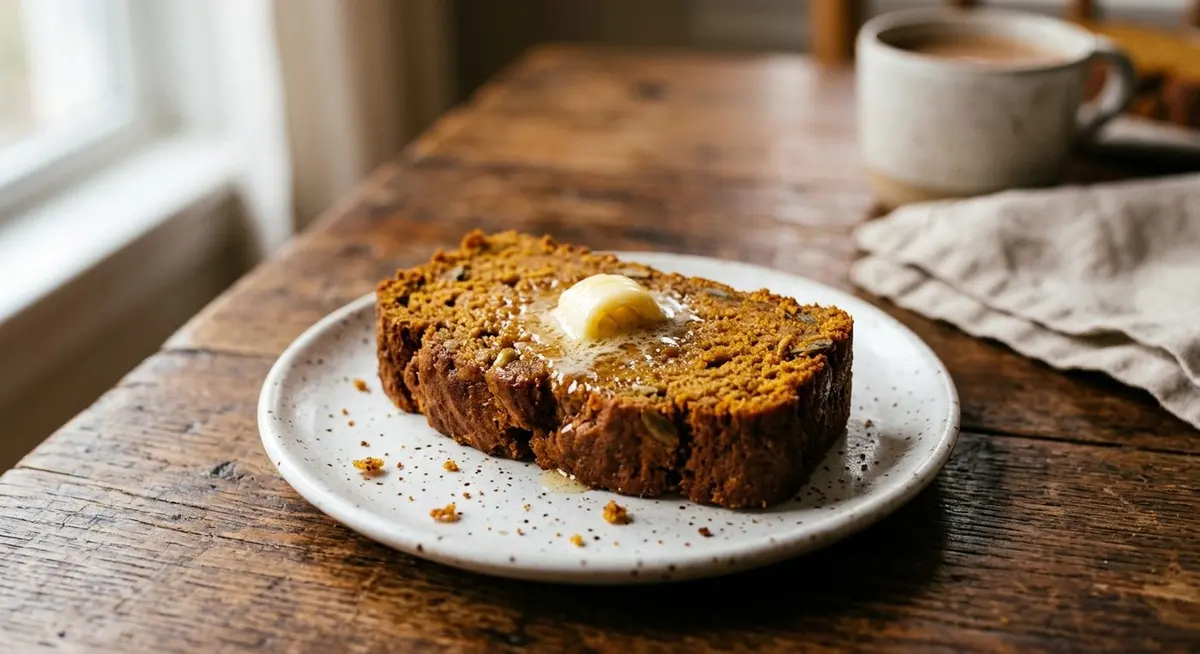
Cool completely, then slice thick and butter it while the slice is still slightly warm from the toaster.
The 15-minute cooling rule. Leave the loaf in the pan for fifteen minutes, no longer. Past twenty, the steam trapped underneath starts to soften the base into a soggy layer. Lift it out on the parchment and let it finish on a rack where air can move underneath.
Pan Sizes and Bake Times
This batter is forgiving but it is thick, which means pan shape changes the bake time far more than it does for a cake batter. Use the table below and always trust the skewer over the clock.
One batch, any pan
Pan
Fill
Oven
Time
9 x 5 inch loaf pan
full batch
350 F / 175 C
60 – 70 min
8 x 4 inch loaf pan
full batch, on a sheet tray
325 F / 165 C
75 – 85 min
Three mini loaf pans (5 x 3)
full batch, divided
350 F / 175 C
35 – 45 min
12-cup muffin tin
full batch
375 F / 190 C
20 – 24 min
8 x 8 inch square pan
full batch
350 F / 175 C
35 – 40 min
10-cup bundt pan
full batch
325 F / 165 C
50 – 60 min
Mini loaves are the fastest route to a giftable batch — three pans, thirty-five minutes, and they cool in half the time.
If you only have one pan
A 9 x 5 inch loaf pan is the standard and the one this recipe was written for. If yours is dark metal or glass, drop the oven temperature by 25 degrees and add five to ten minutes; dark pans and glass both conduct heat harder and will over-brown the crust before the centre sets. If yours is a light aluminium pan, follow the recipe as written.
How to Keep It Moist for Days
A pumpkin loaf is at its best on day two, once the crumb has had time to settle and the spice has spread through the loaf. Getting it there intact comes down to how you wrap it and when you cut it.
Cool it completely before wrapping. Wrapping a warm loaf traps steam, and that steam condenses into a soggy crust and a mould-friendly surface.
Wrap in parchment, then foil. Parchment lets the loaf breathe a little; foil seals the moisture in. Both together is the combination that keeps a loaf good for four days.
Store cut side down. Once sliced, press the cut face against the board or plate. Exposed crumb is where a loaf dries out fastest.
Add an apple if you are worried. Half a peeled apple in the tin beside the loaf releases moisture slowly and genuinely works for a day or two.
Do not refrigerate unless you must. Cold firms the fat and makes the crumb feel stale even when it is not. Room temperature in an airtight tin is better for the first three days.
The oil-versus-butter question, answered. Butter tastes better on the day you bake. Oil keeps the loaf soft for a week. This recipe uses oil for exactly that reason — if you want butter flavour, brush the finished loaf with melted butter while it is still warm instead of swapping the fat in the batter.
Building the Spice Blend
Pumpkin spice is a formula, not a product. Once you know the ratio you will never buy a jar again, and you can dial it toward whichever note you love most.
The blend, per loaf and per batch
Spice
In one loaf
Mixed jar (4 batches)
Ground cinnamon
2 tsp
6 tbsp
Ground ginger
3/4 tsp
2 1/4 tsp
Ground nutmeg
1/2 tsp
1 1/2 tsp
Ground allspice
1/4 tsp
3/4 tsp
Ground cloves
1/8 tsp
3/8 tsp
How to tune it
More warmth: add another 1/4 tsp ginger. Ginger is the note that makes a loaf taste like a cold morning.
More aroma: grate fresh nutmeg rather than using pre-ground. The difference is not subtle.
Less aggressive: halve the cloves or leave them out entirely. Cloves divide people more than any other spice here.
Chai energy: add 1/4 tsp ground cardamom and a pinch of black pepper.
Cardamom caution: it is powerful. Start with an eighth of a teaspoon and taste the batter.
Spices fade. Ground spice in a jar above the stove loses most of its punch in six months. Write the mixing date on your jar, keep it away from the hob, and rebuild it each autumn. A loaf made with tired spice tastes like plain cake.
Add-ins and Variations
The base batter takes additions gracefully, up to about a cup in total. Past that you start weighing down the crumb and the loaf will not rise properly.
Nut and fruit
Toasted pecans or walnuts — 3/4 cup, chopped. Toast them first; raw nuts go soft in the batter.
Chocolate chips — 1 cup dark or semisweet. Toss them in a spoonful of flour first so they do not sink.
Dried cranberries — 1/2 cup, soaked in hot water for ten minutes and drained, or they will steal moisture from the crumb.
Chocolate and pecan together — 1/2 cup each. This is the version my family asks for.
Texture swaps
Whole wheat: replace half the all-purpose flour with white whole wheat. Expect a slightly denser, nuttier loaf; add two tablespoons of extra buttermilk.
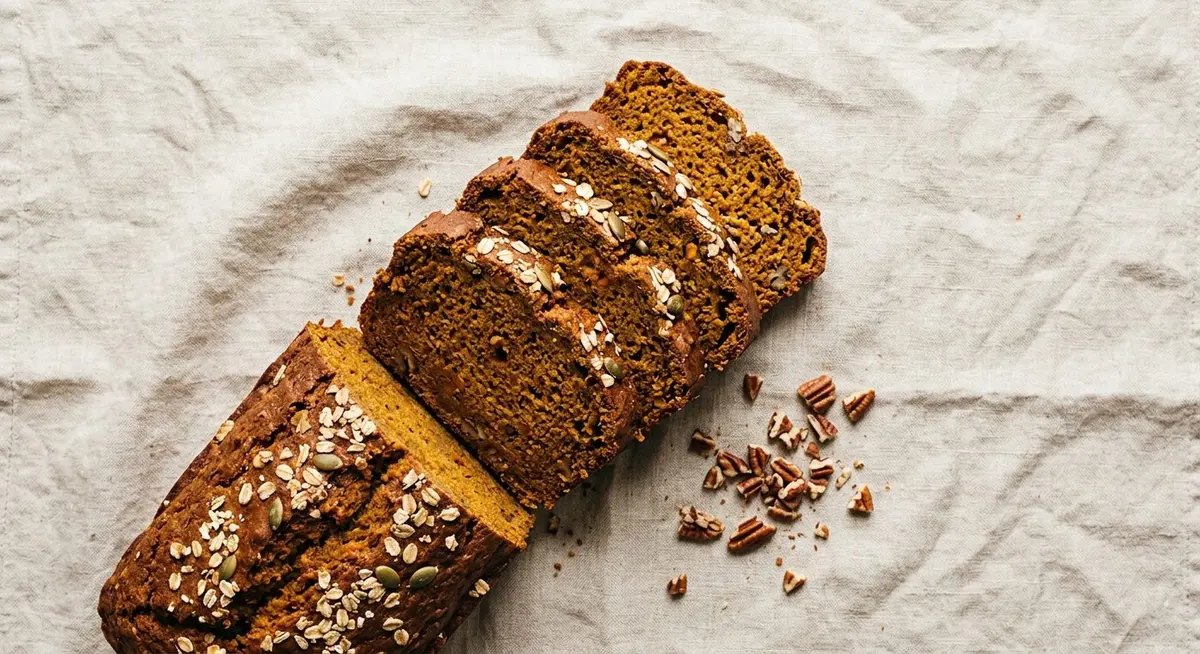
Oat topping: scatter rolled oats and a tablespoon of raw sugar over the batter before baking for a crackly top.
Olive oil: swap in a mild extra virgin for the neutral oil for a more savoury, grown-up loaf — excellent with the maple glaze below.
Grain-free and gluten-free notes
This recipe is built on wheat flour and will not convert cleanly to a single gluten-free blend without adjusting the liquid. If you need a gluten-free loaf, use a cup-for-cup blend (not almond or coconut flour) and add an extra egg white, which replaces some of the structure the wheat was providing.
The Optional Maple Glaze
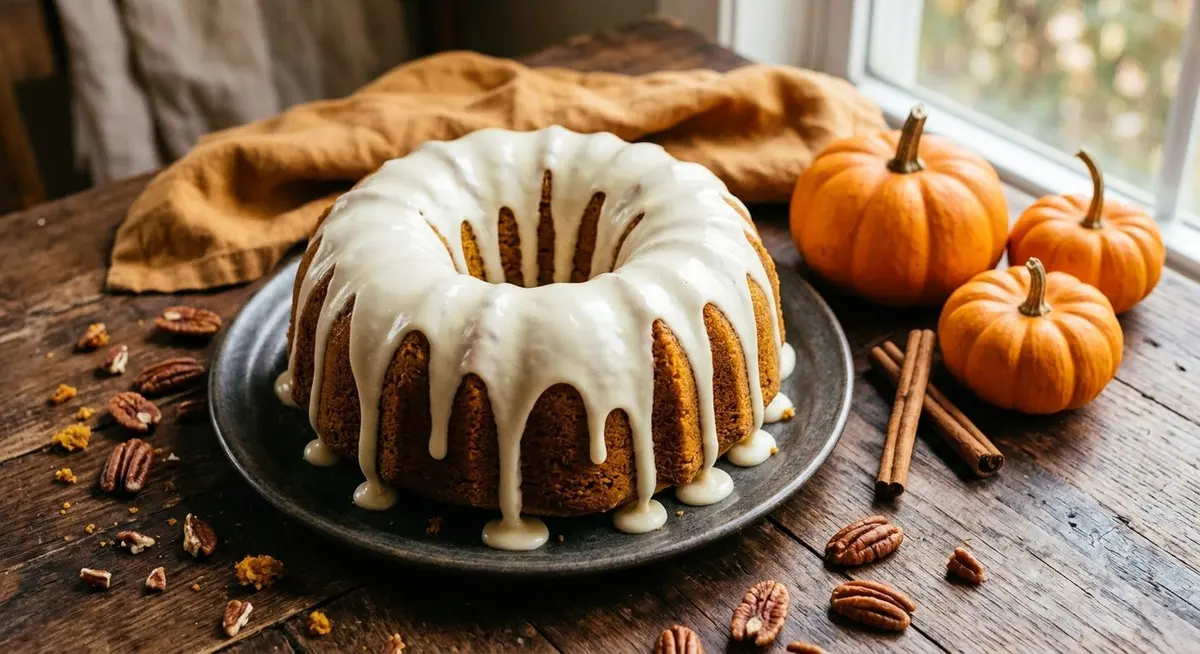
The loaf needs nothing. But a thin maple glaze turns it from a good everyday bake into something worth wrapping in parchment and handing to a neighbour.
Maple glaze
Ingredient
Amount
Note
Powdered sugar
1 cup, sifted
Sift it or you will get lumps you cannot whisk out
Pure maple syrup
2 tbsp
Real syrup, not pancake syrup
Milk or cream
2 – 3 tbsp
Add a tablespoon at a time until it ribbons
Vanilla extract
1/2 tsp
Fine salt
1 pinch
Keeps the glaze from tasting only of sugar
Whisk the powdered sugar, maple syrup, vanilla and salt, then add the milk a tablespoon at a time until the glaze falls from the whisk in a wide ribbon and holds its shape for a second on the surface. Pour it over the cooled loaf and let it run down the sides. Leave it to set for twenty minutes before slicing or wrapping.
Glaze and freezing do not mix. Freeze the loaf unglazed, then glaze it after thawing. A glazed loaf going into the freezer comes out with a weeping, sticky surface.
Storage, Freezing and Gifting
How long it keeps
Method
How to do it
Keeps
Room temperature
Wrapped in parchment then foil, or in an airtight tin
4 days
Refrigerator
Wrapped airtight; bring slices to room temperature to serve
1 week
Freezer, whole loaf
Double-wrapped in foil, then a zip bag with the air pressed out
3 months
Freezer, slices
Sliced, interleaved with parchment, in a zip bag
3 months
Reheating a slice
Damp paper towel, 20 seconds in the microwave
Serve at once
Freezing, properly
Cool the loaf completely, wrap it in foil, then slide it into a zip bag and press out the air. Two layers matter because foil alone lets air in at the folds and a bag alone gets punctured by the crust. For slices, freeze them individually on a tray for an hour first, then bag them — that way they do not fuse into a single block.
Gifting
Mini loaves are the ideal gift. Bake three to a batch, cool them completely, wrap each in parchment, and tie with twine. They keep four days and travel well. Add a small jar of the spice blend and you have a present that costs very little and gets remembered. If you are baking your way through the season, the same batch-and-gift logic is what makes a slow-cooked apple butter or a tray of brown butter chocolate chip cookies worth doing in quantity.
Food safety note. A baked quick bread left out at room temperature should not sit beyond four days, and anything with a glaze or a cream cheese spread should be refrigerated. If you see any fuzz, discard the whole loaf — do not cut the mouldy part off, because the mould’s threads run deeper than the visible patch.
Troubleshooting and Questions
These are the questions that come up most often. Most pumpkin bread problems trace back to one of three things: too much flour, overmixing, or an oven that runs hot.
My loaf sank in the middle. What happened?
A sunken centre almost always means the batter was overmixed or the oven was opened too early. Stir only until the flour disappears, then stop — extra stirring builds gluten that rises fast and collapses. Also resist opening the oven before the 55-minute mark; a blast of cool air drops the temperature and the middle falls. If it has already happened, the loaf is still delicious: slice it, toast it, and treat it as a slightly denser bake.
Why is my pumpkin bread dry?
Almost always too much flour. Scooping directly from the bag compacts it and can add up to 20% extra. Fluff the flour, spoon it into the measuring cup, and level with a knife. The other causes are overbaking and using butter instead of oil — oil keeps the crumb soft for days, butter firms up.
Can I use pumpkin pie filling instead of pumpkin puree?
No. Pie filling is already sweetened and spiced, so the loaf comes out cloying and the spice balance is thrown off. Check the label for the word puree, and make sure there is nothing added beyond pumpkin.
Can I make this without eggs?
Yes, with a texture trade. Replace each egg with one tablespoon of ground flax mixed with three tablespoons of water and rested for five minutes. The loaf will be slightly denser and more crumbly, so add two extra tablespoons of buttermilk to compensate.
How do I know when it is done?
A skewer inserted into the centre should come out with a few moist crumbs rather than wet batter. The centre should spring back when you press it lightly, and the internal temperature should read about 200 F. Always start checking five minutes before the recipe’s earliest time.
Can I bake this as muffins?
Yes, and they are excellent. Divide the batter into a lined 12-cup tin and bake at 375 F for 20 to 24 minutes. They are done when a skewer comes out clean. Fill the cups almost to the top for proper domed tops.
Free Printable: The Pumpkin Bread Baking Planner
A printable companion to this loaf — the shopping list, the spice-blend card, exact pan sizes and bake times for every tin, a doneness checklist and gift tags to cut out.
Elowen Thorn I cook, photograph and re-test every recipe in an ordinary home kitchen before it goes up, so what you make matches what you see. Savory Discovery is where simple weeknight cooking, seasonal ideas and the odd bit of kitchen craft sit side by side — written plainly, and worth cooking twice.