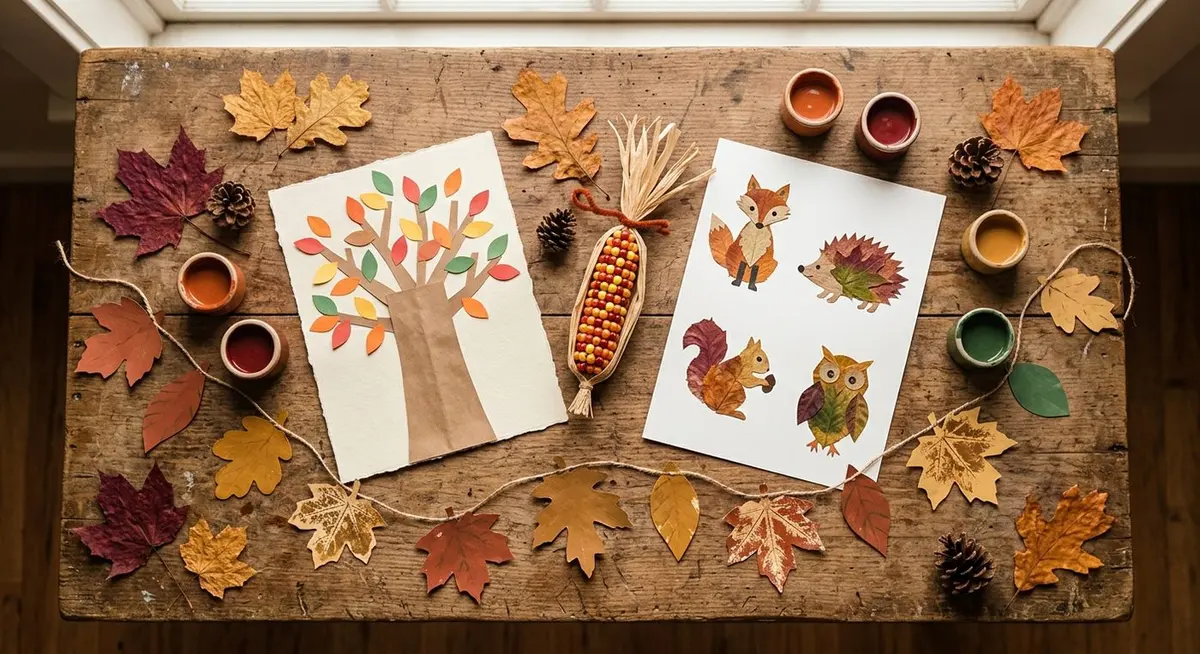
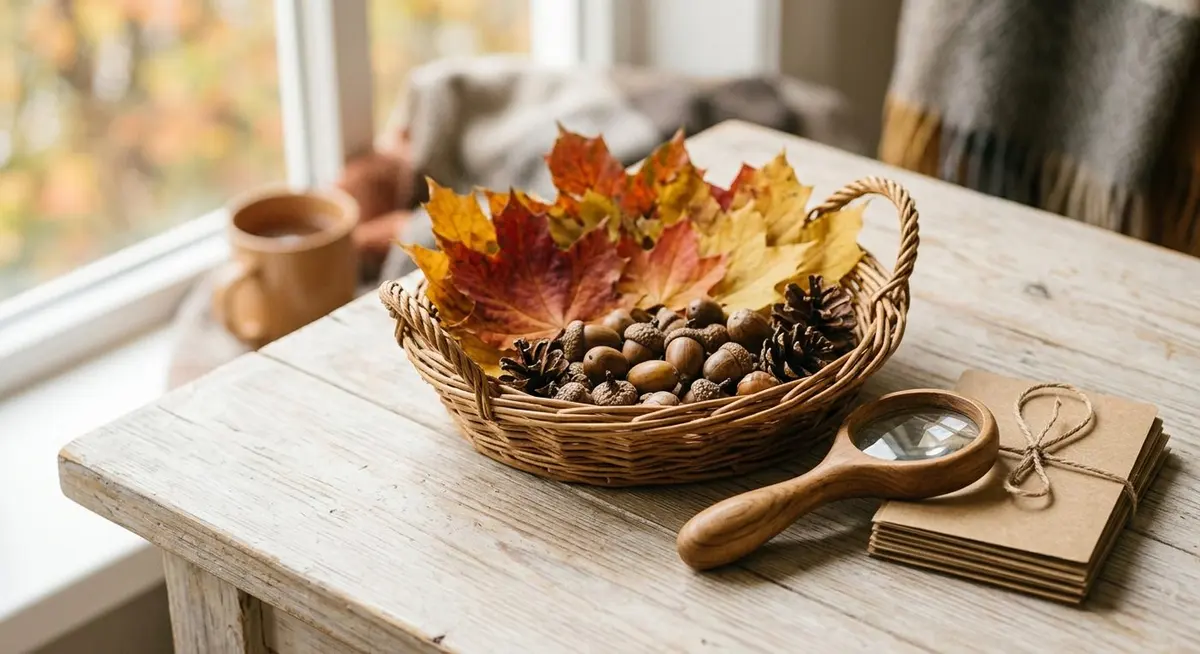
A craft afternoon with kids does not fail because the projects are wrong. It fails because there are too many of them, the supplies are not out, and nobody decided in advance who is doing what. This is the version that works: five projects that suit a real range of ages, the supplies that actually get used, and the honest notes on mess, drying time and what to do when a four-year-old and a ten-year-old want to work at the same table.
There is no shortage of autumn craft ideas. Search for an afternoon and you will find dozens of them, each photographed beautifully, each with a supply list of its own. The problem is not the ideas. The problem is that a list of twenty-five projects is a list of twenty-five shopping trips, and no child has ever finished twenty-five crafts in an afternoon.
So this is a shorter list, chosen for a different reason. Every project here uses materials you either already own or can buy in one trip, every one can be finished in under an hour, and between them they cover a genuine age range — a two-year-old can stamp and press, a six-year-old can thread and glue, and a ten-year-old can run the whole thing without you. That spread matters more than the projects themselves, because the usual reason a craft afternoon goes wrong is that one child is bored and another is frustrated at the same table.
Five projects, one table, one afternoon. Everything here can be made from a single trip to the craft shop plus a walk outside.
The one rule that saves the afternoon: pick a single project before you open a cupboard. Not two, and certainly not five. Children who are given a choice between five things spend the afternoon choosing, and the mess of five half-finished projects is what makes parents decide never to do this again.
Choosing the Right Project for Today
Before you pick a project, answer three questions in order. They take about thirty seconds and they will tell you which of the five below is the right one, which is a much better use of that time than scrolling.
How much time do we actually have? If it is under half an hour before dinner, choose a no-drying project — the beaded corn or the leaf cards. Anything involving paint needs a clear hour plus drying space.
How many children, and how far apart in age? One child can do anything on this list. Two children more than three years apart need a project with an easy version and a hard version, which is why the leaf cards and the printing both appear twice below.
How much mess can I live with today? Be honest. Printing and marbling are genuinely messy and genuinely worth it, but not on a day when you are already tired. The paper bag tree and the beaded corn leave the table exactly as they found it.
The five projects at a glance
Project
Hands-on time
Best age
Mess
Shop trip?
Leaf animal cards
20 – 30 min
4+
Low
No — leaves from outside
Paper bag tree
25 – 35 min
3+
Low
No
Beaded corn cob
20 – 30 min
4+
None
Beads and pipe cleaners
Pumpkin and leaf printing
30 – 40 min
2+
High
Paint and a sponge
Marbled leaf garland
35 – 45 min
6+
High
Shaving cream and paint
If you only have twenty minutes and no supplies at all: send them outside with a bag and do the leaf animal cards. Leaves, glue, paper, done. It is the lowest-effort project here and it is the one children keep longest, because they made a creature rather than a decoration.
The Supply List, and What Each Thing Is For
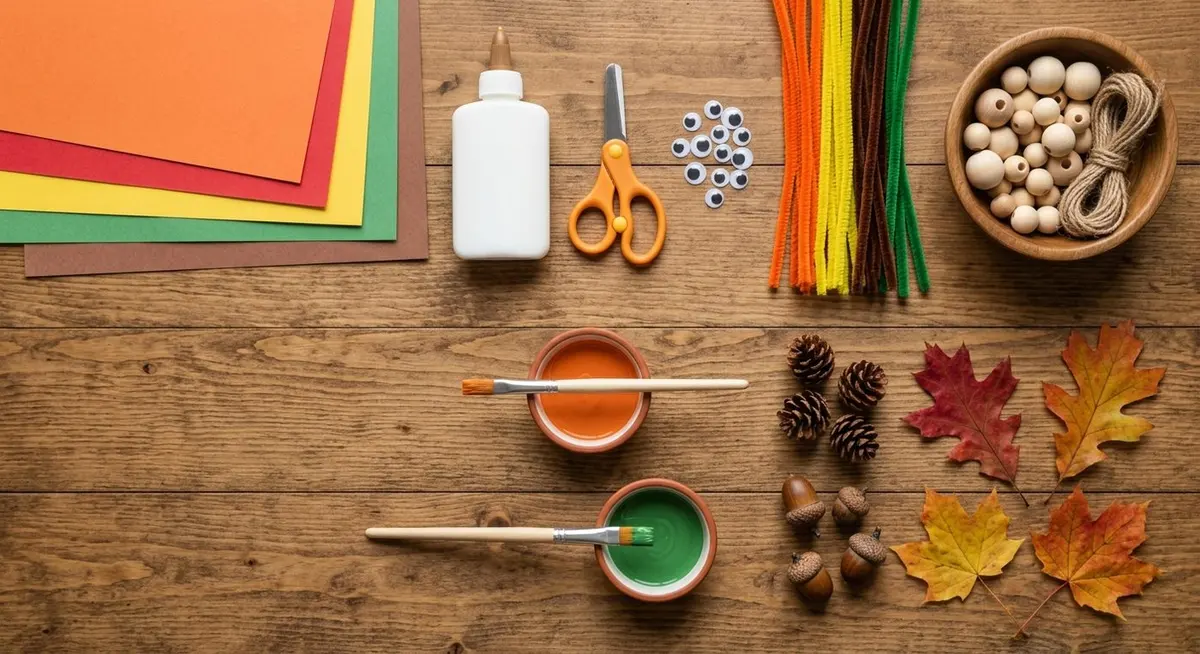
This is the whole list for all five projects. You do not need all of it for any single one — the table below tells you which project each item belongs to, so you can buy only what today’s project needs.
Lay everything out in the middle of the table before anyone sits down. Half the frustration in a craft session comes from a child waiting while you hunt for the glue.
Supplies and which project needs them
Item
Used for
Notes
Flat leaves, several colours
Leaf cards, printing, garland
Collect more than you think you need; they tear
Pinecones, acorns, small twigs
Leaf cards, paper bag tree
A ten-minute walk covers all of it
Construction paper, autumn colours
All five
The cheap pad is fine; card stock only for the cards
Cream or white card stock
Leaf animal cards
The blank side of a cereal box works just as well
A brown paper lunch bag
Paper bag tree
One bag makes one tree
White school glue
All five
Pour a little into a dish; children over-glue from the bottle
Glue stick
Leaf cards, paper bag tree
Cleaner for flat leaves than white glue
Child-safe scissors
Paper bag tree, garland
Count them back in at the end
A shallow tray or baking sheet
Printing, marbling
Contains the worst of the mess
An old sponge or cut pool noodle
Pumpkin printing
A pool noodle makes a perfect round pumpkin stamp
Washable paint: orange, red, yellow, green
Printing, marbling
Washable is not optional with children
Googly eyes
Leaf cards, paper bag tree
Or cut circles from white and black paper
Pipe cleaners
Beaded corn, leaf cards
Twist ties work if you have run out
Wooden beads
Beaded corn
Dried beans or pasta tubes are a fine substitute
Kitchen twine or yarn
Marbled garland
Yarn is easier for small hands to thread
Shaving cream
Marbled garland
Thick white hand soap also works
Newspaper or a plastic tablecloth
Printing, marbling
Cover the whole table, not just the middle
Buy the washable paint. It costs a little more and it is the single best value item on this list. Washable paint comes out of clothes, off walls and out of hair; the ordinary kind does not, and one ruined jumper will end your enthusiasm for craft afternoons far more effectively than any amount of mess.
Leaf Animal Cards
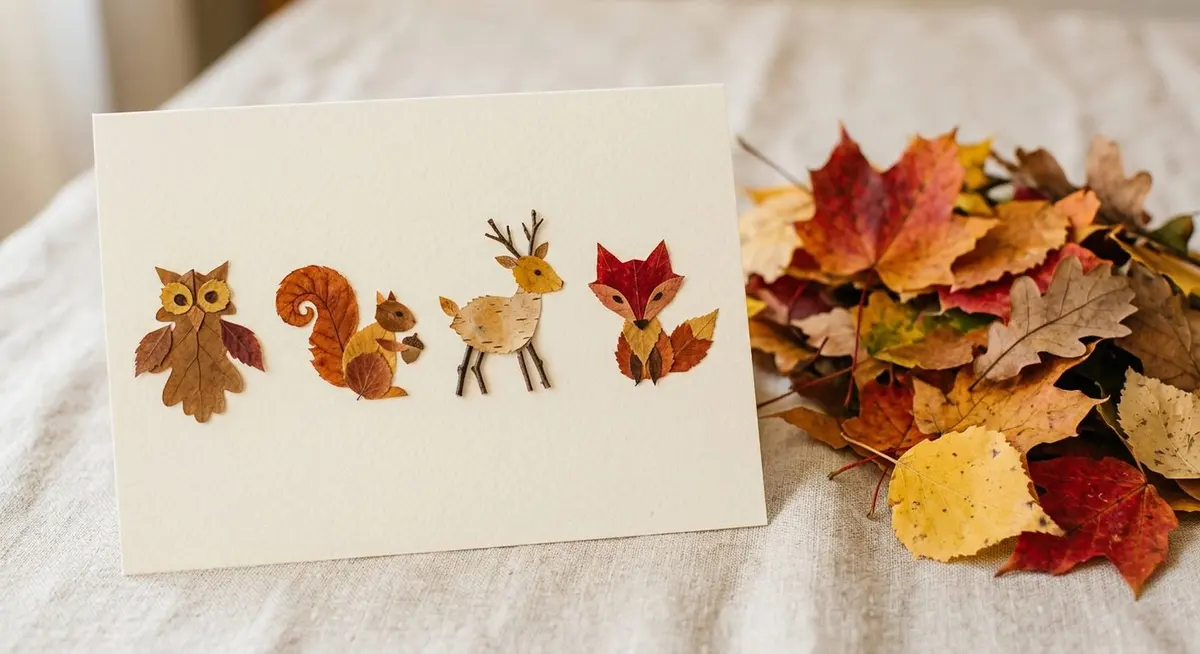
This is the project to start with, because it needs almost nothing and it works for almost every age. The idea is simple: a leaf is not just a leaf, it is a body, a wing, a tail or an ear. Children who are told to make a picture will make a picture. Children who are told that a maple leaf looks like a hedgehog will spend forty minutes finding the right one.
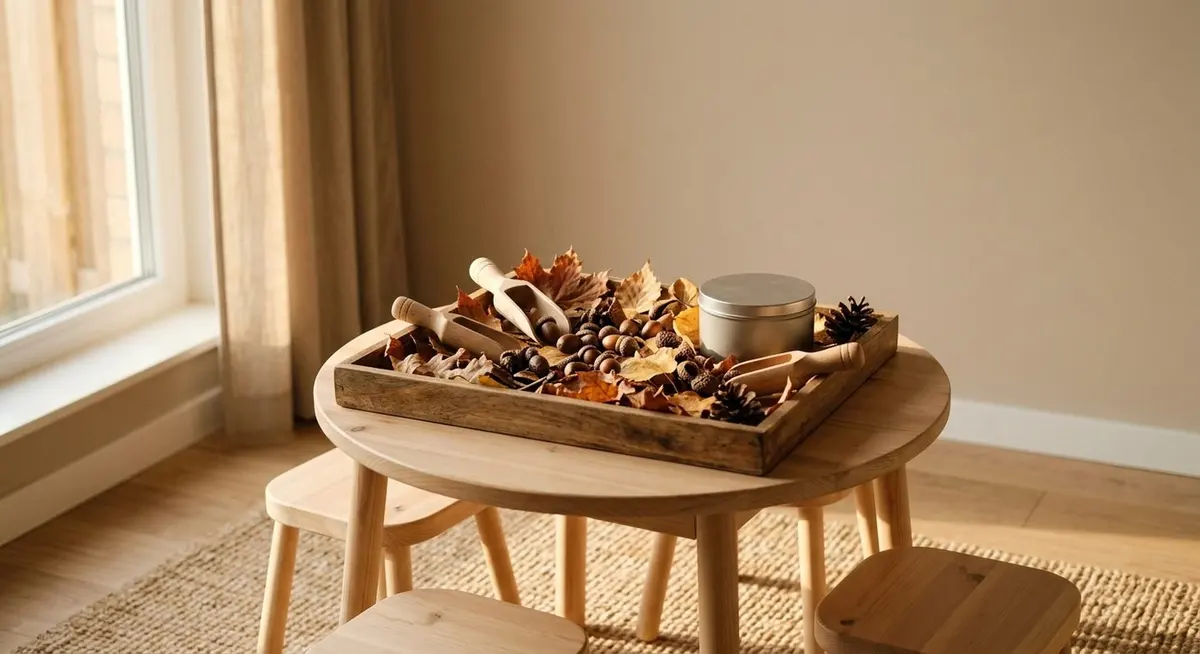
Go outside first and collect. Ask for flat leaves rather than dry crinkly ones — flat leaves glue down properly, and dry ones crumble the moment they are pressed. Aim for a mix of sizes and at least four colours.
Back at the table, sort the haul into piles: big leaves, small leaves, long thin leaves, and twigs. Sorting is half the activity for a four-year-old and it costs you nothing.
Give each child a sheet of card stock and let them lay the leaves out loose before gluing anything. This is the step people skip, and it is the one that produces a creature rather than a random pile.
Glue the leaves down with a glue stick for flat pieces and white glue for anything with a stem or a twig. Press for a slow count of ten.
Add the details last: googly eyes, a twig for a leg, a small leaf for a tail. Eyes go on after the body is stuck, never before.
Leave the cards flat to dry for about twenty minutes. They will curl slightly if you move them too soon.
A leaf, a twig and two paper circles is all it takes. The owl is the easiest to start with because the shape is already there.
The failure point: gluing before arranging. If a child sticks the first leaf down immediately, the creature is decided for them and the rest of the leaves have nowhere to go. Make the loose layout a rule, not a suggestion.
Paper Bag Tree
One brown paper lunch bag becomes a small tree with a trunk, branches and a canopy, and it stands up on its own when it is finished. It is the most satisfying project on this list for a three-year-old, because the transformation happens in one move and they can do that move themselves.
Open the bag and stand it up. Squeeze the middle of the bag inward so the base stays wide and the top narrows — that is the trunk.
Twist the top third of the bag firmly. This is the step that turns a bag into a tree, and it is the one children want to do themselves. Help only if the twist will not hold.
Cut the twisted top into four or five strips with child-safe scissors. These are the branches.
Twist each strip into a branch shape and bend it outward. Do not worry about them matching; a real tree does not.
Glue or tape paper leaves onto the branches. Cut them from construction paper, or use real leaves if you have them left over from the cards.
Stand the tree on a shelf to dry. It will hold its shape once the glue sets, and it makes a surprisingly good autumn decoration.
Make it a forest. One bag makes one tree, and a row of five trees of different heights looks deliberate rather than accidental. If you have several children, give each one a bag and stand the finished forest together on the windowsill.
Beaded Corn Cob
This is the quiet project. There is no paint, no glue and no drying time, which makes it the right choice for a rainy afternoon, a car journey or the twenty minutes before dinner. It is also the best project here for building the small hand muscles that handwriting needs, because threading beads onto a pipe cleaner is genuinely fiddly work.
Bend one pipe cleaner in half and twist the two ends together to make a loop. This is the core of the cob.
Thread beads onto the pipe cleaner, alternating colours. Yellow, orange and brown read as corn; anything else reads as a very cheerful cob, which is also fine.
Keep threading until the pipe cleaner is nearly full, leaving a small gap at the end.
Twist the loose end around the top of the loop to close it. Check that no bead can slide off.
Cut two short strips of green construction paper and glue or tape them at the base as husks.
Bend the finished cob very slightly so it curves. Real corn is never straight, and the curve is what makes it look right.
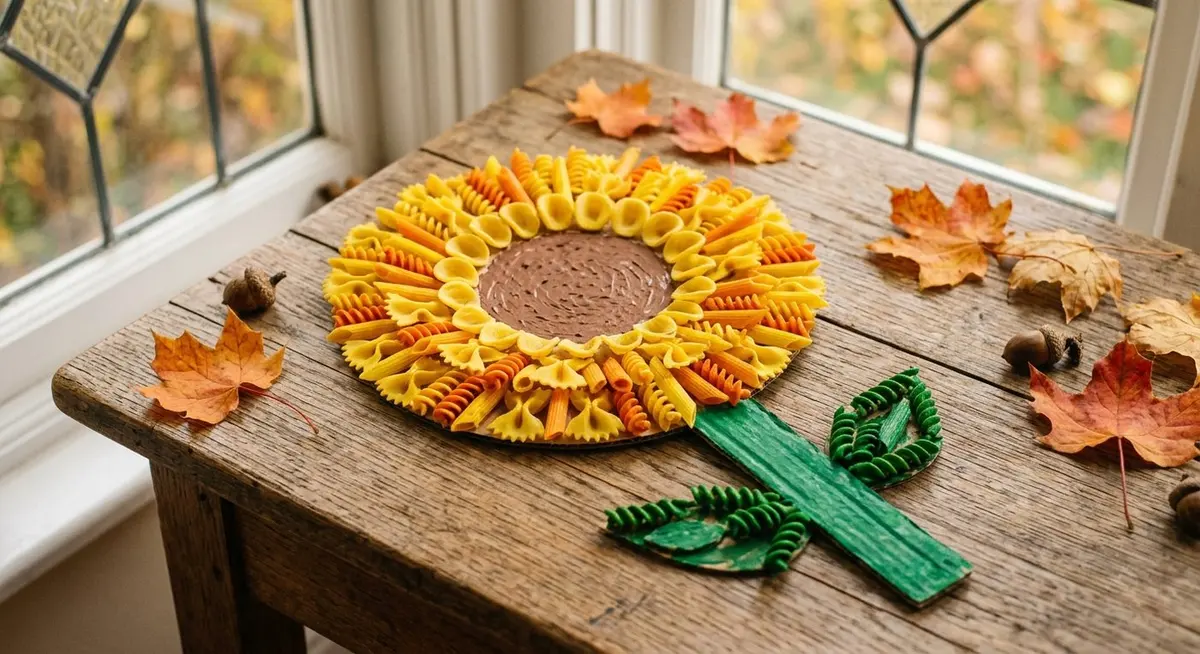
For a two-year-old: use dried beans or large pasta tubes instead of small beads, and a twist tie instead of a pipe cleaner. The threading motion is the same and the choking risk disappears. Pasta can be painted first and left to dry, which turns this into two activities.
Pumpkin and Leaf Printing
Printing is the messiest project here and the one children ask for again. The appeal is that the shape appears all at once, in one press, and a two-year-old can make something that looks deliberate. It is also the project that produces the most usable output — printed sheets become cards, wrapping paper and placemats.
Cover the whole table with newspaper, not just the middle. Paint travels further than you expect, and a covered table means you can relax instead of hovering.
Pour each colour into its own shallow dish. Never let a child dip straight into the bottle — the colours mix, the bottle tips, and the afternoon ends early.
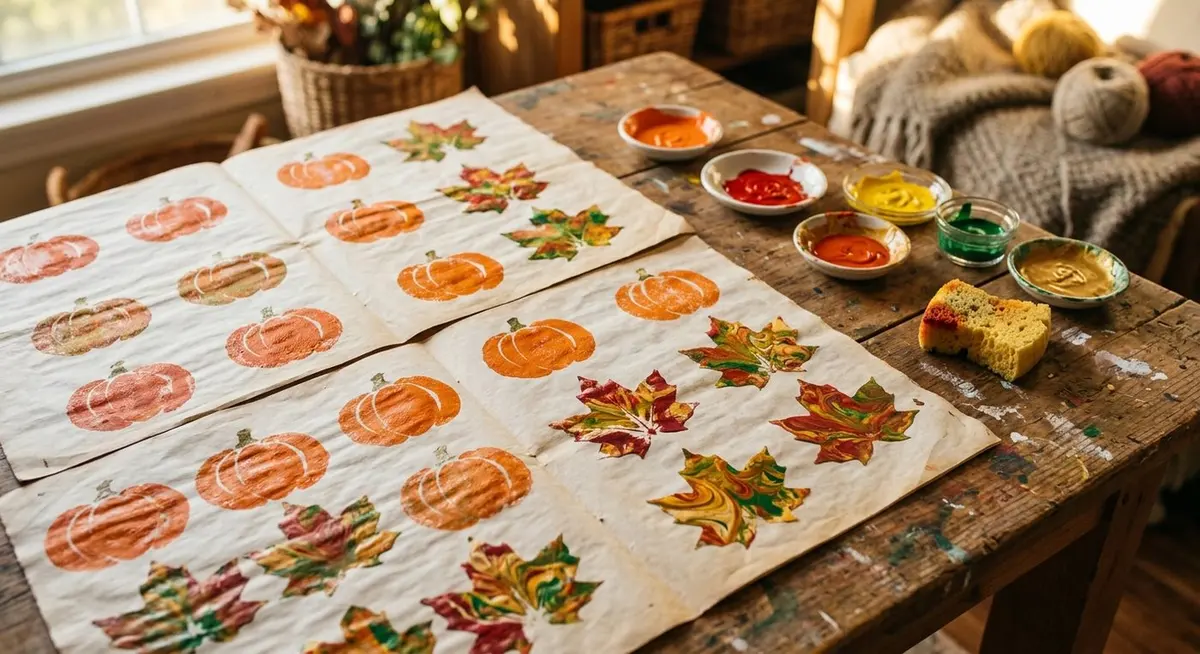
For pumpkins, cut a two-inch slice from the end of a pool noodle, or use a piece of sponge cut into a rough circle. Press it into the orange paint and stamp it onto the paper.
For the stem, use a fingertip dipped in green, or the edge of a sponge. One small press at the top of each pumpkin is enough.
For leaf prints, paint the veined side of a real leaf with a brush, then press it paint-side down onto the paper and rub gently with a flat hand. Peel it off slowly from the stem end.
Lay the finished sheets flat to dry for about an hour. Do not stack them, and do not hang them up while wet — the paint runs.
A cut pool noodle makes a perfect round pumpkin. The stem is one fingertip of green paint, and nothing else is needed.
The failure point: too much paint on the stamp. A stamp loaded with paint produces a shapeless blob with no edge. Press the stamp into the dish, then blot it once on the newspaper before it touches the paper. That single blot is the difference between a pumpkin and a puddle.
Marbled Leaf Garland
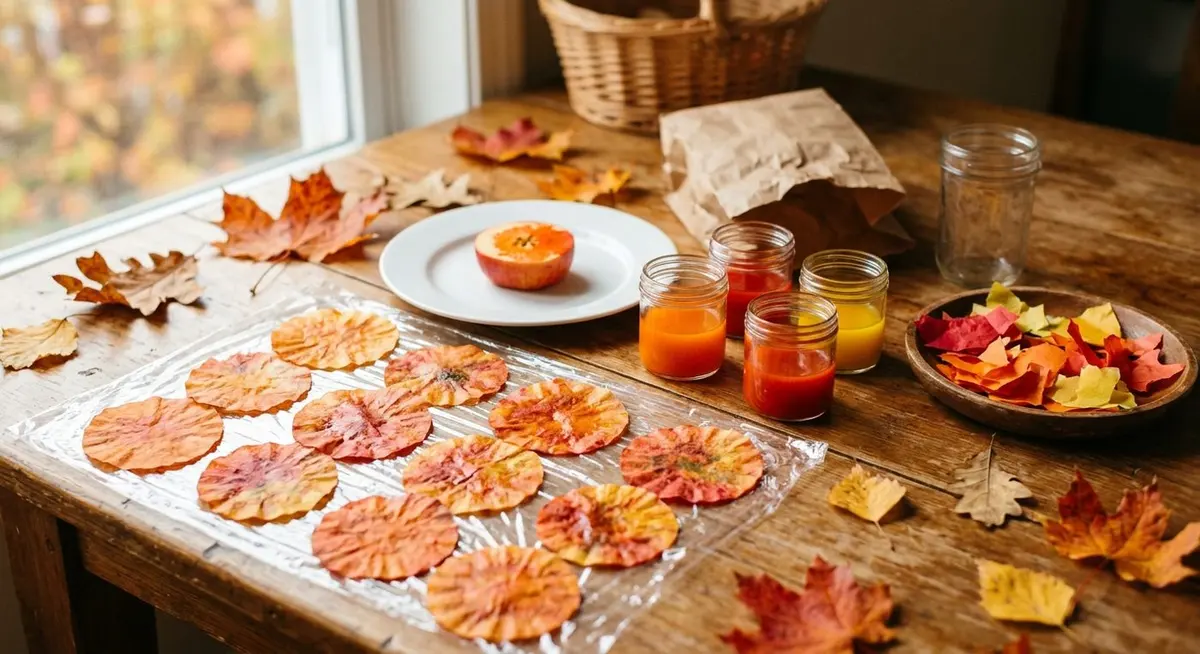
This is the project for the oldest child at the table, and it is the one that produces something you will actually want to hang up. The marbling happens on the surface of shaving cream, which means the pattern is transferred in a single press and no two leaves come out the same. It is genuinely a little magical, and it is worth the mess.
Spray a thick layer of shaving cream into a shallow tray and smooth it flat with the back of a spoon. You want about an inch, evenly spread.
Drip two or three colours of paint onto the surface, spaced apart. Less is more here — three colours marble beautifully, six turn to mud.
Drag a skewer or a fork handle through the paint in slow S-shapes. Do not stir; drag. Stirring mixes the colours into brown, dragging leaves them as ribbons.
Press a paper or real leaf face-down into the cream and press gently all over with a flat hand.
Lift the leaf out and scrape the shaving cream off with a piece of card or a squeegee. The paint stays on the leaf and the cream comes away, leaving the marbled pattern behind.
Lay the leaves flat to dry for about two hours, then thread them onto twine with a needle or a hole punch and hang the garland.
Use paper leaves for the garland and real ones for the table. Real leaves curl as they dry and will not lie flat on a string, but they look wonderful scattered loose across a table. Paper leaves hold their shape and thread cleanly, so they are the ones to hang.
What Each Age Can Do Alone
The most useful thing you can do before a craft afternoon is work out which parts of the project each child can genuinely do without you. Children who are handed a task they cannot manage will ask for help constantly and lose interest; children who are handed a task that is too easy will drift away. The table below is the honest version.
What each age can manage
Age
Can do alone
Needs you for
Skip for now
2 – 3
Dab paint, press a stamp, tear paper, sort leaves
Scissors, glue control, threading, the twist
Beaded corn, marbled garland
4 – 5
Glue stick, arrange leaves, stamp shapes, thread large beads
Cutting shapes, tying, pouring paint
Fine threading, sharp scissors
6 – 8
Cut with child-safe scissors, thread beads, follow the steps
Set-up, the squeegee step, clean-up
Nothing on this list
9 – 12
The whole project, start to finish, including the set-up
Only the messiest steps
Nothing on this list
If you have a toddler and an older child together
Give them the same project at different levels. The leaf cards work perfectly: the toddler sorts and presses, the older child designs and glues. Same table, same materials, no competition.
Give the older child a job that is genuinely theirs. Mixing the paint, cutting the pool noodle, laying the newspaper. A ten-year-old who is in charge of set-up will stay engaged far longer than one who is handed a brush.
Do not expect the toddler to finish. A two-year-old who stamps six pumpkins and wanders off has done the activity correctly. The older child’s finished piece is not the standard for the younger one.
If you have one child only
Work alongside them rather than watching. Make your own leaf card. Children stay at the table roughly twice as long when an adult is making something too.
Let them run the whole project. Reading the steps, gathering the supplies, deciding the order. It turns a craft into a small piece of real responsibility.
Mess, Drying and Clean-Up
Mess is the reason most parents avoid craft afternoons, and it is almost entirely preventable with about five minutes of preparation. The trick is to decide where the mess is allowed to happen before it happens, rather than chasing it afterwards.
What to protect and how to clean it
Project
Protect
Clean with
Drying time
Leaf animal cards
Nothing needed
Nothing needed
20 min
Paper bag tree
Nothing needed
Nothing needed
30 min
Beaded corn cob
Nothing needed
Nothing needed
None
Pumpkin and leaf printing
Newspaper over the whole table
A damp cloth while the paint is still wet
1 hour
Marbled leaf garland
Newspaper plus a shallow tray
Warm soapy water, then a rinse
2 hours
Aprons before paint, not after. An old adult shirt worn backwards covers more than any child’s apron and costs nothing.
Clean paint while it is wet. Washable paint lifts off skin, cloth and wood with a damp cloth in the first ten minutes. Leave it an hour and it becomes a scrubbing job.
Keep a bowl of warm soapy water on the table. Children wash their own hands the moment they finish, which stops paint travelling to door handles and light switches.
Clear the table before the work is dry. Move the finished pieces to a drying shelf first, then wipe down. Trying to do both at once is how wet paintings end up on the floor.
Shaving cream is easier to clean than it looks. It is soap. A damp cloth takes it off a table in one pass, and it rinses out of clothes in cold water. The paint mixed into it is the part that needs attention, so scrape the leaves over the tray rather than over the table.
Storing and Displaying the Work
The last ten minutes of a craft afternoon decide whether the work survives the week. A pile of loose leaves and half-dry paintings on a table will be in the bin by Thursday. A little deliberate handling now means the pieces are still around at Christmas.
Press the flat work. Leaf cards and printed sheets go under a heavy book for a day. They come out flat, and flat work is the work that can be framed, posted or kept.
Photograph everything before it goes anywhere. One photo per child per project, taken in daylight, is a two-minute job and it means you can let the physical piece go without guilt.
Hang the garland, stand the trees. The marbled garland and the paper bag forest are decorations, not keepsakes. Use them, and let them be seasonal.
Keep one piece per child per year, not all of them. A single box labelled with the year is manageable. Four boxes of everything is not, and it is the reason craft work ends up in the bin in a clear-out.
Send some of it away. Printed sheets become cards for grandparents, and a card that arrives in the post is worth more to the person receiving it than anything that stays on your fridge.
The keepsake that lasts: the leaf animal cards. They are flat, they are small, and they are dated. Write the child’s name and the year on the back before you put them away, because in five years nobody will remember which autumn it was.
Troubleshooting and Questions
These are the questions that come up most often, and almost every craft-afternoon problem traces back to one of three things: too many projects at once, supplies that were not laid out in advance, or a task that did not match the child.
My child lost interest after ten minutes. What went wrong?
Almost always the task was pitched wrong rather than the child being difficult. A four-year-old handed a threading project will give up in minutes; the same child handed a stamp and a sheet of paper will work for half an hour. Look at the age table above and move one level down. The other common cause is a child waiting while an adult hunts for supplies, so lay everything out before anyone sits down.
The leaves all crumbled when we glued them. How do I stop that?
You collected dry leaves. Dry leaves are brittle and they break the moment they are pressed. Collect flat leaves that still have some flexibility — they should bend rather than snap. If the leaves are already dry, soak them for a minute in a bowl of water, pat them dry between two cloths, and use them while they are still slightly soft.
Can we do this with a two-year-old in the room?
Yes, and the printing project is the best choice, because stamping is a whole-hand motion that a two-year-old can genuinely do. Swap small beads for dried beans or large pasta tubes, use a twist tie instead of a pipe cleaner, and expect the activity to last about fifteen minutes rather than an hour. A two-year-old who stamps six pumpkins and wanders off has done it correctly.
The marbling turned brown and muddy. What happened?
Too many colours, or you stirred instead of dragging. Three colours marble beautifully; six mix into brown. And the motion matters: drag a skewer through the paint in slow S-shapes and stop. Stirring blends the colours together, which is exactly what you are trying to avoid.
How do I get washable paint out of clothes?
Cold water first, before anything else, and before the paint dries. Rinse from the back of the fabric so the paint is pushed out rather than through. Then rub a little hand soap into the mark and wash as normal. Hot water sets the stain, so never start with it. If the paint has already dried, soak the garment in cold water for an hour before washing.
Do I need to buy special craft supplies?
No. The substitutions table in the printable kit covers every item on the list, and most of them are things you already have. Googly eyes become paper circles, pipe cleaners become twist ties, wooden beads become dried beans, card stock becomes the blank side of a cereal box, and shaving cream becomes thick hand soap. The only item genuinely worth buying is washable paint.
What is the best project for a mixed-age group?
The leaf animal cards, without question. A toddler sorts and presses leaves, a six-year-old glues and adds details, and a ten-year-old designs the creature and helps the younger ones. Same table, same materials, and every child is working at their own level. Give the oldest child the set-up job as well — laying the paper and handing out the glue — and they will stay engaged for the whole session.
How long should a craft afternoon actually last?
About an hour, including the walk to collect leaves and the clean-up. Plan it as: ten minutes to set up, fifteen minutes outside collecting, thirty minutes making, ten minutes cleaning and moving the work to dry. Anything longer than that and you are asking children to concentrate past their limit, which is when the afternoon starts to fall apart.
Free Printable: The Fall Craft Afternoon Kit
A printable companion to this guide — the five projects at a glance, the full supply checklist, the substitutions table, the age guide, the mess-and-clean-up plan, a before-you-start checklist, an hour-by-hour plan and a page to record what you made.
Elowen Thorn I cook, photograph and re-test every recipe in an ordinary home kitchen before it goes up, so what you make matches what you see. Savory Discovery is where simple weeknight cooking, seasonal ideas and the odd bit of kitchen craft sit side by side — written plainly, and worth cooking twice.