By Elowen Thorn · Autumn Crafts · 5 projects, one afternoon
Every autumn I watch the same thing happen in kitchens and playrooms: a parent opens a craft roundup with thirty-eight ideas, feels briefly inspired, and then closes the tab because there is no way to tell which of the thirty-eight will actually get finished before someone loses interest. This is the other version. Five fall crafts, chosen because each one survives contact with a real child, with the honest supply list, the age that can genuinely do it alone, and the exact point where each one usually goes wrong.
A craft afternoon fails for one reason far more often than any other: the task and the child are mismatched. Hand a four-year-old a project that needs fine scissor control and you get ten minutes of frustration and a parent finishing it alone. Hand a nine-year-old a project that is really a toddler activity and you get boredom by the second step. The craft itself is almost never the problem.
So the five below are chosen to cover the whole range. Two are genuinely toddler-proof, two need a school-age hand, and one scales all the way up. Between them they use about a dozen supplies, most of which you already own, and every one of them produces something a child will want to keep rather than something that goes in the bin before dinner.
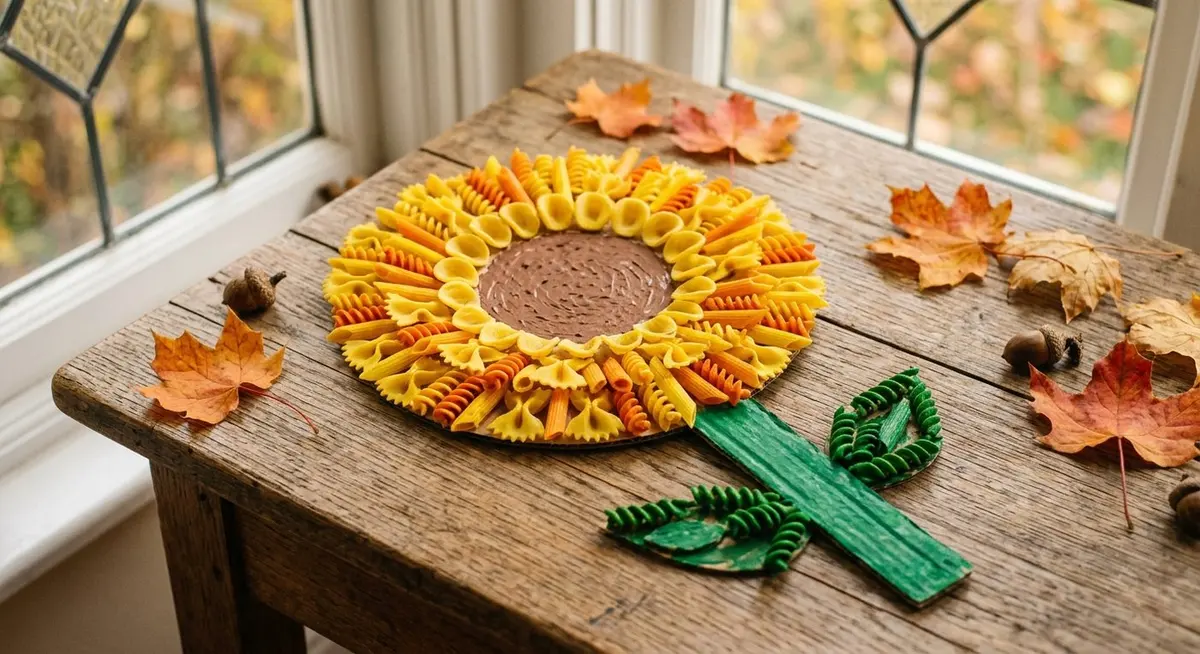
The noodle sunflower is the one that surprises parents — it looks like a real project and it is made almost entirely from pantry pasta.
Pick one, not five. The single biggest change you can make to a craft afternoon is to choose a single project and do it properly. Five crafts in one sitting produces five half-finished things and one tired adult. One craft, finished, produces a child who asks to do another one tomorrow.
All Five Crafts at a Glance
Use this table to pick before you open a cupboard. The hands-on time is the time a child is actually working, not the drying time in between, and the mess column is honest rather than optimistic.
The five crafts, sorted by what they demand
Craft
Hands-on time
Best age
Mess
Needs a shop trip?
Painted noodle sunflower
30 min + drying
4 – 8
Medium
Only for pasta and googly eyes
Fork-printed autumn tree
15 min
2 – 6
Low
No
Alphabet pumpkins
20 min
3 – 6
Low
No
Scarecrow face
35 min + drying
5 – 10
Medium
No
Leaf printing and coffee-filter leaves
25 min
3 – 10
Low to medium
No
Read the drying column before you start. Three of these five have a drying stage in the middle, and that stage is where most craft afternoons fall apart — a child who has to wait forty minutes for paint to dry will find something else to do. Start with the painting step, then move to a second craft while it dries, or paint in the morning and assemble after lunch.
The Supply List, With Substitutions
Everything here is either a pantry staple or a craft-box regular. The substitution column matters more than the list itself, because the fastest way to kill a craft afternoon is to discover halfway through that you are out of one thing.
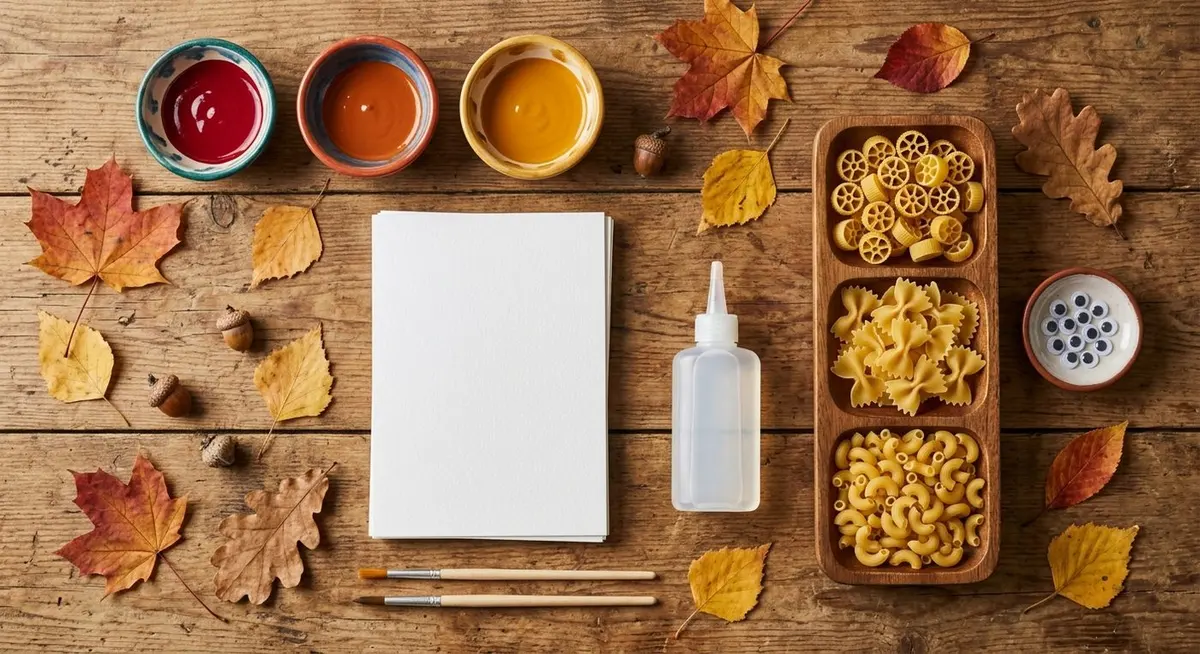
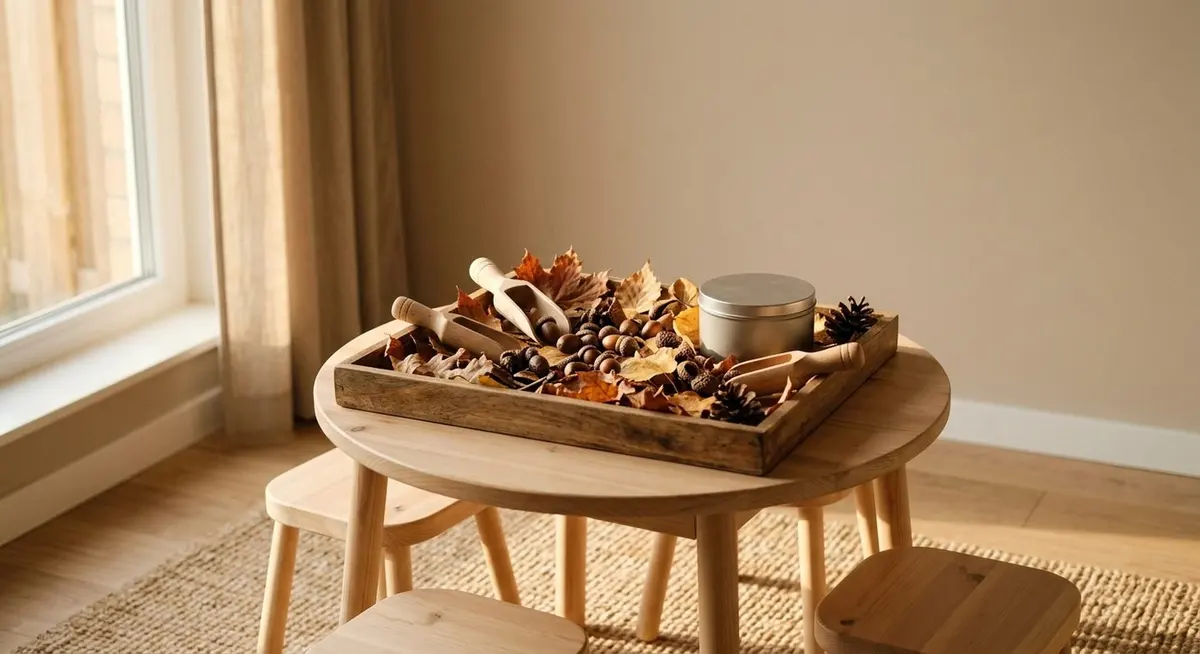
The whole kit for all five crafts fits on one tray — and every item on it has a substitution in the table below.
What you need, and what works instead
Supply
Used for
If you do not have it
Dried pasta shapes
Sunflower petals
Black beans, dried lentils, or torn paper petals
Acrylic or washable paint
Painting pasta, trunks, pumpkins
Washable tempera; food colouring thickened with flour for pasta
Cardboard or cardstock
Bases for the sunflower and scarecrow
The side of a cereal box, cut flat
Zip bags
Coating pasta in paint
A bowl and a spoon, stirred gently
Parchment paper
Drying painted pasta
A baking tray lined with foil, or newspaper
Googly eyes
Sunflower centre, scarecrow face
Circles of white paper with a marker pupil
Glue
Assembling everything
A glue stick for paper; white school glue for pasta and straw
Forks
Printing the tree canopy
A cotton bud bundle, or a sponge cut into a fork shape
Clothespins and craft poms
Alphabet pumpkin painting
A cotton bud held in fingers, or a small sponge
Scrapbook paper
Scarecrow hat and nose
Any patterned wrapping paper or a magazine page
Straw or raffia
Scarecrow hair
Shredded brown paper, or dried grass from the garden
Coffee filters
Coffee-filter leaves
Thin kitchen paper, folded double
Leaves from outside
Leaf printing
Nothing substitutes — this one needs a ten-minute walk first
The one supply worth buying properly: washable paint. Acrylic is more vivid and it does not wash out of clothing, tablecloths or grout. If the craft is happening anywhere near a carpet, use washable paint and accept the slightly softer colour.
Craft 1 and 2: Noodle Sunflower and Fork Tree
These two are the entry points. The fork tree takes fifteen minutes and works for a two-year-old; the sunflower takes longer but produces something that looks genuinely decorative on a windowsill.
Craft 1: Painted Noodle Sunflower
The trick here is to paint the pasta in a bag rather than by hand. It is faster, it uses less paint, and it means a small child can do the whole step without help.
Put a handful of dried pasta into a zip bag, add a generous squeeze of yellow and orange paint, and seal it. Shake and squash until every piece is coated.
Tip the pasta onto parchment paper and spread it into a single layer. Leave it to dry completely — at least an hour, longer in a cold room.
While it dries, draw a circle on cardboard using a bowl as a template, and paint the circle brown. This is the sunflower centre.
Paint a green stem and two leaves below the circle, and let that dry too.
Glue the painted pasta around the outside of the brown circle, overlapping the pieces so no cardboard shows through.
Glue a few black beans or black-painted pasta into the centre, then add two googly eyes if you want a face.
Craft 2: Fork-Printed Autumn Tree
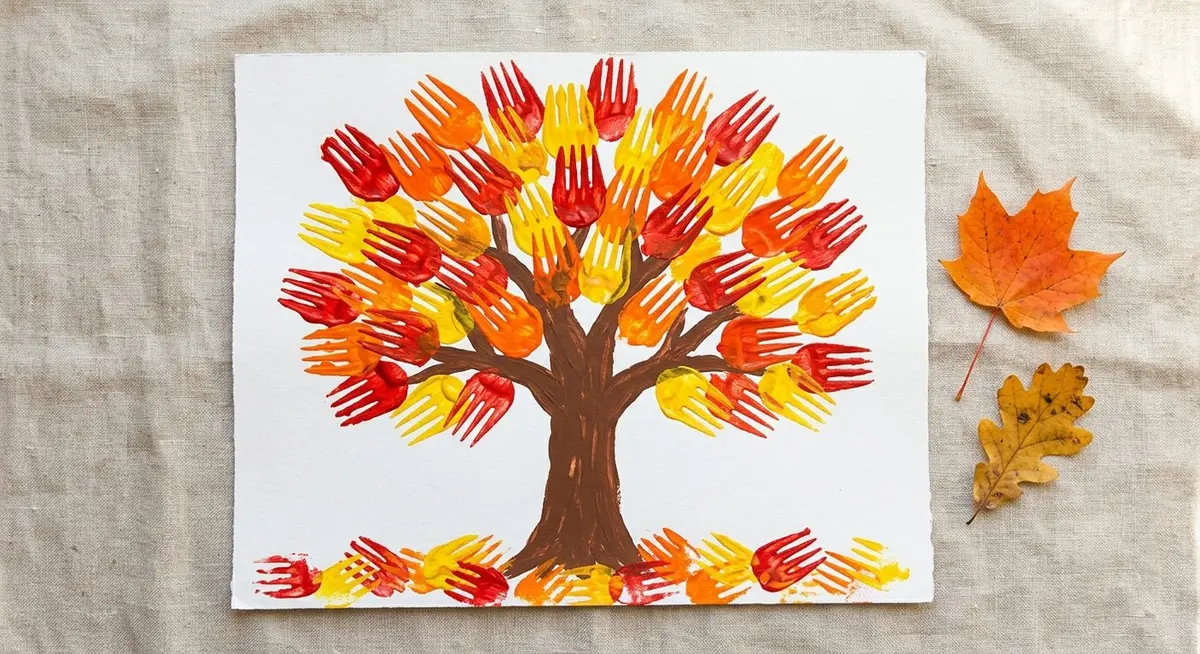
This is the fastest craft in the guide and the one I would give a two-year-old. The fork does the work, so there is no fine motor skill required at all.
Draw a tree trunk on cardstock with a brown marker and colour it in. A simple Y shape is enough — it does not need to be a good drawing.
Pour a little red, orange, yellow and brown paint onto a plate, keeping the colours separate.
Dip the back of a fork into one colour and press it around the branches. Reload the fork for each print so the leaves stay crisp.
Repeat with the other colours, overlapping the prints so the canopy looks full.
Add a few prints along the bottom of the page to look like fallen leaves.
The fork print is the whole trick — it gives a leaf shape that a brush cannot, and a two-year-old can do it unaided.
Craft 3 and 4: Alphabet Pumpkins and Scarecrow
These two add a learning step and a building step. The alphabet pumpkins sneak letter practice into a painting activity, and the scarecrow is the one that older children will want to make properly.
Craft 3: Alphabet Pumpkins
This is a painting activity that happens to be a literacy activity. The child paints only the pumpkin you call out, which means they are reading letters without noticing that they are practising.
Draw a vine across a sheet of cardstock and add eight to twelve pumpkins along it, each about the size of a coin.
Write one letter of the alphabet inside each pumpkin, in marker.
Clip a craft pom into a clothespin to make a small paint dabber, and dip it in orange paint.
Call out a letter and have the child find that pumpkin and paint inside it.
Keep going until every pumpkin is filled. Wipe the dabber or swap poms when the colours start to muddy.
Craft 4: Scarecrow Face
This is the craft for a child who is past the toddler stage and wants to make something with a bit of construction to it. It also makes a genuinely good autumn decoration.
Draw a large circle on cardboard and cut it out. Paint the circle a skin tone and leave it to dry.
While it dries, cut a hat shape and a small triangle nose from scrapbook paper.
Glue on googly eyes, the triangle nose, and draw a mouth with a marker.
Run a thin line of glue along the top edge of the circle and press on straw, raffia or shredded paper for the hair.
Glue the hat onto the back of the circle so it sits above the hair, and let everything dry flat.
The step that catches people out: the hair. Glue it on before the hat, not after, and press it down for a slow count of ten. Straw springs back if you let go too early, and a scarecrow with a bald patch is a sad thing.
Craft 5: Leaf Printing and Coffee-Filter Leaves
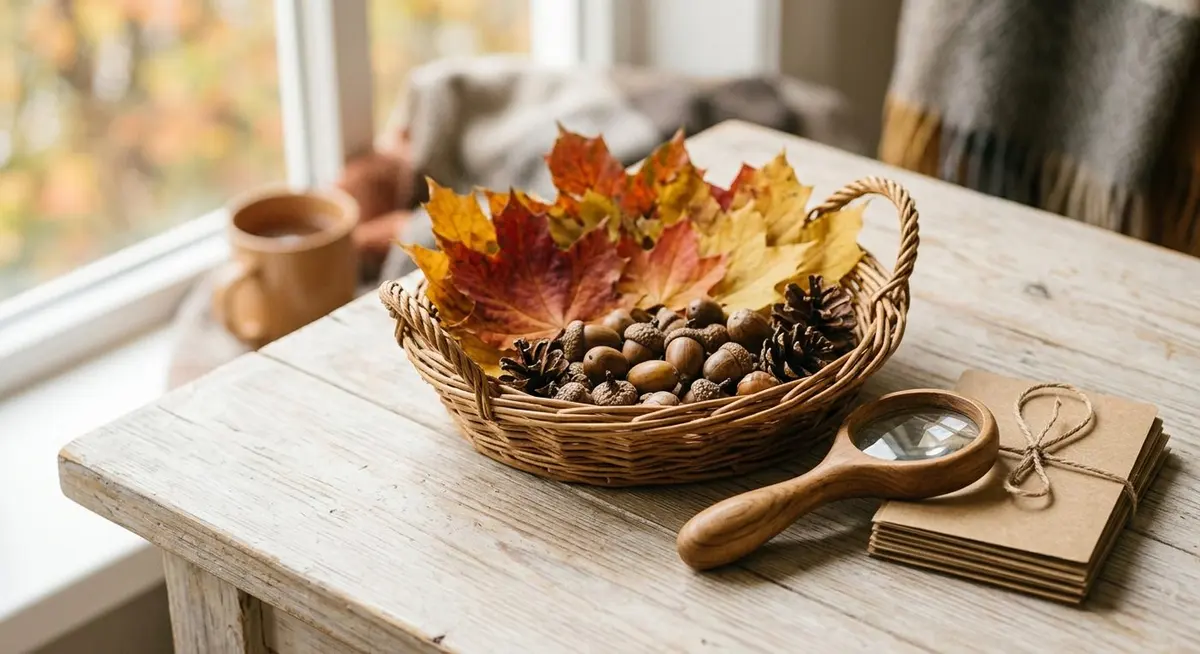
This one starts outside, which is half its appeal. A ten-minute walk to collect leaves is a craft step that also gets everyone out of the house, and the printing itself is quick enough to hold a short attention span.
Leaf Printing
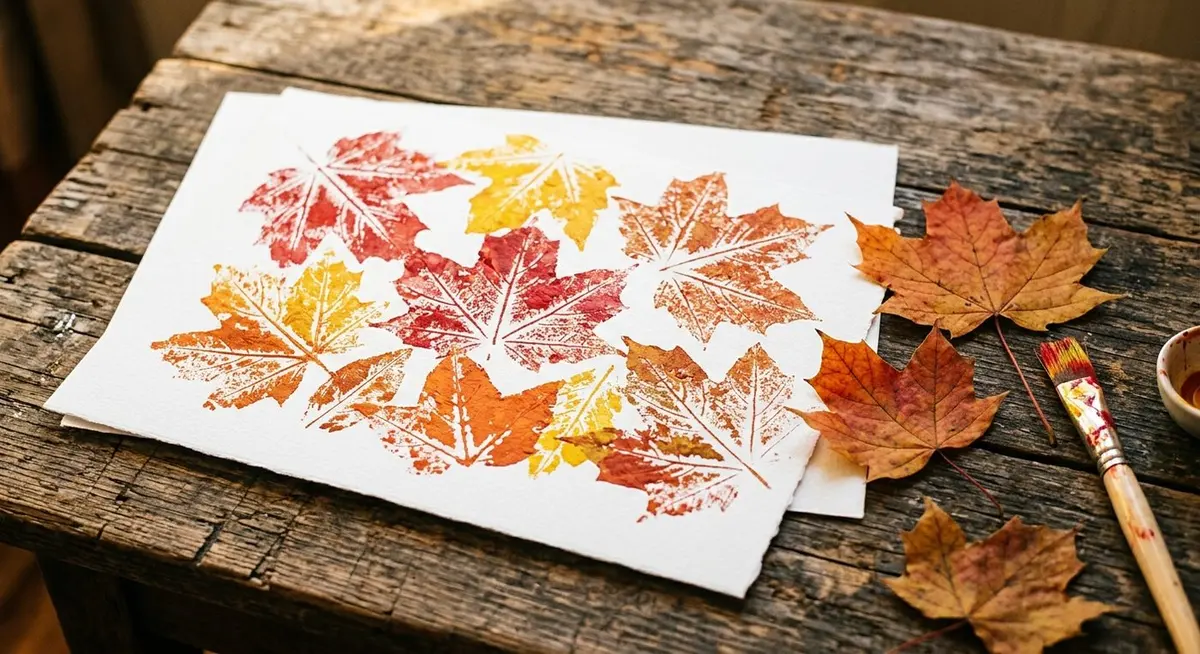
Collect leaves with strong veins — maple, oak and sycamore all work well. Flat, dry leaves print better than curled ones.
Paint the veined side of a leaf with a thin, even coat of paint. Too much paint fills the veins and you lose the pattern.
Press the painted side down onto paper and cover it with a second sheet or a piece of scrap paper.
Rub firmly over the whole leaf with the flat of your hand, then peel the leaf away slowly from the stem end.
Repeat with different colours and different leaf shapes to build a printed sheet.
Coffee-Filter Leaves
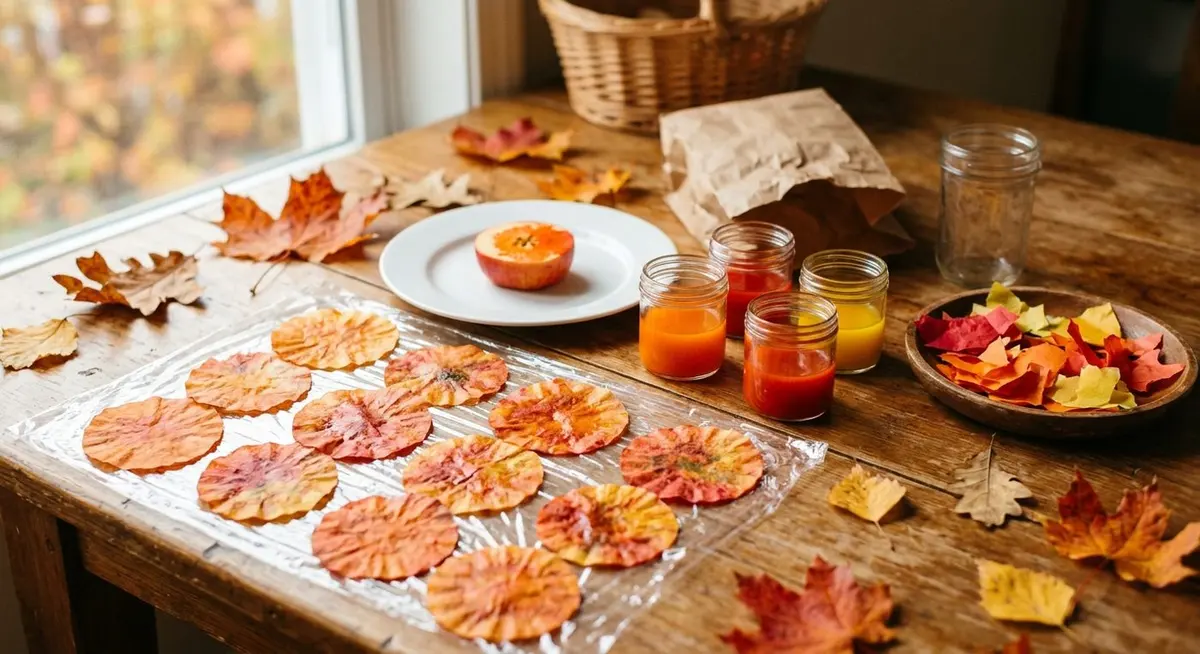
These are the ones to make when you want colour without paint. The filter paper wicks the dye into soft blended shapes that look nothing like the effort involved.
Flatten a coffee filter and let the child dot it with washable markers in autumn colours.
Spray or sprinkle the filter lightly with water and watch the colours bleed together. A little water goes a long way.
Leave it to dry flat on a rack — about twenty minutes.
Cut the dried filter into a leaf shape, or fold it in half and cut a symmetrical leaf.
Press the leaves under a heavy book for an hour if you want them flat enough to hang.
Thin paint and a firm rub are the whole technique. Thick paint fills the veins and you get a coloured blob instead of a leaf.
What Each Age Can Do Alone
The honest answer to “what age is this for” is that it depends on which part of the craft you mean. Almost every project has a step a toddler can own and a step that needs an adult. This table splits them.
Who does which part
Age
Can do alone
Needs you for
Best craft from this guide
Under 2
Fork printing with a hand-over-hand start; tearing paper
Everything involving paint pots, glue and scissors
Fork-printed tree
2 – 3
Fork printing, dotting markers on a filter, pressing leaves
Cutting, gluing precisely, painting pasta in a bag
Fork tree, coffee-filter leaves
4 – 5
Painting pasta, gluing pasta onto a circle, painting pumpkins
Drawing the base shapes, cutting cardboard, the hat
Noodle sunflower, alphabet pumpkins
6 – 8
The whole sunflower and scarecrow, start to finish
Cutting thick cardboard; the hot-glue step if you use one
Scarecrow face, noodle sunflower
9 – 12
Everything, plus designing their own version
Nothing — hand them the supplies and step back
Scarecrow, leaf printing
The hand-over-hand start. For a child under three, do the first two prints with your hand over theirs, then let go. It teaches the motion in about fifteen seconds and removes the frustration that ends the activity early.
Mess Levels and Clean-Up
Every craft guide says a project is “low mess” and then you find paint on the wall. Here is what each one actually does to a room, and what to put down first.
What to protect, and what to clean with
Craft
Real mess level
Put this down first
Clean-up
Fork-printed tree
Low
A sheet of newspaper under the paper
Washable paint wipes off a table with a damp cloth
Alphabet pumpkins
Low
Nothing much — the dabber is small
Wipe the clothespin and pom; the cardstock dries flat
Coffee-filter leaves
Low to medium
A tray, because the water spreads
Rinse the tray; the marker stains a bare table
Noodle sunflower
Medium
Newspaper over the whole work surface
Painted pasta drops crumbs of paint — sweep after, not during
Scarecrow face
Medium
Newspaper, plus a bin for straw trimmings
Straw gets everywhere; shake the newspaper straight into the bin
Put an old shirt on the child, not an apron. Aprons leave sleeves and collars exposed, which is exactly where paint ends up.
Cover the table, not the floor. Almost all craft mess lands on the work surface. A single sheet of newspaper under the project catches most of it.
Keep a damp cloth within reach. Wiping a spill in the first minute takes seconds; wiping dried washable paint takes scrubbing.
Do the water step on a tray. The coffee-filter craft is the only one that spreads sideways, and a rimmed tray contains it completely.
Drying, Storing and Keeping
Three of these five crafts have a drying stage, and how you handle it decides whether the finished thing survives the week. Painted pasta in particular will still be tacky if you rush it.
Painted pasta needs a full hour, spread in one layer. Piled up, the pieces stick together and the paint never sets properly.
Cardboard warps when it dries unevenly. Paint both sides of a cardboard base, or weight the finished piece under a book overnight.
Leaf prints are dry in ten minutes. Thin paint is the reason — this is the one craft you can finish and hang the same afternoon.
Coffee-filter leaves need pressing. An hour under a heavy book turns a curled filter into a flat leaf you can string into a garland.
Store flat, not stacked. A folder or a shallow box keeps everything intact; a pile of finished crafts in a drawer does not.
If you want to keep the scarecrow past November: give the finished face a coat of matte craft varnish or a thin layer of white glue mixed with water. It stops the straw from shedding and keeps the paper hat from curling in a damp room.
When It Goes Wrong
Almost every craft problem traces back to one of four things: too much paint, too much glue, a child who is not ready for the step, or a drying stage that was rushed. Here is the fix for each.
Common problems and what to do
Problem
Why it happened
The fix
Pasta will not stick to the cardboard
Too much glue, which makes the pasta slide
Use less glue, press for a slow count of ten, and let it set before adding the next piece
Fork prints look like blobs
Too much paint on the fork
Wipe the fork on the plate edge before each print; you want a thin coat, not a puddle
Leaf print has no vein pattern
Paint filled the veins
Use less paint and press harder; the veins need to stay open to print
Coffee-filter colours turned muddy
Too much water, or too many marker colours
Use two or three colours and a light spray; the colours blend on their own
Scarecrow hair keeps falling off
Glue was still wet when the hat went on
Glue the hair, wait five minutes, then add the hat and press again
Child lost interest after ten minutes
The craft was pitched at the wrong age
Switch to the fork tree or the coffee-filter leaves — both are finishable in one sitting
Questions and Answers
These are the questions that come up most often when people actually sit down to do these with a child in the room.
How many of these can we realistically do in one afternoon?
One, properly. Two if the first one is the fork tree, which takes fifteen minutes. The drying stages are what limit you, not the crafting itself — three of the five need an hour in the middle, and a child who has to wait will find something else to do. If you want a longer session, paint in the morning and assemble after lunch.
What if I do not have any of these supplies?
The fork tree needs only paper, a marker and paint, and the coffee-filter leaves need only filters and markers. Between those two you can run a full craft afternoon with four items. Everything else on the list is a substitution away from something you already own — the supply table above gives an alternative for every single item.
Is acrylic paint safe for a toddler?
Washable tempera or washable finger paint is the safer choice for anything under three, because at that age paint goes in the mouth. Acrylic is fine for older children but it does not wash out of fabric, so keep it away from anything you care about. Whichever you use, put an old shirt on the child rather than an apron.
How do I stop the finished crafts from piling up?
Decide before you start where each one is going. The sunflower and the scarecrow are decorations and can go on a shelf or a door. The leaf prints can become a garland or a card. Anything without a destination gets photographed and recycled — a photo of the craft takes up no space and the child still gets to see it again.
Can I do these with a mixed-age group?
Yes, and the age table above is built for exactly that. Give the youngest the fork tree or the coffee-filter leaves, and the oldest the scarecrow. Set them up at the same table with the same supplies and each child works at their own level. The one thing to avoid is giving a four-year-old the scarecrow, because the cutting and the hat assembly will end in tears.
What is the best craft for a rainy day with no planning?
The fork-printed tree. It needs paper, a marker, paint and a fork, it takes fifteen minutes, it dries in ten, and a two-year-old can do it without help. It is the one I keep in reserve for the afternoons when nobody planned anything.
Do the leaves have to be fresh?
For leaf printing, yes — fresh, flat leaves with strong veins print best. Curled or brittle leaves crack under the pressure. For everything else, the leaves are decorative, so older ones are fine. If you are collecting for printing, pick them the same day you plan to use them.
How long do the finished crafts last?
The leaf prints and coffee-filter leaves will fade in direct sunlight within a few weeks, so keep them out of a bright window. The painted pasta sunflower and the scarecrow will last for years if they are kept dry. Cardboard bases are the weak point — they soften in a damp room, so a shelf beats a garage.
Free Printable: The Fall Craft Afternoon Kit
A printable companion to this guide — the five crafts as cut-out step cards, the full supply checklist with every substitution, the age guide, the mess-and-clean-up table, a before-you-start checklist and a page to record what you made.
PDF · 5 pages · prints on letter or A4 · subscribe to unlock the download
Savory Discovery · By Elowen Thorn · Last updated September 2026. Always supervise children with paint, glue and scissors, and check that every supply is age-appropriate for the child using it.
Elowen Thorn I cook, photograph and re-test every recipe in an ordinary home kitchen before it goes up, so what you make matches what you see. Savory Discovery is where simple weeknight cooking, seasonal ideas and the odd bit of kitchen craft sit side by side — written plainly, and worth cooking twice.