By Elowen Thorn · Autumn Baking · Two loaves · One bowl, no mixer
This is the pumpkin bread I make every October, and the version I finally stopped fiddling with. Two tall loaves, one bowl, no mixer, and a crumb so tender it stays that way for a week. What makes it work is not a secret ingredient but three small decisions: how much water you leave in the pumpkin, which fat you use, and how long you stop stirring.
Pumpkin bread is one of the most forgiving things you can bake, and one of the easiest to get slightly wrong. The batter is heavy, wet and full of sugar, which means it will almost always come out edible. It is the difference between edible and memorable that takes a few rules.
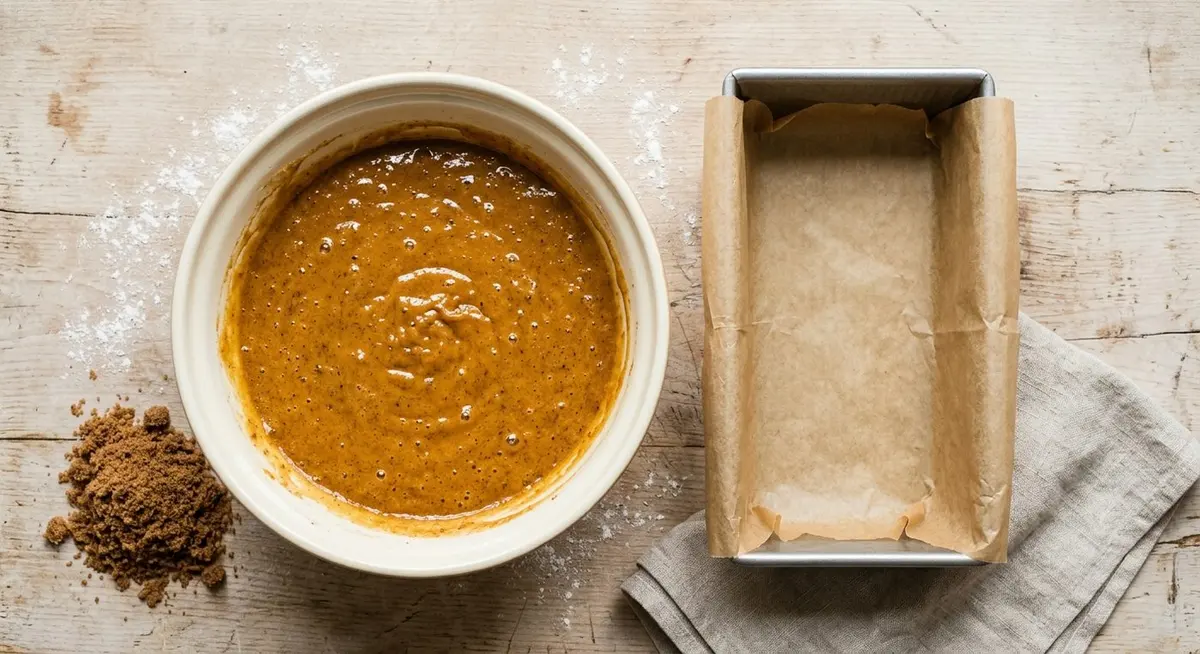
This recipe makes two 9-by-5 loaves, and that is deliberate. A single loaf of this batter is too tall for a standard pan, so it domes hard, cracks down the middle and stays raw in the centre while the crust sets. Splitting the batter between two pans gives each loaf a shallow, even depth, which means the middle and the edges finish at the same time. Two loaves also cost you nothing extra in effort, and one of them freezes beautifully. If you want a single smaller loaf, halve everything and use an 8-by-4 pan.
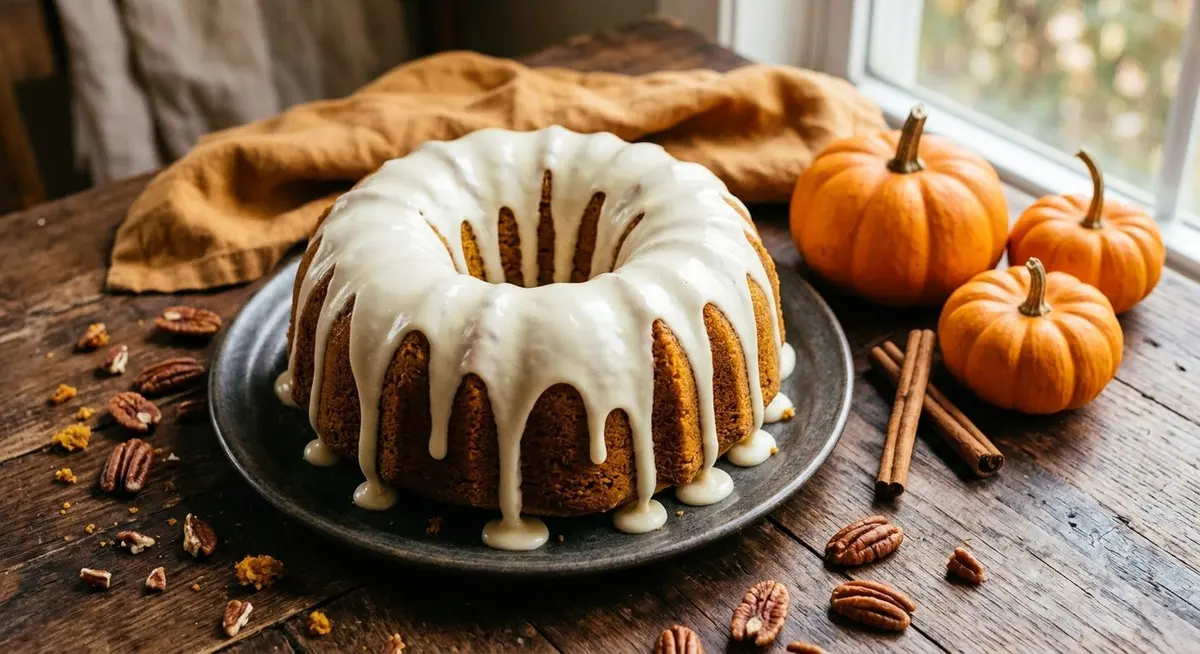
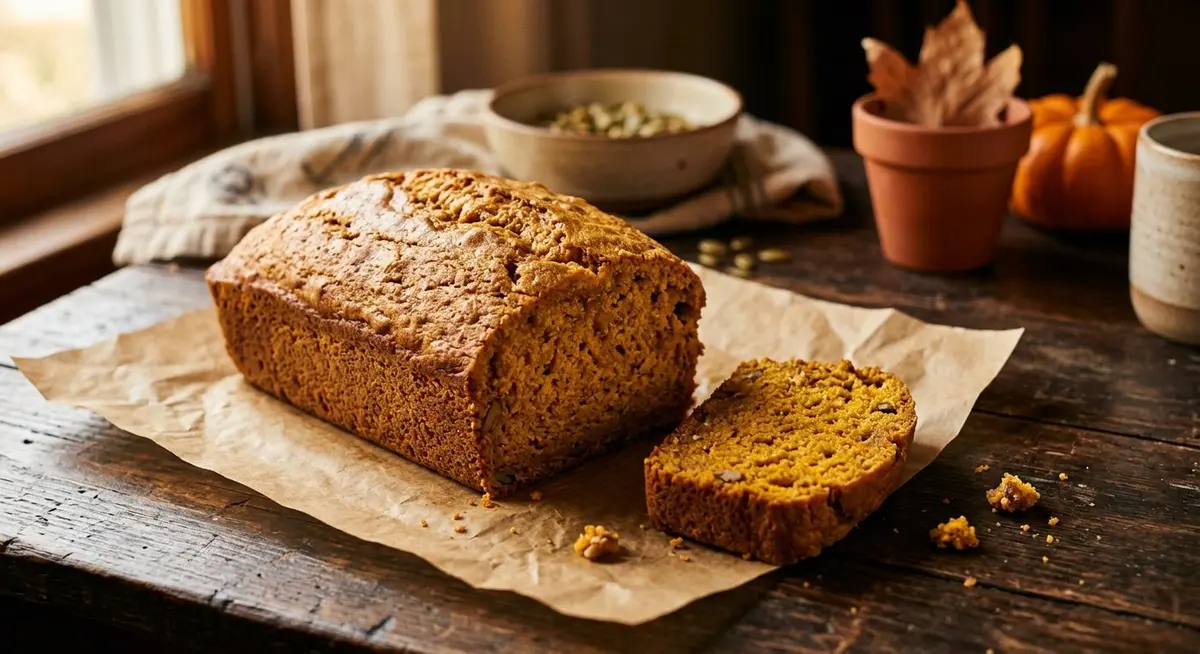
Two loaves, one bowl. The split batter is what gives each loaf a level, evenly baked crumb.
The one idea worth remembering. Pumpkin puree is roughly nine-tenths water. You are not baking pumpkin, you are baking pumpkin plus the water left in it. Blot the puree for half an hour and everything else in this guide gets easier — the crumb tightens, the bake time drops, and the loaf stops going soggy on day two.
If you already have a pumpkin bread you like, this will still be useful: the spice ratio, the fat decision and the internal-temperature test apply to any quick bread. If you are starting from scratch, start here. And if pumpkin bread is your gateway into autumn baking, my moist pumpkin bread is the same idea pushed to the softest possible crumb.
What Goes Into the Batter
Everything here is a pantry staple, and the quantities are for two loaves. Read the notes before you shop, because two of these ingredients are the ones people most often get wrong.
Pumpkin puree, 2 cups (one 15-ounce can). Pure pumpkin, never pumpkin pie filling. Pie filling is already sweetened and spiced, so using it doubles both and throws the whole balance off. Check the label for the word puree and nothing else alongside the pumpkin.
All-purpose flour, 3½ cups. Spoon it into the cup and level it with a knife. Scooping straight from the bag packs in an extra two or three tablespoons per cup, which is enough to turn a tender loaf into a dry brick.
Granulated sugar, 2 cups, plus brown sugar, ¾ cup packed. The white sugar tenderises and browns the crust; the brown sugar brings moisture and a faint caramel note. All white works, but the loaf is flatter-tasting.
Baking soda, 2 teaspoons, and salt, 1½ teaspoons. Soda, not powder, is doing the lifting here — it reacts with the acidity in the pumpkin. The salt is not optional; without it the loaf tastes sweet and vague.
Neutral oil, ¾ cup, and unsalted butter, ½ cup. Both. More on why below.
Eggs, 4 large, at room temperature. They bind and add structure. Cold eggs are the usual cause of a curdled-looking batter.
Buttermilk or plain yogurt, ½ cup. This is the insurance policy: it keeps the crumb soft for days and gives the soda a little more acid to work with.
Vanilla, 2 teaspoons. It reads as warmth rather than as vanilla.
Optional: 1½ cups toasted pecans or walnuts, or 1½ cups chocolate chips.
One word on the pumpkin itself. Canned puree is consistent and genuinely good, and it is what I use most weeks. Home-roasted sugar pumpkin or butternut squash tastes sweeter and fresher but is wetter and unpredictable, so if you go that route, blot it longer and expect to lose more volume. If you want the classic loaf as a baseline before you start improvising, this one is the straight version.
The Spice Blend That Tastes Like Fall
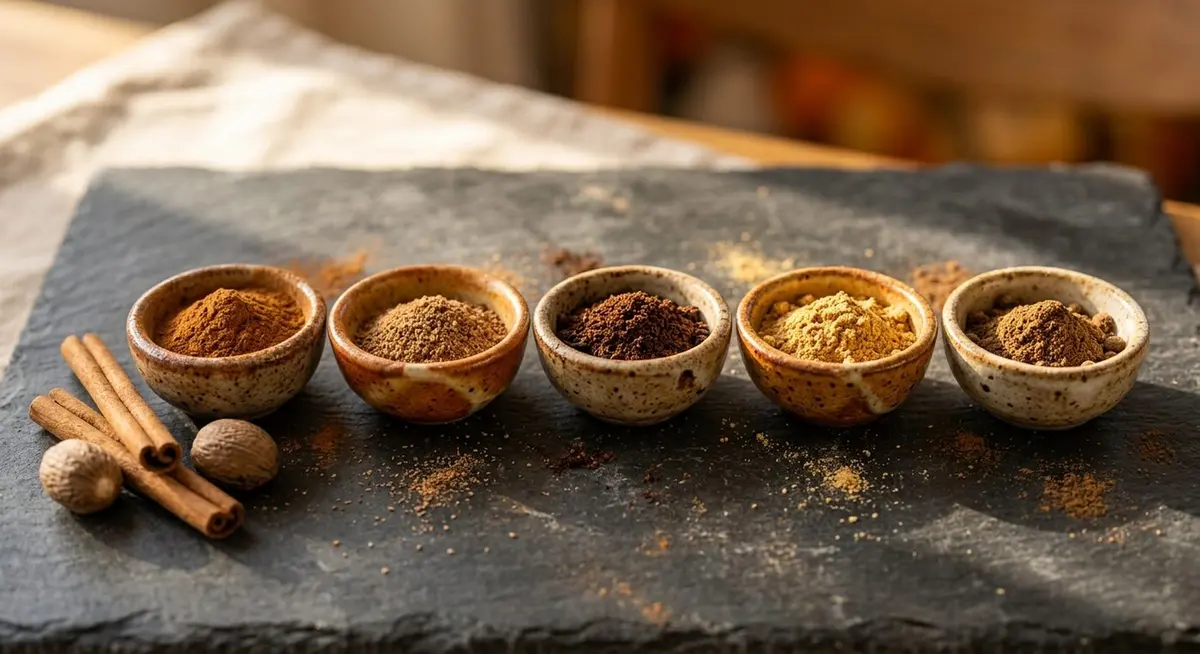
Pumpkin spice is not a mystery blend. It is cinnamon carrying the whole thing, with ginger and nutmeg behind it and a whisper of cloves underneath. Get the proportions right and the loaf tastes like autumn; get them wrong and it tastes like a candle. Here is the ratio I keep in a jar.
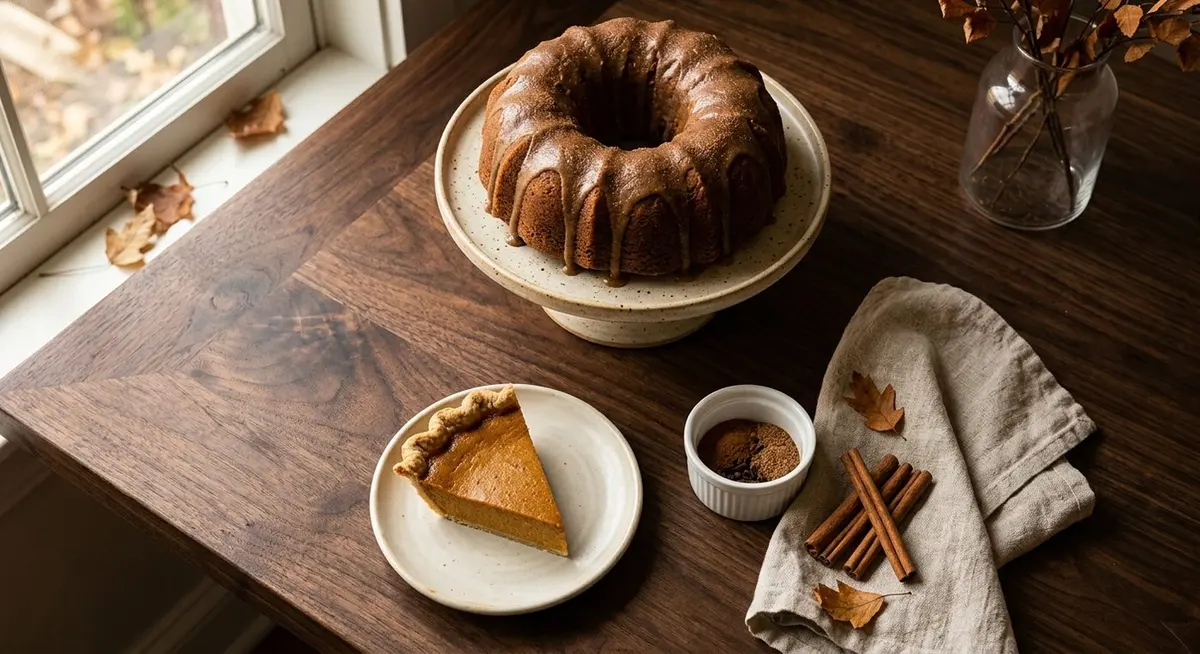
Cinnamon leads, ginger and nutmeg support, cloves sit underneath. The proportions matter more than the shopping.
The blend, scaled so one mix makes three bakes
Spice
In the batter
Jar to keep
Ground cinnamon
3 teaspoons
3 tablespoons
Ground ginger
1½ teaspoons
4½ teaspoons
Ground nutmeg
1 teaspoon
1 tablespoon
Ground cloves
¼ teaspoon
¾ teaspoon
Ground allspice (optional)
¼ teaspoon
¾ teaspoon
Two rules make more difference than the blend itself. First, freshness: ground spices lose their punch within about a year, and a jar that has been in the cupboard since you moved house will taste dusty no matter how much you add. Rub a pinch between your fingers — if you cannot smell it clearly, replace it. Second, cloves. They are the loudest note in the jar and the easiest to overdo. Measure them with a measuring spoon, never pour from the container. Twice the cloves makes the whole loaf taste medicinal.
Why the loaf tastes better on day two. Ground spices release their aroma into fat and moisture slowly, so they keep blooming for a full day after the bake. A loaf sliced warm tastes fine; the same loaf sliced tomorrow tastes finished. If you are baking for an occasion, bake the day before and let it sit wrapped at room temperature overnight.
If you want the same spice profile in a glass, this spiced latte uses the identical ratio, and it is a good way to taste whether your blend is balanced before you commit it to a bake.
Butter, Oil, or Both
This is the decision that separates a good pumpkin bread from a great one, and the answer is both, for two different jobs.
Butter tastes like butter. It carries the spice, browns the crust, and gives the loaf its bakery smell. What butter does not do is stay soft. Butter is solid at room temperature, so a butter-only quick bread is tender on day one and noticeably stiffer by day three. Oil is liquid at room temperature, so a loaf baked with oil stays soft for a week, but oil alone tastes flat and the crust never develops the same colour.
So use both: ¾ cup of neutral oil for lasting moisture and ½ cup of butter for flavour and colour, melted and cooled slightly. This is why the batter is so wet compared to a cake, and why it needs a full hour in the oven rather than forty minutes.
If you must choose one. For a loaf you will eat within three days, all butter is the better loaf. For a loaf you intend to freeze, gift or eat across a week, go all oil and add an extra pinch of salt. Do not use spread, margarine or anything labelled light — they are water-based and will make the crumb gummy.
The One-Bowl Method, No Mixer
Most pumpkin bread instructions tell you to cream the butter and sugar until light and fluffy, then beat in the eggs one at a time. You can, and it works. But it is also more work than the batter needs, and it dirties two bowls and a mixer. Here is the method I actually use, and it makes a slightly better loaf.
Start with the wet team. In one large bowl, whisk the 4 eggs with both sugars for about a minute, until the mixture is uniform and a shade lighter. There is no need to beat air into it — the soda is doing the lifting, not the whisk.
Add the fats. Whisk in the ¾ cup oil and the ½ cup melted butter until fully combined and glossy.
Add the pumpkin and buttermilk. Whisk in the 2 cups puree, the ½ cup buttermilk and the vanilla. The batter will be loose and orange. If it looks slightly grainy here, that is the cold-buttermilk-meets-fat problem and it disappears when the flour goes in.
Whisk the dry ingredients together in a second bowl — flour, soda, salt and the full spice blend. Whisking them first spreads the soda and the cloves evenly, so no single slice tastes of either.
Fold the dry into the wet in three additions, using a spatula rather than the whisk. Stop the moment the last streak of flour disappears. This is the whole trick, and it takes about ninety seconds.
Rest the batter for ten minutes while the oven finishes heating. The flour hydrates, the soda starts working, and the loaves rise more evenly.
One bowl, a spatula and ten minutes of resting. The batter should ribbon off the spatula, not pour like a cake mix.
Two notes. First, room-temperature eggs genuinely matter: cold eggs meeting melted butter is what makes a batter look curdled, and while a curdled batter bakes fine, the emulsion is less stable and the crumb comes out slightly uneven. Take the eggs out half an hour before you start. Second, if you like a drop-cookie version of this flavour, the same batter logic makes excellent pumpkin cookies — just add more flour and chill the dough.
Pan Sizes and Exact Bake Times
The full batch is about eight cups of batter. Fill whatever pan you choose no more than two-thirds full, or the middle will not set before the outside overbakes. Bake on the centre rack with the rack in the lower-middle position, and put the pans on a sheet tray so the bottoms do not scorch.
One full batch, six ways to bake it
Pan
How to fill
Oven
Time
Two 9 x 5 inch loaf pans
Full batch, divided
350 F / 175 C
55 to 65 minutes
Two 8 x 4 inch loaf pans
Full batch, divided, on a tray
325 F / 165 C
70 to 80 minutes
Four mini loaf pans (5 x 3)
Full batch, divided
350 F / 175 C
32 to 40 minutes
One 10-cup Bundt pan
Full batch
325 F / 165 C
50 to 60 minutes
24-cup muffin tin
Full batch
375 F / 190 C
18 to 22 minutes
One 9 x 13 inch pan
Full batch, baked thin
350 F / 175 C
28 to 34 minutes
Smaller and deeper pans need a lower oven, not a shorter time. An 8-by-4 pan holds the same batter in a taller column, so the outside sets long before the centre unless you drop the temperature to 325 F and give it an extra fifteen minutes. This is also the pan to reach for if you want a loaf with a proper crack down the middle. For a bite-sized version of the same flavours, the technique behind these pumpkin bars is a good comparison for how differently a shallow pan behaves.
The 90-Second Rule
Flour and liquid make gluten, and gluten makes chew. In a bread loaf you want gluten; in a quick bread you are fighting it. Every extra stir after the flour disappears develops more of it, and the loaf goes from tender to rubbery in a way you can genuinely taste.
So the rule is simple: fold until you can no longer see dry flour, then stop, even if the batter looks a little lumpy. Small lumps of flour hydrate and vanish in the oven. A smooth, glossy, thoroughly beaten batter bakes into something closer to a dense cake. If you are using a stand mixer, use it on the lowest speed and count to fifteen seconds — not a minute.
The muffin-method shortcut. Combine all the wet ingredients in one bowl, all the dry in another, then pour the wet into the dry and fold just until it comes together. Starting with the dry ingredients on the bottom means the last of the flour is already in contact with the liquid when you stop stirring, which reliably gives a more even crumb than the reverse.
Knowing When It Is Really Done
A skewer is a decent guide and a poor guarantee. The reliable test is temperature: push an instant-read thermometer into the centre of the loaf. A fully baked pumpkin bread reads about 200 F (93 C). Below 190 F the centre is still setting and will fall as it cools; much above 205 F and you have started drying it out.
An instant-read thermometer in the centre reads 195 to 200 F (90 to 93 C).
A skewer inserted in the middle comes out with a few moist crumbs, not wet batter.
The centre springs back when you press it lightly with a fingertip.
The loaf has pulled away from the pan walls by a hair.
The top smells of toasted spice rather than raw batter.
Check five minutes before the earliest time in the table above and then every three minutes after that. Do not open the oven door to peek in the first twenty minutes — the rush of cool air can collapse a loaf that has not set. And when the thermometer is out, take the loaves out. Residual heat finishes the job during the ten minutes they sit in the pan. If you want a rolled, filled version of the same sponge, this pumpkin roll is the thin-bake extreme, where the whole thing is done in fifteen minutes.
How to Get a Tall, Domed Top
A quick bread domes because the outside sets before the middle finishes expanding, forcing the last of the rise up through a weak point on top. That gives you the classic crack. To get a tall, even dome rather than a lopsided hump, work on three things.
Fill correctly. Two-thirds full, no more. An overfilled pan rises against the rim, mushrooms over the edge and cracks unevenly.
Start hot, finish gentle. Bake the first twenty minutes at 375 F to set the crust shape, then drop to 350 F for the rest. This gives you a defined dome without a burnt edge.
Do not open the door. The single most common cause of a fallen middle is a draft at the twenty-minute mark, when the structure is set enough to look done and not set enough to hold itself up.
If your loaf still sinks in the middle, the cause is almost always underbaking or an overfilled pan rather than anything to do with the ingredients. Weigh or measure the batter into the pans so they match, and trust the thermometer over the clock.
Mix-Ins and How Much to Add
The batter takes additions well, but there is a ceiling. For the full two-loaf batch, keep the total to about two cups; past that the crumb stops holding the pieces and the loaf slices badly. Toss anything small in a spoonful of flour before folding it in, which stops it sinking into a layer at the bottom.
Amounts for the full two-loaf batch
Addition
Amount
Note
Toasted pecans or walnuts
1½ cups, chopped
Toast 8 minutes at 350 F first; raw nuts taste flat
Chocolate chips
1½ cups
Mini chips distribute better than full-size
Dried cranberries
1 cup
Soak 10 minutes in hot water and drain, or they stay hard
Crystallised ginger
⅓ cup, minced
The single best upgrade on this list
Streusel topping
One recipe
Sprinkle before baking, never after
Pumpkin seeds
½ cup
Scatter on the top for crunch rather than folding in
Cream cheese glaze
One recipe
Whisk 4 oz soft cheese, 1 cup sugar, 2 tbsp milk; pour on a cool loaf
One combination worth trying: cranberries and crystallised ginger together, which gives you tart and sharp against the sweet crumb. If you lean toward fruit desserts, the topping logic in this apple crisp transfers well — a buttery streusel on a spiced base is the same idea in a different pan.
Troubleshooting: What Went Wrong
Symptom, cause, fix
What you see
Why
What to do next time
Sunken middle
Underbaked, or the door was opened too early
Bake to 200 F internal; no peeking for 20 minutes
Dry, crumbly loaf
Too much flour, or overbaked
Spoon and level the flour; pull at 195 F
Soggy bottom
Undrained pumpkin and a dark pan
Blot the puree 30 minutes; use a lighter pan
Raw centre, dark outside
Pan too deep for the oven temperature
Drop to 325 F and add 15 minutes
Tough, rubbery crumb
Overmixed after the flour went in
Fold only until the flour disappears
Tastes flat or soapy
Stale spices, or too much cloves
Replace spices; measure cloves with a spoon
Lopsided top
Pans filled unevenly, or an oven hot spot
Weigh the batter between pans; rotate at 30 minutes
Muffled, doughy flavour
Sliced while hot
Cool completely; the crumb finishes setting as it cools
Most of these come back to two things: water left in the pumpkin and heat applied for too long or too little. Fix those and you can stop thinking about the rest. If your loaf has come out dry and you would rather not waste it, cube it, toast it and use it the way you would use stale cake — the bread pudding logic behind these cider doughnuts applies just as well to spiced crumbs.
Make-Ahead, Storage and Freezing
Pumpkin bread is one of the few baked goods that genuinely improves while it sits, which makes it ideal for planning ahead. Baked today, it is good tomorrow and at its best the day after.
How long it keeps and how to store it
Method
How
Keeps
Counter, whole loaf
Parchment, then foil, then a zip bag
5 to 7 days
Counter, cut loaf
Cling film pressed against the cut face, then a bag
4 to 5 days
Refrigerator
Wrapped airtight; bring slices back to room temperature
2 weeks
Freezer, whole loaf
Double-wrapped in foil, then a zip bag, air pressed out
3 months
Freezer, slices
Sliced, interleaved with parchment, in a zip bag
3 months
To revive a slice
Damp paper towel, 20 seconds in the microwave
Eat at once
Skip the fridge if you can. Cold is the fastest way to stale a quick bread, because the starch retrogrades faster at refrigerator temperature than at room temperature or in the freezer. Bake two loaves, eat one and freeze the other. And if the batter is already in the bowl and you want something savoury for dinner from the same spice drawer, pumpkin curry soup and butternut squash soup both use up whatever puree you have left.
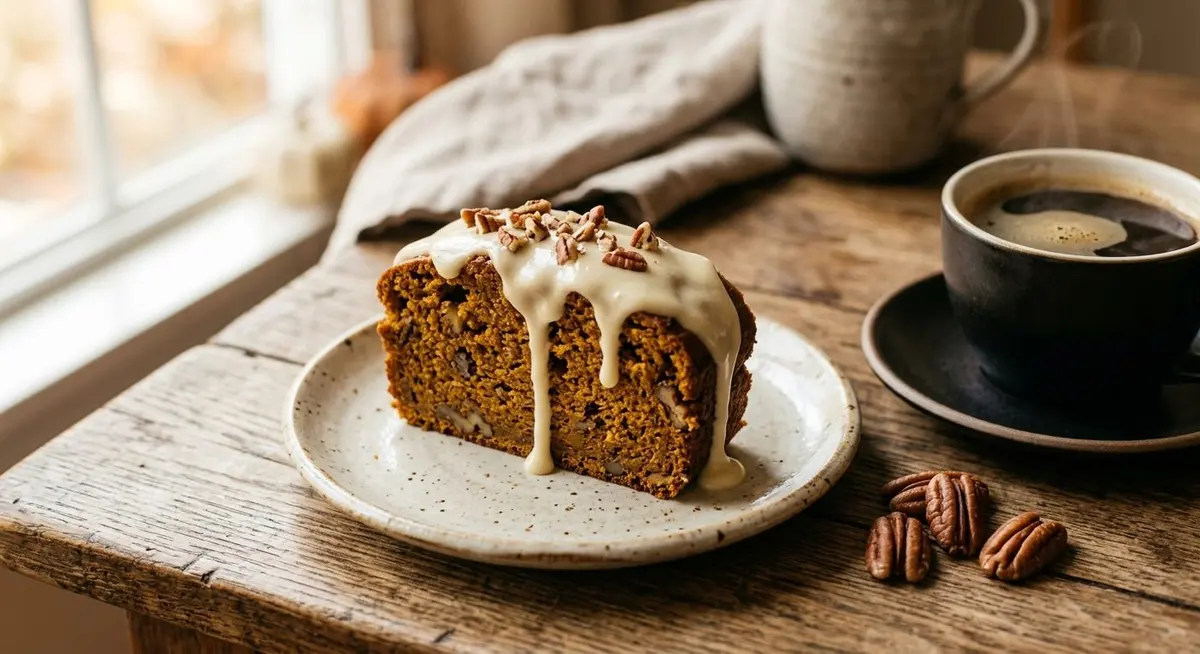
Glaze goes on a completely cool loaf. On a warm one it melts into the crust and disappears.
Gifting, Shipping and Doubling
A wrapped pumpkin bread is one of the most welcome things you can hand someone in October, and the logistics are simple once you know the rules. The loaf must be fully cool before it is wrapped, or the trapped steam softens the crust and it sweats in the paper. Wrap in parchment first, then foil, then tie with twine and a tag.
Make and freeze the gift loaf as soon as it is cold, up to three months ahead. Thaw it in the wrapping at room temperature overnight so no condensation forms on the crust.
For shipping, bake it fully to 200 F and skip the glaze, which smears in transit. A slightly drier loaf travels better than a moist one.
Send mini loaves if the post is slow. They bake in forty minutes and they arrive in better shape than a full-size loaf.
For a bigger crowd, double the recipe but bake it in four pans rather than two. Doubling the batter in the same two pans gives you a raw centre every time.
Mini loaves are also the friendliest thing to bring to a school or office, since nobody has to find a knife. Pair a small loaf with a jar of something savoury and you have a gift that lasts longer than a week — a jar of spiced chickpeas or a batch of smash burgers for the freezer both work well next to a sweet loaf. And if you are planning the whole week around your baking, the monthly meal plan is a good place to slot in a bake day.
Questions People Actually Ask
These are the ones that come up most often, and most of them turn out to be questions about water and temperature wearing a costume.
Do I really have to blot the pumpkin puree?
It is the single highest-value step in the recipe. Canned puree is around ninety percent water, and the excess is what makes a pumpkin loaf heavy, slow to bake and prone to a soggy bottom. Spread the puree on paper towel in a sieve for thirty minutes and you will lose two to four tablespoons per cup. That is the difference between a loaf that is done in an hour and one that is still wet at the centre after seventy minutes.
Can I use pumpkin pie filling instead of puree?
No. Pie filling is already sweetened and spiced, so you would be doubling both the sugar and the spice before you add anything of your own. Look for the word puree on the label and check that nothing else is listed alongside the pumpkin.
Why did my loaf sink in the middle?
Almost always underbaking, sometimes combined with an overfilled pan or a draft from the oven door. Pumpkin bread is dense and holds heat poorly, so a skewer can come out clean while the centre is still setting. Use an instant-read thermometer and bake to 195 to 200 F (90 to 93 C), and do not open the oven for the first twenty minutes.
Is oil or butter better in pumpkin bread?
Both, for different jobs. Butter gives you flavour and a browned crust, while oil keeps the crumb soft for days because it stays liquid at room temperature. Use three-quarters of a cup of neutral oil and half a cup of melted butter. If you are eating the loaf within three days, all butter is the better loaf; if you plan to freeze it, go all oil.
Can I make this without a mixer?
That is how I make it. Whisk the eggs and sugars, then the fats, then the pumpkin and buttermilk, and fold in the dry ingredients with a spatula. A quick bread needs no creaming and no air beaten into it, because the baking soda does the lifting. You will dirty one bowl and a spatula instead of a mixer and two bowls.
Why does my pumpkin bread taste better the second day?
Because ground spices keep blooming. Their aromatic compounds dissolve into the fat and moisture of the loaf slowly, so the flavour deepens for a full day after the bake. A loaf sliced warm tastes fine; the same loaf sliced tomorrow tastes finished. Bake a day ahead when you are making it for a meal.
Can I use fresh pumpkin instead of canned?
Yes, and it tastes sweeter and fresher, but it is wetter and less predictable. Roast a small sugar pumpkin or butternut squash cut-side down at 400 F until a knife slides in easily, scoop the flesh, then blend it smooth and blot it for forty-five minutes rather than thirty. Expect to lose more volume, and adjust with a spoonful of extra flour if the batter looks loose.
How do I keep pumpkin bread moist for a week?
Use oil as part of the fat, include the buttermilk or yogurt, bake to temperature rather than to time, and let the loaf cool completely before you wrap it. Store it wrapped in parchment then foil at room temperature rather than in the fridge, and freeze the second loaf instead of refrigerating it. Cold storage stales a quick bread faster than the freezer does.
Can I make this gluten-free or egg-free?
For gluten-free, swap in a one-to-one all-purpose gluten-free blend and add an extra two tablespoons of buttermilk; the crumb is slightly more delicate but holds. For egg-free, replace each egg with one tablespoon of ground flax mixed with three tablespoons of water and rested for five minutes, then add two extra tablespoons of liquid, because the swap is thirstier than egg.
How many mini loaves does one batch make?
Four mini loaves from the full two-loaf batch. Fill each pan two-thirds full, bake at 350 F and start checking at thirty-two minutes. Minis bake so quickly that the window between done and dry is narrow, so use the thermometer if you have one and pull them at 195 F.
Free Printable: The Spiced Pumpkin Bread Baking Planner
A printable companion to this recipe: the shopping list, the spice blend card, every pan size and bake time, doneness checks, mix-in amounts, a make-ahead timeline, a storage chart, a bake journal and gift tags to cut out.
PDF · 4 pages · prints on letter or A4 · subscribe to unlock the download
Savory Discovery · By Elowen Thorn · Last updated September 2026. Internal temperatures and ratios are kitchen-tested guidelines, not food-safety advice; cool baked goods completely before wrapping, and refrigerate anything made with a cream cheese glaze.
Elowen Thorn I cook, photograph and re-test every recipe in an ordinary home kitchen before it goes up, so what you make matches what you see. Savory Discovery is where simple weeknight cooking, seasonal ideas and the odd bit of kitchen craft sit side by side — written plainly, and worth cooking twice.