By Elowen Thorn · Autumn Crafts · Five projects, one afternoon
Five fall crafts that a child can actually finish, using things you probably already own. Each one has a clear finish line, a step a child can own completely, and a step that needs you — which is the split that keeps a craft afternoon from turning into a supervision problem.
Most fall craft roundups fail for the same reason. They assume a level of patience and a cupboard of supplies that most families simply do not have on a wet Tuesday afternoon. The project looks lovely in the photograph, and then you discover it needs a hot glue gun, four colours of cardstock and an adult who is not also making dinner.
These five are chosen differently. Each one has a clear finish line you can see from the start, uses things that are already in a kitchen drawer, and produces something a child wants to keep afterwards rather than something that quietly disappears into the recycling. None of them needs a special trip to a craft shop. If you want more ways to fill the season, our fall family bucket list has thirty that fit around a working week.
There is a second reason they work, and it matters more than the supply list. Every one of these crafts has a step a child can own completely — the dripping, the stamping, the tearing, the hunting — and a step that genuinely needs an adult. That split is what keeps a craft from turning into a supervision problem. When a child has one part that is entirely theirs, they stop asking you to do the whole thing.
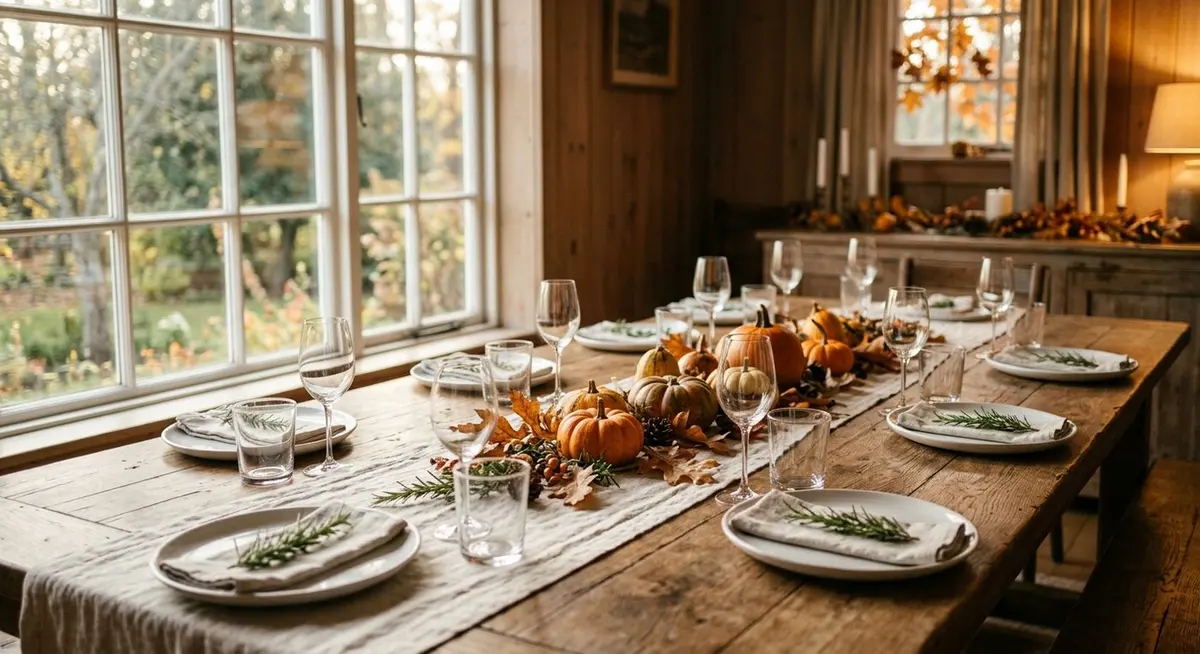
Set the table before anyone sits down. A craft that is ready to start gets started; a craft that needs five minutes of hunting for the paint does not.
The rule that saves the afternoon: pick one craft, not five. A finished suncatcher on the window beats three half-built projects on the table. If you have more than one child, give them the same craft and let them compare results — that is the activity, not the craft.
How to Choose the Right One for Today
The honest way to choose is to work backwards from the day you are having, not from the craft you like best. Three questions settle it in under a minute: how much time do you actually have, how much mess can you tolerate right now, and is anyone in the room under three?
If the answer to the last one is yes, go straight to the apple-print pumpkins or the scavenger hunt. If you have forty minutes and a hard floor, the stress-ball pumpkins are the most fun per minute of any craft here. If it is raining and everyone is restless, the luminaries take the longest and buy you the most quiet. For a wet afternoon with nothing planned, the fall activities for kids guide sorts forty ideas the same way.
The five crafts, sorted by what they demand
Craft
Hands-on time
Best age
Mess
Needs a shop trip?
Coffee-filter leaf suncatchers
20 min + drying
3+
Low
Only for the coffee filters
Autumn leaf scavenger hunt
30 – 45 min
2+
None
No
Mason jar tree luminaries
30 min + drying
3+
Medium
Only for the jars
Apple-print pumpkins
20 min
18 months+
Medium
No
Stress-ball pumpkins
15 min
5+
High
Only for the balloons
Read the table as a set of trade-offs rather than a ranking. The scavenger hunt is the only one with no mess at all, and it is also the only one that depends on the weather. The stress-ball pumpkins are the fastest and the messiest. The suncatchers and the luminaries both need drying time in the middle, which is either a problem or a gift depending on whether you want the children occupied twice in one day.
One thing worth knowing before you start: the two crafts with drying time — suncatchers and luminaries — are the two that hold attention longest, because the pause gives a child something to come back to. If you have a whole afternoon, start one of those first and do a fast craft while it dries.
What You Need, and What You Can Swap
Almost nothing here is specialist. The two items worth buying rather than improvising are round white coffee filters, because their shape is what makes the leaves work, and plain glass jars, because a jar with a label on it will not glow evenly. Everything else has a substitute that behaves almost identically.
The supply list, with honest substitutions
Item
Used for
Swap if you do not have it
Round white coffee filters
Suncatcher leaves
Nothing quite matches — the round shape is the point
Liquid watercolours
Suncatcher colour
Food colouring diluted with a little water
Eye dropper or small brush
Applying colour
A clean medicine syringe, or a teaspoon poured slowly
Disposable foil tray
Catching the drips
A baking sheet lined with foil
Plastic wrap
Drying surface
Baking parchment, though the leaves curl a little more
Mod Podge or white craft glue
Sticking tissue paper
A glue stick works but dries faster, so work in smaller patches
Red, yellow, orange tissue paper
Luminary colour
Crepe paper, or torn napkins in the same colours
Brown cardstock
Tree silhouette
A brown paper bag, flattened and doubled up
Plain glass mason jars
Luminaries
Any clean jam jar, label soaked off
Tealight or votive candle
The glow
A battery tealight, which is the safer choice with small children
Cornstarch or fine sand, both of which feel different but work
Empty plastic water bottle
Filling the balloon
A paper cone, rolled and taped
Orange balloons
Stress-ball pumpkins
White balloons for ghosts, or any colour for a giant eyeball
A gallon zip bag or paper bags
The scavenger hunt
Any bag, or a bucket
Buy the coffee filters and the balloons in a pack, not singly. Both crafts are the kind a child wants to repeat immediately, and running out halfway through the second attempt is the most common way an afternoon ends in tears.
Coffee-Filter Leaf Suncatchers
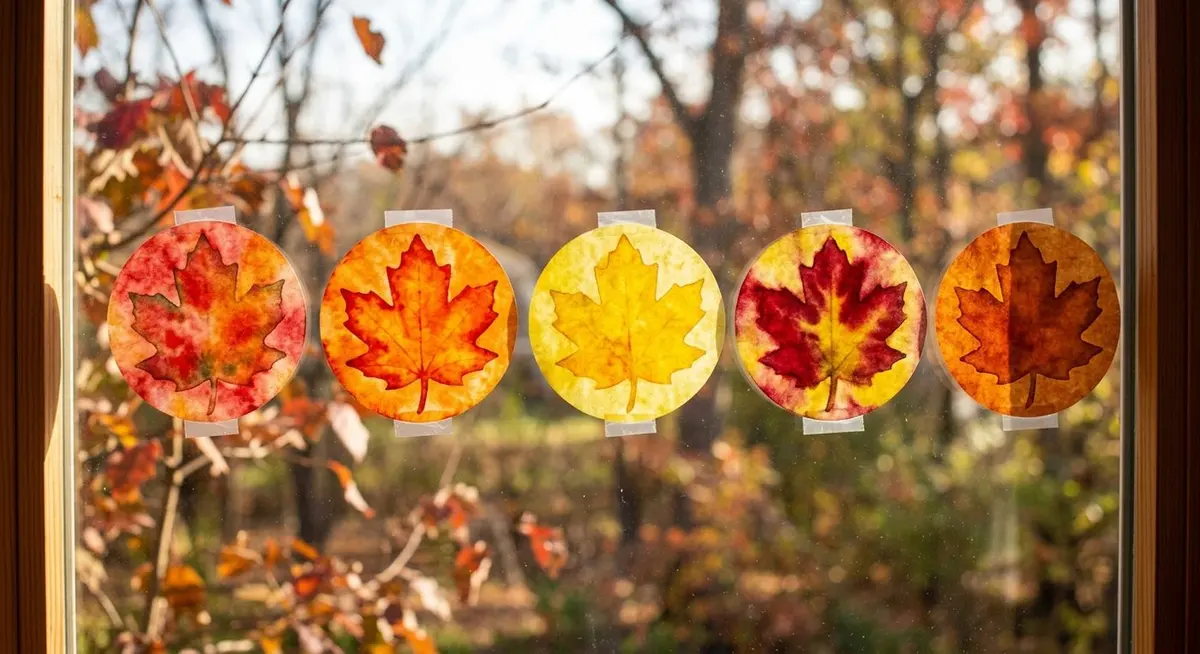
This is the craft that looks most impressive for the least effort, and it is the one I would start with if you have never done a craft afternoon before. Coffee filters are thin and absorbent, so the colour spreads on its own and the result looks deliberate even when it is not. The leaves glow when the sun comes through them, which is why they belong on a window rather than a wall.
Cut leaf shapes out of the round coffee filters. You can draw them freehand, trace real leaves from the garden, or fold the filter in half and cut a symmetrical shape. Older children can do this step entirely on their own; younger ones will need you to cut and can take over from the next step.
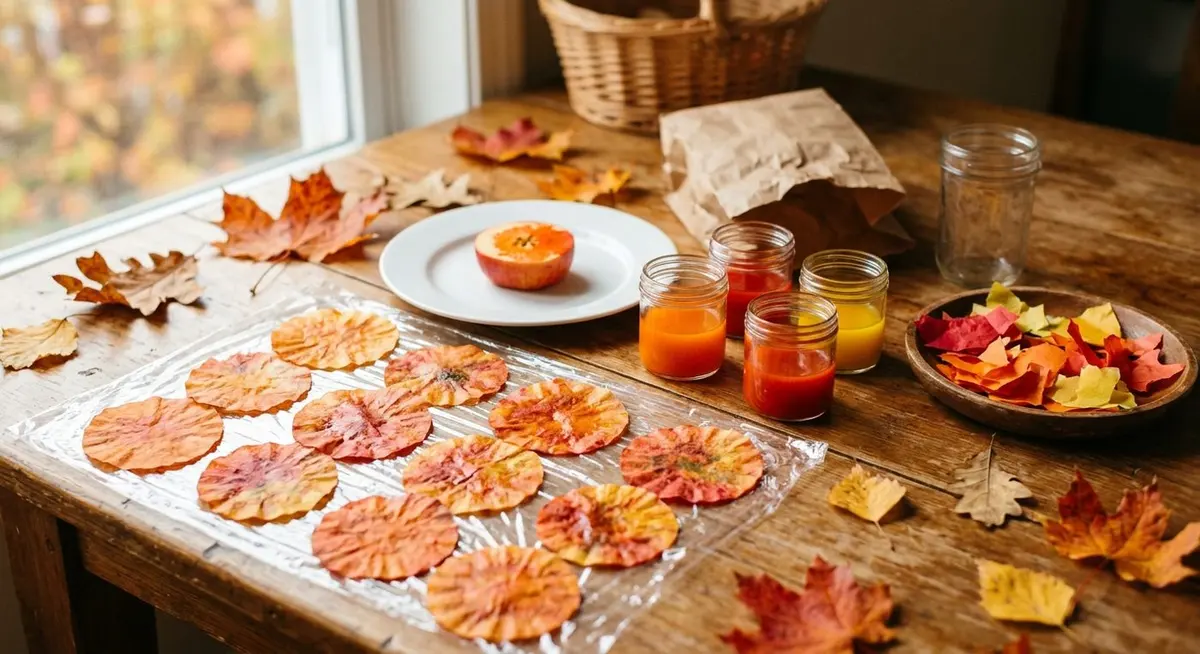
Lay the leaf shapes flat in a disposable foil tray. The tray is not optional — it is what stops the colour running across the table, and it lets a child be generous with the drips without you hovering.
Fill a small jar with liquid watercolour, or dilute food colouring with a little water until it is the strength of weak tea. One jar per colour is enough; three colours is the sweet spot.
Let the child drip colour onto each leaf with an eye dropper or a small brush. Two or three colours per leaf, dropped rather than painted, gives the blended look. Do not let them stir it — the colours should stay separate and bleed into each other on their own.
Lift the leaves onto a sheet of plastic wrap to dry. They are extremely fragile while wet and will tear if you move them too soon, so slide the wrap under them rather than picking them up. Leave them for at least an hour, and overnight if the room is damp.
Once dry, punch a small hole near the top of each leaf and thread a length of thread through it, or simply tape the leaves directly to the glass. A third option that works well with very small children is to press a sheet of clear contact paper to the window, sticky side out, and let them stick the leaves onto it.
Tape them low enough that a child can see their own work at eye level. A suncatcher above adult head height is a decoration; one at child height is a trophy.
The mistake almost everyone makes: using too much water. A filter that is soaked through takes a day to dry and the colours turn muddy as they spread. Two or three drops per leaf is plenty — the paper will pull the colour outward on its own.
Autumn Leaf Scavenger Hunt
This is the only craft here that gets everyone outside, and it is the one that works with the widest range of ages because the difficulty is set by the list rather than the activity. A two-year-old can hunt for leaves that are simply red — our toddler fall scavenger hunt is built for exactly that. A nine-year-old can be sent after a specific species and a set of acorns.
The trick is to give the hunt a structure that survives the walk home. A bag of loose leaves is a bag of loose leaves. Leaves sorted into categories, or turned into something with a face, are a collection — and a collection is what a child wants to show someone.
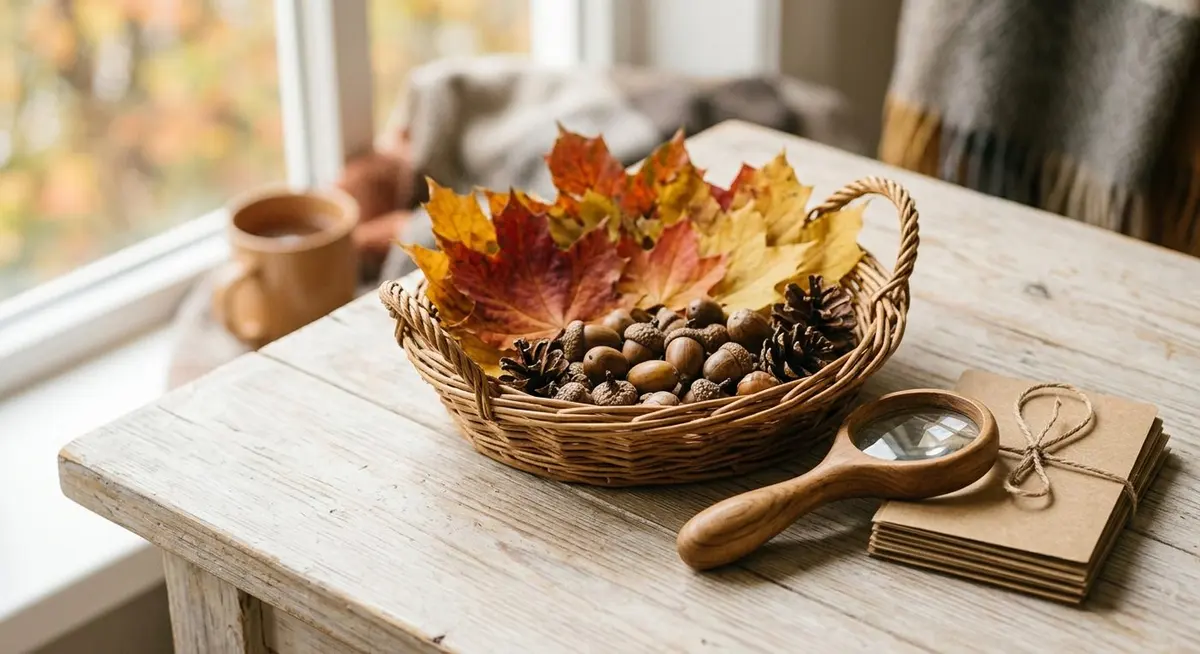
Decide the list before you leave the house. The simplest version is a colour list: brown, yellow, red, orange, green and multicoloured. Add acorns, pinecones and a single leaf bigger than a hand for older children.
Give each child a bag. A gallon zip bag works well because the finds are visible through it; brown paper lunch bags work better if you want to sort by type, because you can write on them.
If you are sorting by type, prepare the bags first. Draw or glue a picture of a maple, an oak and a birch leaf onto three separate bags, then send the children to find one of each. This turns a collecting walk into a matching game and keeps older children interested for far longer.
Walk the same route you always walk. The point is not a new location, it is looking properly at a familiar one. Most children will find six colours within a hundred metres of the front door once they are actually looking.
Back at the table, spread the finds out and sort them. Sorting by colour is the easiest; sorting by shape is the one that quietly teaches something. This is the step that turns a walk into a craft.
Turn the best leaves into leaf people. Glue on googly eyes and add pipe cleaners for arms and legs. A leaf with a face is funny in a way that a leaf on its own is not, and it is the version that ends up on the fridge.
For toddlers: hunt for one colour only, and count the finds out loud as they go in the bag. The counting is the game.
For a rainy day: hide leaves around the house instead and run the same list indoors. It sounds like a compromise and it is, but it works.
For a group: give each child a different colour to find and pool the results at the end. Nobody competes, and the collection is complete faster.
To make it last: press the best leaves between the pages of a heavy book for a week, then glue them into a notebook with the date. That is the version you will still have next autumn. If you would rather print a list and go, the printable fall scavenger hunt is ready to hand out.
Worth doing once: photograph the collection before it dries out and crumbles. Leaves lose their colour within a few days, and a photograph taken on the kitchen table is the only record that survives to next year.
Mason Jar Tree Luminaries
This is the craft that surprises people, because it looks like it should be too fiddly for a small child and it is not. Tearing tissue paper and pressing it onto glue is well within the reach of a three-year-old, and the two-layer build means the result looks rich rather than patchy. It is also the craft that buys you the most quiet time, because it takes a while and the drying pause gives you a natural break. If you want a version with no glass and no flame, the no-carve pumpkin decorating ideas are a good next step.
Tear the tissue paper into small pieces, roughly the size of a thumbprint. Tearing rather than cutting is deliberate — torn edges overlap and blend, while cut edges leave hard lines. Let the child do all of this; it is the most satisfying part and it cannot go wrong.
Brush a thin layer of Mod Podge or white craft glue onto one small patch of the jar at a time. Working in patches matters: glue applied to the whole jar at once dries before the paper reaches it, and the paper then falls off.
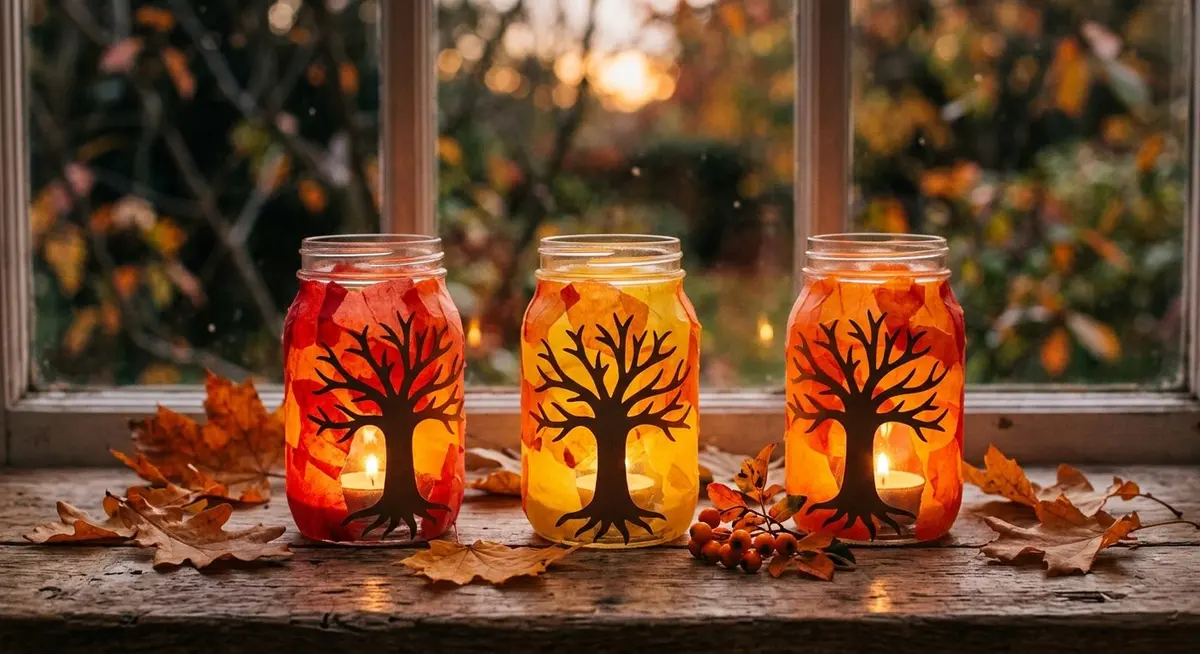
Press the tissue pieces onto the glued patch, overlapping them. Do two layers in total. One layer looks thin and the glow is weak; two layers is what makes the jar look like stained glass when the candle is lit.
Let the jar dry completely, which takes about an hour. Do not be tempted to speed this up with a hairdryer — the glue bubbles and the paper lifts.
Cut a tree silhouette from brown cardstock. A simple trunk with two or three branches is enough, and it does not need to be symmetrical. Glue it over the dried tissue paper so the branches reach up the side of the jar.
Add a tealight or a votive candle and light it. With children in the house, a battery tealight is the better choice and looks almost identical through the paper.
Three jars in a row on a windowsill is the arrangement that looks best, and it gives each child their own jar to point at.
Safety, stated plainly: a glass jar with a real candle in it gets hot, and tissue paper is flammable. If the jar is going anywhere a child can reach, use a battery tealight. If you use a real candle, put the jar on a high shelf and never leave the room with it lit.
Apple-Print Pumpkins
This is the craft for the youngest child in the house, and it is the one I would choose for anyone under three. Stamping is a whole-hand action that needs no fine motor control at all, and the shape that comes out of a halved apple genuinely looks like a pumpkin. It is also the fastest craft here, which matters when attention spans are short. For painted faces rather than prints, our painted monster pumpkins guide walks through the same idea with a brush.
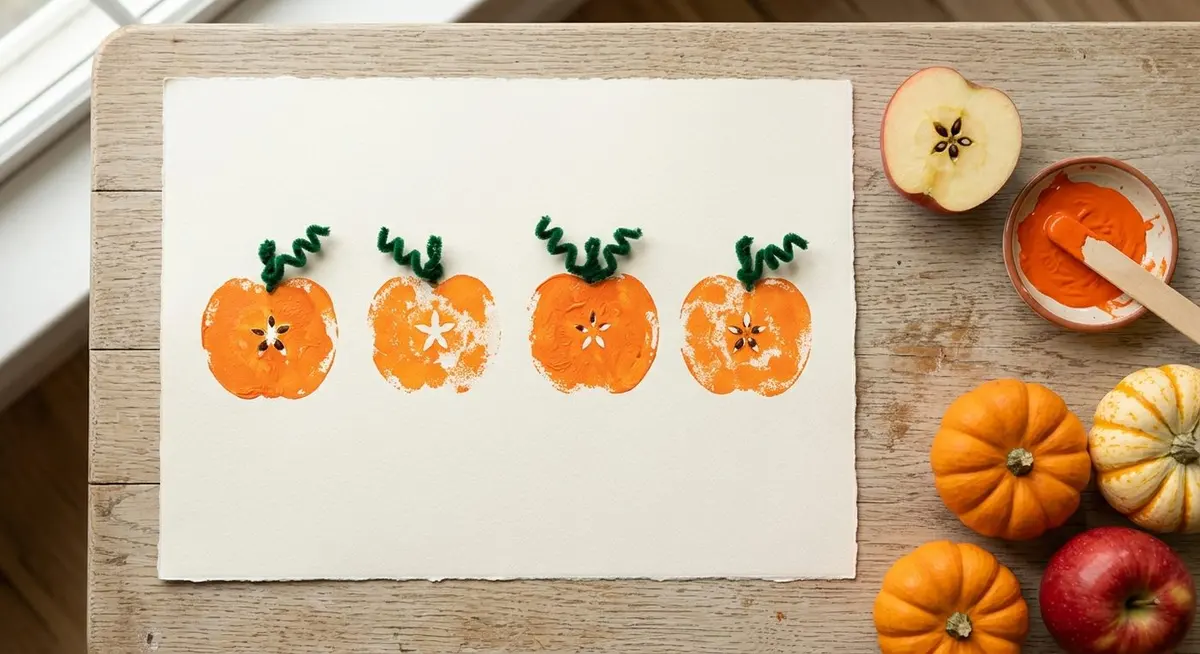
Cut an apple in half through the middle, not top to bottom. Cutting across the middle is what exposes the star-shaped core, and that star is what makes the print read as a pumpkin rather than a circle.
Dry the cut face thoroughly with a paper towel. This step is the one people skip and it is the one that matters most — a wet apple releases juice that thins the paint and the print comes out pale and smeared.
Dip the cut face of the apple into orange paint, spreading it flat on a shallow plate rather than a deep pot. Press it down and lift it straight up.
Stamp the apple onto heavy paper. Do several in a row to make a pumpkin patch, re-dipping between each one. Heavy paper matters here; thin printer paper buckles under the paint.
Add a face while the paint is still wet, or wait for it to dry and add it after. Googly eyes pressed on while wet will stick on their own. Black paint or a marker gives you a jack-o-lantern face.
Finish with a stem and a vine. A short piece of brown pipe cleaner pushed into the top of the print makes the stem, and a green one curled alongside it makes the vine. Glue them on if the paint has already dried.
A row of prints makes a pumpkin patch. One print on its own looks like a mistake; five in a line looks like a decision.
Use washable paint, and mean it. Orange poster paint on a white sleeve is permanent. If you only have acrylic, put an old shirt on the child and cover the table, because this is the craft where the paint ends up everywhere except the paper.
Stress-Ball Pumpkins
This is the most fun craft here and the messiest by a wide margin, so choose it deliberately rather than by accident. It is also the only one that produces a toy rather than a decoration, which means it gets played with for weeks afterwards instead of sitting on a shelf. The flour step is the part that spreads, and it is worth doing over a tray on a hard floor.
Set up before you call the children in. Put a tray down, open the flour, and have the vacuum within reach. This is the one craft where the preparation genuinely determines whether the afternoon is fun or a chore.
Using a funnel, pour one full cup of plain flour into an empty plastic water bottle. If you do not have a funnel, roll a piece of paper into a cone and tape it. Cornstarch or fine sand both work as substitutes and feel slightly different in the finished ball.
Blow up a balloon and stretch its neck over the top of the bottle. Hold the neck firmly with one hand so it does not slip off.
Turn the bottle over and squeeze gently. The flour will drop down into the balloon. Do this slowly — squeezing hard sends a puff of flour into the air, which is exactly the mess you are trying to avoid.
Once the flour is in, carefully release the remaining air from the balloon. Pinch the neck closed as you do it, or the flour comes straight back out.
Tie a knot in the neck and decorate the balloon with a spooky face. A black permanent marker works best. Tie a green pipe cleaner or a length of yarn around the knot to look like a vine.
Squeeze it. A stress ball that is too full will not give, so if it feels hard, let a little flour back out before you tie the knot.
Two variations worth trying: use white balloons and draw a face for a ghost, or a single large eye for a giant eyeball. Both are quicker than the pumpkin and both get a bigger reaction from older children, who find the pumpkin version a little young.
What Each Age Can Actually Do
The most common reason a craft afternoon goes wrong is not the craft, it is the mismatch between the task and the child. A four-year-old asked to cut a leaf shape will get frustrated and hand it back. The same child asked to drip colour onto a leaf will stay for twenty minutes. The table below is the honest version of who can do what.
Age, ability and where you are needed
Age
Can do alone
Needs you for
18 months – 2
Stamping the apple, tearing tissue paper, collecting leaves
Anything sharp, hot or poured; keep the flour well out of reach
3 – 4
Dripping colour, pressing tissue paper, sorting leaves by colour
Cutting simple shapes, gluing a tree silhouette, drawing faces
Filling the balloon, the funnel step, the candle
7 – 9
The whole stress-ball build, the whole scavenger hunt
A check on the knot before it is squeezed hard
10+
All five crafts start to finish, and can run them for a younger child
Only the candle
If you have a wide age gap
Give the older child the job of running the craft for the younger one. It sounds like a way to keep them busy and it is, but it also works: explaining a step out loud forces them to understand it, and the younger child will accept an instruction from a sibling that they would argue with from a parent. The scavenger hunt is the best craft for this, because the older child can hold the list and the younger one can do the finding. The same logic runs through our preschool fall activities and simple fall activities for toddlers guides.
One adjustment that helps every age: do the craft at a table that is the right height for the smallest child, not the tallest. A child standing on tiptoes to reach the work gives up faster than one who is comfortable, and the older children will adapt downwards far more easily than the little one can adapt upwards.
Mess, Drying Time and Clean-Up
Knowing the mess level in advance is what lets you say yes to a craft on a day when you would otherwise say no. The ranking below is not about how much fun each craft is — it is about how much of your evening it costs you afterwards.
What each craft costs you in clean-up
Craft
Mess
Protect this
Clean up with
Scavenger hunt
None
Nothing
Nothing
Suncatchers
Low
The table, under the tray
A damp cloth
Luminaries
Medium
The table, and everyone’s sleeves
Warm water, before the glue sets
Apple-print pumpkins
Medium
The table, and the apple face
A damp cloth while the paint is wet
Stress-ball pumpkins
High
The floor, and the whole room
A vacuum, not a cloth
Two of these crafts have a drying pause in the middle, and that pause is worth planning around rather than fighting. The suncatchers need at least an hour and the luminaries need about the same. If you start one of those first, you can run a fast craft like the apple prints while the first one dries, and the afternoon fills itself.
The clean-up rule that actually works: clean the paint while it is wet and the glue while it is warm. Both take seconds at that point and both become a scraping job once they have set. A bowl of warm water and a cloth on the table before you start is the whole trick. If you would rather be outside, a fall nature walk with kids has no clean-up at all.
When It Goes Wrong
Almost every problem with these five crafts traces back to one of four things: too much water, too much glue, a wet apple, or a balloon that was overfilled. None of them is a disaster, and all of them have a fix that takes less time than starting again.
Common problems and what to do
Problem
Why it happened
What to do
Suncatcher colours turned muddy
Too much water on the filter
Use two or three drops per leaf next time; the paper spreads the colour on its own
Suncatcher leaves tore
They were moved while still wet
Slide the plastic wrap under them instead of lifting; dry overnight in a damp room
Tissue paper fell off the jar
Glue was applied to the whole jar at once
Work in small patches, one at a time, and press the paper on immediately
Luminary glow looks weak
Only one layer of tissue paper
Add a second layer; two layers is what makes it look like stained glass
Apple print came out pale and smeared
The cut face was still wet
Dry it thoroughly with a paper towel before every dip, not just the first
Apple print has no star shape
The apple was cut top to bottom
Cut across the middle instead; the star is the core seen end-on
Stress ball will not squeeze
Too much flour in the balloon
Untie the knot and let a little flour out before retying
Flour went everywhere
The bottle was squeezed too hard
Squeeze slowly, over a tray, and keep the vacuum nearby before you start
Balloon slipped off the bottle
The neck was not held
Hold the neck firmly with one hand for the whole pour
If a craft fails completely, keep the pieces. A torn suncatcher becomes confetti for a card. A lumpy stress ball becomes a juggling ball. The children almost never care that it did not work — they care whether the afternoon ended with everyone cross. If you want a craft with a guaranteed result, the autumn activities for toddlers are all low-risk.
Questions and Answers
These are the questions that come up most often, usually about ten minutes before someone wants to start. The short answers are below, and the printable kit at the end of this guide has the supply list and the step cards in a form you can hand to a child. If you are planning further ahead, our Halloween activities for kids and family Halloween activities guides cover the next few weeks, and the Thanksgiving activities for families guide picks up after that.
What age are these crafts suitable for?
The apple-print pumpkins work from about eighteen months, because stamping needs no fine motor control. The scavenger hunt works from two. The suncatchers and the luminaries suit three and up, and the stress-ball pumpkins are best from five, because the flour step needs a steady hand. Older children can do all five start to finish.
Do I need to buy anything special?
Only two things are worth buying rather than improvising: round white coffee filters, because the round shape is what makes the leaves work, and plain glass jars, because a jar with a label will not glow evenly. Everything else has a substitute that behaves almost identically, and the supply table above lists them all.
How long do the crafts take?
Hands-on time runs from fifteen minutes for the stress-ball pumpkins to about forty-five for the scavenger hunt. The suncatchers and the luminaries each need an extra hour of drying time in the middle, which is worth planning around rather than fighting.
Can I use food colouring instead of liquid watercolours?
Yes, and it works well. Dilute it with a little water until it is the strength of weak tea. The colours are slightly less vivid than watercolour but they spread through the coffee filter in exactly the same way.
Are these crafts safe for a toddler?
The apple prints and the scavenger hunt are safe with supervision. The two things to watch are the flour in the stress-ball craft, which should be kept well away from a child who still puts things in their mouth, and any real candle in the luminaries. Use a battery tealight if the jar is going anywhere a small child can reach.
What if I do not have a funnel for the stress ball?
Roll a piece of paper into a cone, tape the seam, and cut the tip off. It works as well as a plastic funnel and you can throw it away afterwards. A clean dry measuring cup with a spout also works if you pour slowly.
How do I stop the mess getting out of hand?
Choose the craft to match the day rather than the other way round. The scavenger hunt has no mess at all, the suncatchers are low, and the stress-ball pumpkins are high. Put a tray down and a bowl of warm water on the table before anyone starts, and clean paint while it is wet.
Can we do these crafts indoors on a rainy day?
All five work indoors. The scavenger hunt is the only one that normally happens outside, and it converts easily — hide the leaves around the house and run the same colour list. It sounds like a compromise and it works better than you would expect.
Free Printable: The Fall Craft Kit
A printable companion to this guide — the full supply list with substitutions, the five crafts as step cards you can cut out and hand to a child, the age and mess guide, a before-you-start checklist and a page to record what you actually made.
Elowen Thorn I cook, photograph and re-test every recipe in an ordinary home kitchen before it goes up, so what you make matches what you see. Savory Discovery is where simple weeknight cooking, seasonal ideas and the odd bit of kitchen craft sit side by side — written plainly, and worth cooking twice.